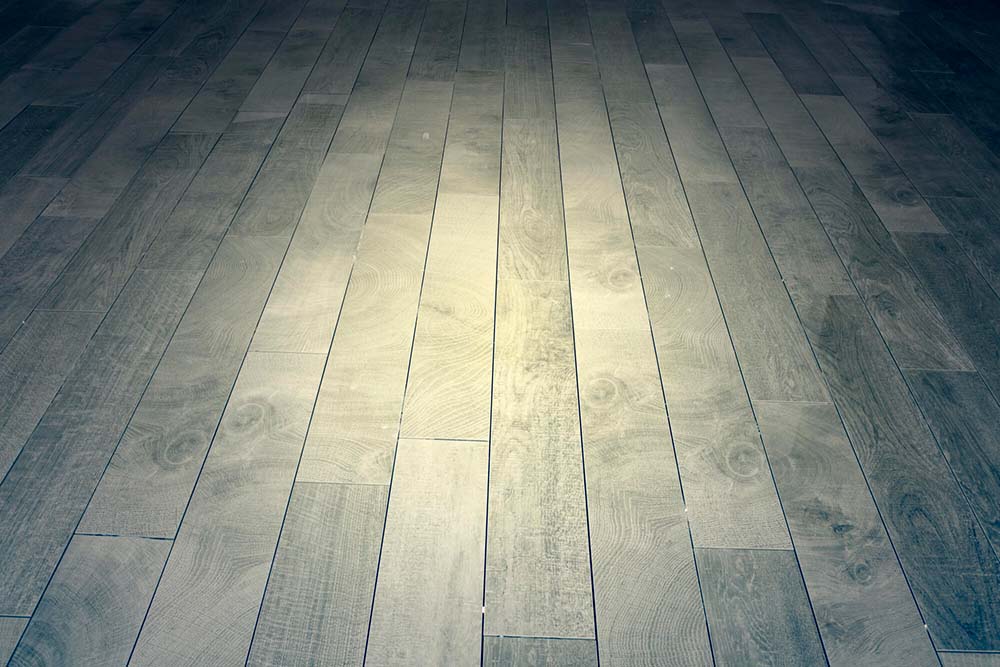
Porcelain dates back to ancient China and has historically been used in several different ways. Pottery, dishware, accent walls, and flooring are all commonly made from durable and beautiful porcelain.
Wood effect porcelain tiles are ideal for outdoor use on patios and decks. Read on to learn why porcelain tile designs are ideal for home exterior tile installations.


Top Features of Durable Outdoor Tiles
It’s critical to ensure that the wood effect porcelain tiles you choose for your patio flooring are made for outdoor use. This prevents slip-related safety hazards. It also staves off unnecessary wear and tear from outdoor elements that the flooring isn’t suited for.
Tile slip resistance is one key factor to look for. This decreases the risk that people will fall on the porcelain even after rain or frost.
You also want to make sure that the tiles have the wherewithal to survive wet weather conditions. Frost resistance and a waterproof structure are critical, as is UV stability. You don’t want your tiles to warp in cold temperatures or melt under direct summer sunlight.
Before purchasing your tiles, make sure that the expert you buy from tells you how they’ll withstand various weather conditions.
Making sure that tiles are ideal for outdoor use means checking manufacturer specifications. These should be online in detail, so read the fine print and ensure that the porcelain is specifically tailored to outdoor installation needs.
Checking the manufacturer’s certification is also important. It lets you know that you can trust them to sell you quality tile and install it safely.
Ensuring Outdoor Suitability
Once you confirm that the porcelain tile designs you like are suited to outdoor use, you must prepare the area to ensure seamless installation. This means preparing the flooring that you plan to install your tile over. This supporting surface is called a ‘substrate.’
Clean the area and drain it of any moisture buildup. This is especially important since outdoor living spaces are constantly exposed to wet weather elements.
Then, level out the substrate so it’s secure and flat. A level base means that moisture can’t build up while you’re working, and it also ensures that the tile can be installed flat. There won’t be any awkward angles that can chip and scratch.
Once the substrate is completely level, you’ll need to lay a waterproofing membrane down over its surface. This will lay underneath the porcelain tiles so that the substrate doesn’t succumb to water damage. If moisture seeps between the grout of your porcelain tiles, the membrane will catch it and keep the substrate protected.
This decreases the likelihood of mold and mildew buildup. It also stops the tile from peeling because of damaged adhesive, which helps it last longer.

Outdoor Tile Installation: Techniques to Know
Understanding how to lay porcelain tiles outdoors is the next step in the installation process.
After preparing the area and leveling the substrate, you’ll need to apply a firm base over the ground underneath it. This sub-base stops movement beneath the paving from cracking the tile surface.
At this point, you can make a mortar bed to lay over the base. This will be a formula made from a 5:1 ratio of sharp sand to cement. It’s compressive, which helps you get rid of mineral deposits that can hurt your grouting.
Laying Your Wood Effect Porcelain Tiles
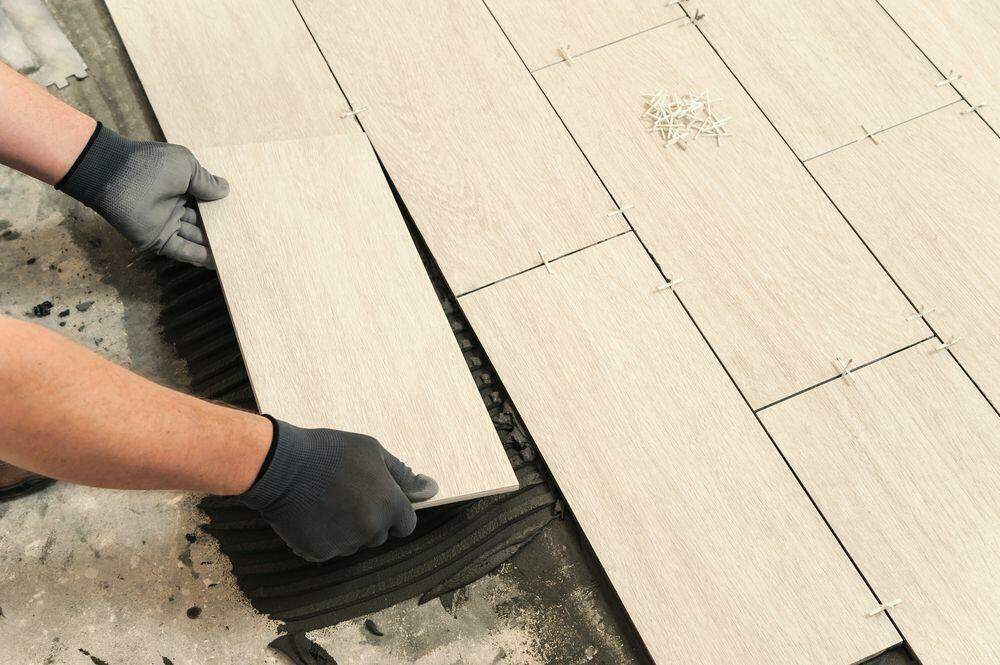
Now, you can begin to lay your wood-look porcelain tile over the mortar bed!
Start by accessing a high-quality, flexible outdoor tile adhesive. It needs to be able to accommodate fluctuations and temperature as well as movement on the tile surface. You don’t want tiles shifting around because your adhesive was unsuitable.
Take this adhesive, also known as a ‘bonding bridge,’ and start applying it to the porcelain tiles you plan to lay down. You’ll need to back-butter the tiles by applying a thin layer of adhesive to each before placing them down.
This will ensure that every tile has full adhesive coverage. The bonding between the tiles and the sub-base will also be stronger.
Add Expansion Joints
You also need to add proper expansion joints to your patio floor. These joints let the assembled tile expand and contract without serious changes or breakage. These joints can prevent tile and grout cracking because of UV rays’ propensity to warp tile and grout.
It’s critical when applying outdoor flooring that will get exposed to sunlight. If you forget expansion joints, tiles are likely to pop up in the middle of the floor.
Contend With Grout
At this point, it’s time to grout your tile with a weather-resistant grout. Clean the joints between each tile to get rid of debris. Mix your grout into a bucket and dampen the porcelain tile with cool water.
Spread the grout diagonally over the tile and smooth it along every joint. Be careful not to miss any sections!
Once you’re done, clean all your excess grout off the tile faces immediately. You want it to harden between the joints, not on the surface. If you wait too long, your wood-look tile will be uneven because of hardened grout on the surface.

Maintenance and Cleaning Routines to Remember
After you’re done installing the tile, it’s important to keep it in top shape. Maintenance is a critical part of this. Re-seal grout lines whenever necessary.
If you suspect that there will be harsh outdoor conditions, cover the tiles with a tarp that will dull the impact of wind and water. Move heavy objects to prevent impact-related chipping, denting, and scratching.
Keeping your outdoor porcelain is also critical, but abrasive or rough cleaners can damage the surface. Make sure to wipe down the tile with non-abrasive cleaners to get rid of moss and algae buildup. Wipe any dirt away to ensure an even look and prevent scratching.
Implement Wood-Look Porcelain Tile Designs
Now that you know the ins and outs of wood effect porcelain tiles, it’s time to spruce up your outdoor space. Rubi’s team is committed to helping you select landscaping products including outdoor-friendly tiles.
Contact us to learn more about our services and begin shopping for the perfect outdoor flooring today.


Post a comment