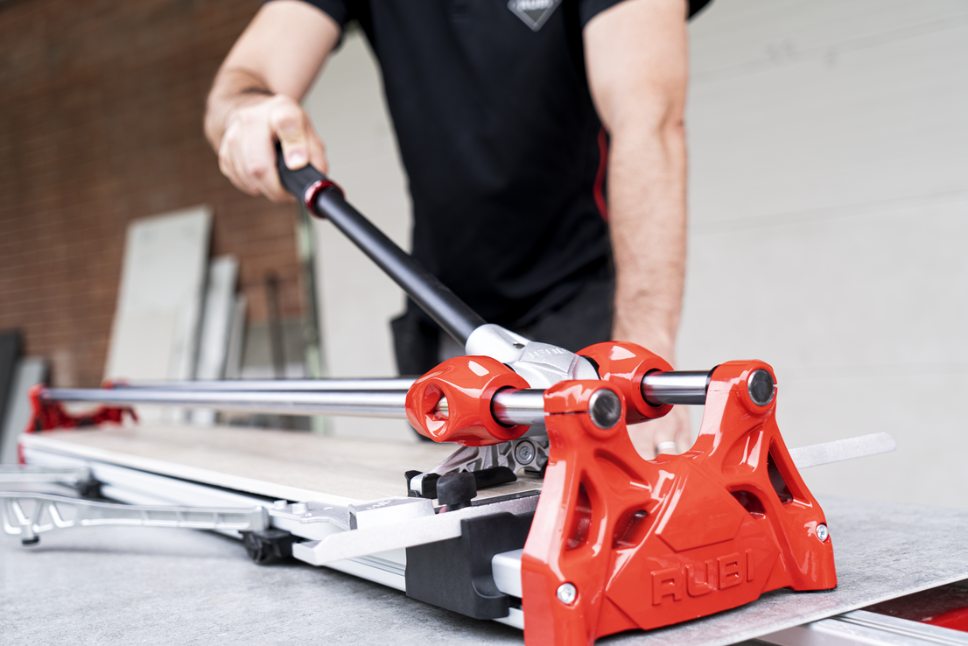
Knowing how to properly use a manual cutter is a vital part of tile installation. Experienced tile cutters have mastered the art of planning a room’s layout to minimize waste, but it’s rare that no tiles need to be cut. Cutting them to customize the job ensures your work looks professional and polished.
Do you want to know how to avoid rough and ragged cuts that will diminish your service quality? Read on to learn how to achieve perfect edges using a manual tile cutter.


Using a Manual Tile Cutter
Tile setters will either use wet saws or manual tile cutters. Manual tile cutters and snap cutters are perfect for DIY projects and professional tile installations. When used correctly, both provide smooth and clean cuts.
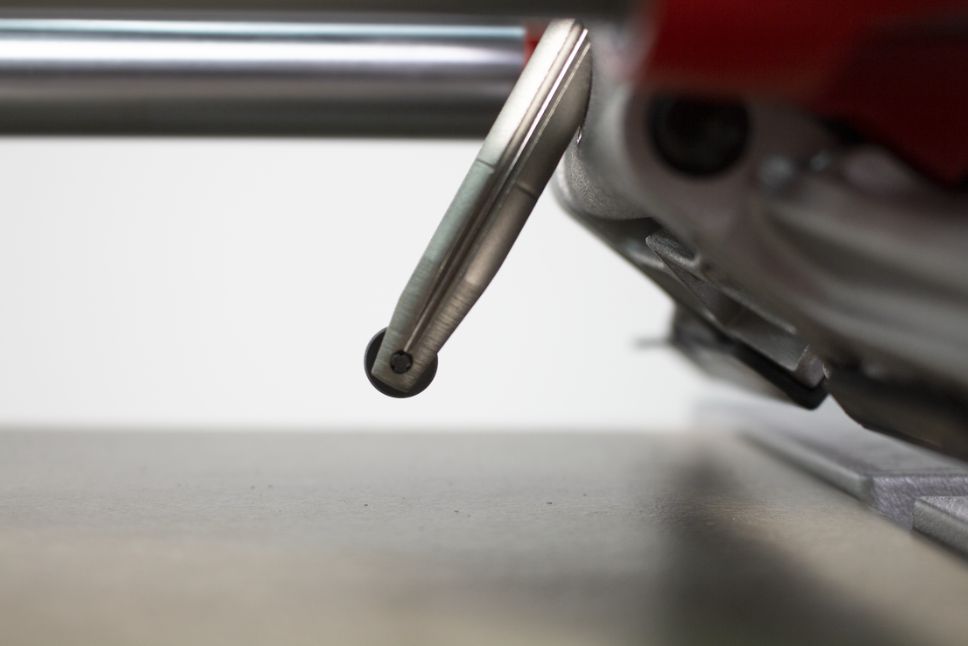
A manual cutter is a slightly safer alternative to other tiling tools. It has a scoring wheel and a small set of jaws to break the two pieces apart.
This tool works well for cutting ceramic and porcelain tiles. It works quickly and is able to make straight and diagonal cuts.
This type of tile cutter is similar to a glass cutter. It works by creating a score across the tile before applying pressure and snapping the tile in two.
Manual Tile Cutter Tips
Whether you’re a seasoned tiler or are trying to stick to your budget during a kitchen update, these tile cutting tips will give you the edge you’re been looking for.
1. Score the Tile

The first score you make is the most important, and ideally, it will be your last. Going over the same score several times results in uneven breakage and a ragged edge.
2. Use the Right Pressure
Use a continuous and solid motion with minimal pressure. Pressing too hard can cause internal breakage and will damage the tile before snapping along the scoreline.

3. Use Caution When Cutting
Be cautious using a manual tile cutter to cut anything thicker than 3/8 inch thick ceramic tiles and stone or porcelain tiles, which are harder materials. Check your tile cutter’s specifications to ensure it’s designed to do the level of work you need it to.
4. Protect Your Eyes

Always, always, always wear eye protection when using a manual tile cutter. Small and sharp tile fragments can fly into your eye and cause easily avoidable damage.
When using a handheld manual tile cutter, wear thick gloves as an added precaution.
5. Mark Your Cut
Mark the tile with a pen, pencil, or highlighter before scoring the surface. This gives you a chance to double-check your measurements for peace of mind.
6. Smooth the Edges
Once you’ve snapped the tile along the scoreline, use a diamond rubber pad to smooth the edges. Remember to use proper rubbing technique as well (this means starting on the upper side of the tile and sanding downward). This small step elevates the results of your tile installation.
Let’s Tile Together
Tile cutting doesn’t have to be expensive or hazardous! We’ve got you covered with high-quality, trusted equipment.
A manual tile cutter from RUBI is an affordable way to stick to tiling trends and take your bathroom or kitchen remodel into your own hands. Armed with these simple tricks, you can face your project with confidence.
Was this helpful? Check out our other tips and tricks and get tiling advice that’s a cut above the rest.


Hello Andy. We aren’t quite sure what you mean by locator pin. But if your rotating square is not lining up, it might be because you aren’t pushing the metal pin into the 0 degree slot when you set it. That pin is designed to fit into the different slots that show the angles at which they keep the rotating square. If you push down on that pin into the 0 degrees slot, it will hold your rotating square perfectly in place while you lock it in position.