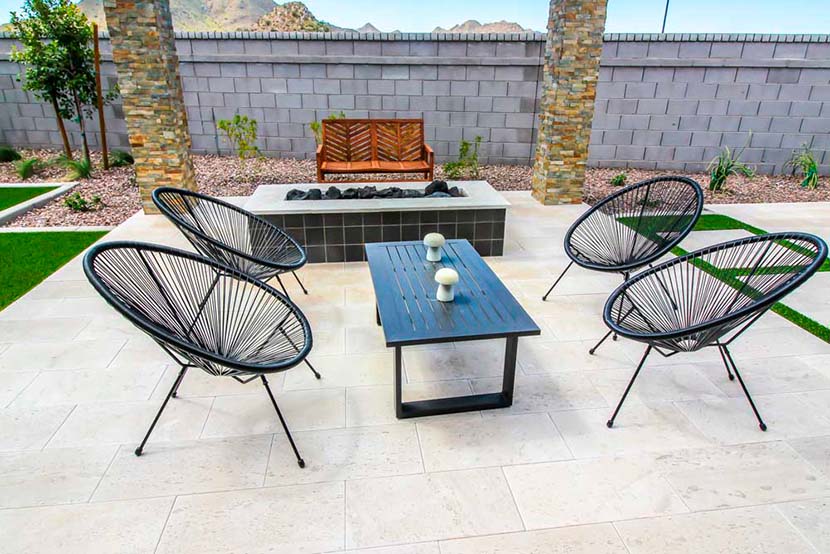
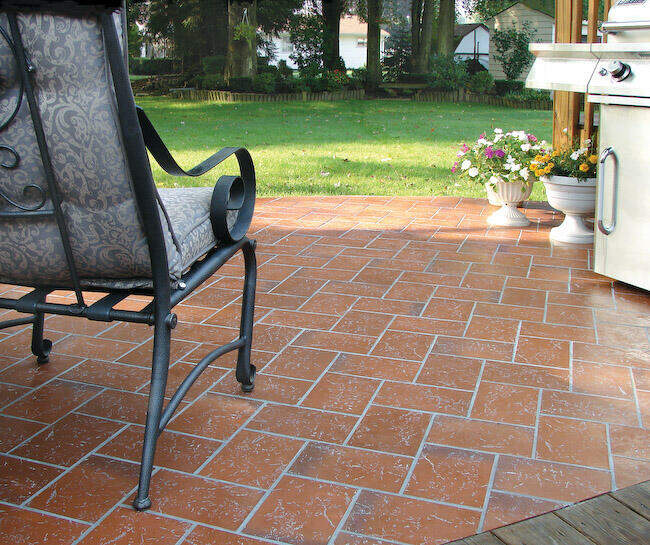
An outdoor tile installation is a great option if you’re looking to give your patio a modern and stylish touch. It adds a contemporary feel, though it might not be the most cost-effective option. There are several ways to install outdoor tiles, with the most economical option being on a concrete base. Another choice is the PorcelQuick system, which saves money and materials. It involves a series of small pedestals made of sand and quick-setting cement, to which the tiles are then attached. A third alternative is a self-leveling pedestal system, designed mainly for balconies and terraces, but it can also be used on patios. It’s a matter of exploring each system and selecting the one that best suits your installation needs.


The advantages of using porcelain tiles outdoors are clear: they are easy to clean, look attractive, and coordinate well with interiors due to various available finishes, such as stone or wood-like effects. Additionally, they are durable, non-freezing, and non-slip. Other types of solutions wear out more quickly and require constant cleaning, although they tend to be more affordable. Finally, it’s worth noting that you may need to cut some tiles, which will require specific tools.
Materials Needed for Installing Outdoor Tiles
Let’s look at the materials needed for outdoor tile installation:
- The outdoor ceramic tiles themselves.
- Bags of sand, mortar, and cement for the base.
- Tile spacers and leveling systems for a perfect finish.
- Grout to fill the joints between tiles.

Tools Needed for Outdoor Tile Installation
We’ll also need tools to work correctly during the installation of outdoor tiles:
- A mixer to blend the grout and adhesive, such as our new Rubimix Supertorque.
- A manual ceramic tile cutter or another cutting system for porcelain tiles.
- A level, the longer, the better.
- A rubber mallet.
- A trowel to level the cement.
- A measuring tape.
- A wheelbarrow for moving materials around the patio.
- A shovel for working with the materials.
- A grout float for applying the grout.
- Sponges and buckets for cleaning, like our RUBICLEAN.
In terms of safety, as always, we recommend working with safety footwear, an FFP2 mask at a minimum for working with adhesives, and gloves. Be sure to lift heavy materials properly, keep children and pets away from the patio, try to work in good weather, and clean and organize the area at the end of each day.

Steps for Outdoor Tile Installation
Now that we know what we need, let’s get started with the outdoor tile installation.
Preparation
- The Base for Outdoor Tile Installation
Before beginning, mark and prepare the area for outdoor tile installation. You can either install over the existing patio or remove everything and install over the concrete. The first option saves time and money, as you won’t have to clear debris.
If starting from scratch on soil, you’ll need to create a base, usually consisting of 5-10 cm of mortar and a protective membrane. It’s important to ensure that the patio won’t collect water to prevent issues. Aim for a minimum slope of 1.2 to 2 cm per meter so that rainwater drains away properly. - Preparing the Tiles for Outdoor Installation
Porcelain is non-absorbent and requires some primer to ensure good adhesion to the cement base. Prime each tile and, with the cement mixed, place them. - Mixing the Adhesive
The next step in outdoor tile installation is mixing the adhesive or glue. Use an electric mixer for a homogeneous and high-quality mix. Always follow the manufacturer’s instructions when preparing the mix.
Installation
- Installing the First Tile
The first tile is the most important—it must be perfectly aligned as it will serve as the base for the others. Make sure to follow the line precisely, place the tile, tap it with the rubber mallet, and level it using the level. Take your time with this, and avoid stepping on the tile until the adhesive has fully set. Use a leveling system and spacers to set the desired joint width as you install the following tiles. - Installing the Remaining Tiles
Make sure to correctly position the spacers and use the leveling system to achieve a perfect finish in the outdoor tile installation. It’s crucial to check that each tile is properly placed, as it’s challenging to fix any errors once the adhesive has dried.
After the adhesive’s recommended drying time, you’ll be able to walk on the tiles, and you’ll almost be finished. - Applying the Grout and Cleaning
This part of the work can be tricky. Mix the grout gradually to prevent it from drying out, and clean it while it’s still fresh to make it easier, working in sections. Apply what you’ve mixed, then clean it with a sponge before moving on. Use a grout float to apply the grout, and don’t hesitate to fill the joints well, as this acts as a water barrier and provides additional support for each tile.
Let us know what you think of this step-by-step guide for outdoor tile installation—we look forward to your feedback!


Post a comment