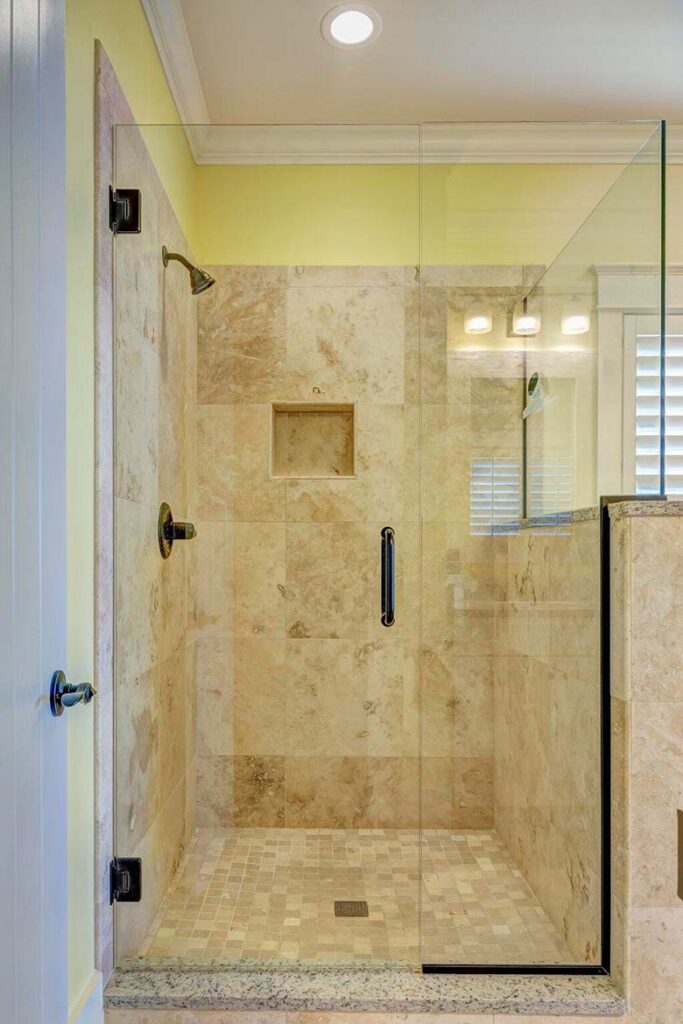
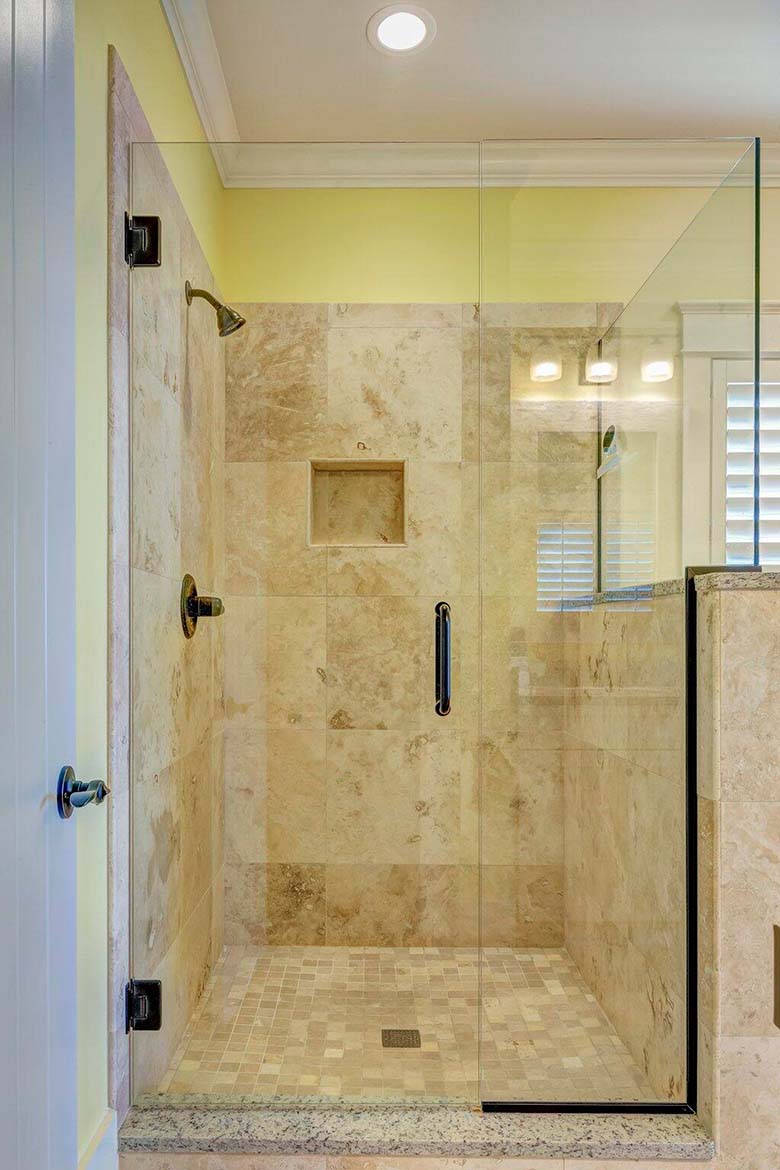
When your bathroom shower area looks a little worn and unloved, you might think it’s time to set aside your savings for a new tile installation. But before you do, take a closer look at the issue. Most cosmetic problems can be solved by retiling your shower space for a low-cost DIY bathroom renovation. Getting the perfect tiling can create a wow effect in any bathroom, but only if you achieve a high-quality finish. So read on for our expert tiling advice on how to install 12×12 ceramic tile in the shower. Discover the steps to take, the tools you need, and tips on achieving a professional finish.


Step 1: Prepare the Shower Area Using Substrate
The key to any successful installation is creating the proper foundation, starting with preparing the shower space. Doing that will deliver you a high-quality result.
You need a substrate first. A substrate is the first layer of material that provides the backing for your ceramic tiles. It provides a level surface for an even finish, as uneven tiles could cause problems later, like wall damage, tile chipping, and tiles shifting out of place.
Typically, that substrate would be a cement backer board. Before securely attaching it to the wall, you’ll need to ensure the area is well-cleaned and debris-free.
Step 2: Apply a Waterproof Membrane
Once the backer board is in place, it’s time to add the waterproof layer, sometimes called a waterproof membrane. As the name suggests, this protects your shower and stops moisture from getting into the walls, which could create problems like mold and structural damage.
You’ll typically see two options for this membrane:
- Liquid waterproofing membrane
- Sheet membrane
Both options do the job, but it depends on whether you prefer to paint on the membrane with a brush or roller (for the liquid version) or layer on the material using adhesive (sheet membrane). If you choose the latter, you must ensure the sheets overlap. Once the membrane is in place, you’ll need to let it dry before proceeding to the next step.
Step 3: Plan Your Tile Layout With Markers
What you should never do when tiling a shower is begin adding tiles without consideration of how you want the final results to look. It needs planning.
Start with some measurements. Measure the width and height of each wall and mark the center between each corner. This mark will be your guide to ensure you attach your tiles in a horizontal line.
Step 4: Complete a Dry Lay
Once these markers are in place, you can begin your dry lay.
A dry lay is your first attempt at laying the tiles without the adhesive to ensure they fit and to indicate how you need to cut the tiles when they reach each window, corner, or wall edge. It helps you avoid awkward situations where you get to an edge and need only a tiny tile portion, which often looks out of place.
Once you do this dry lay, you can measure and mark out the tiles you need to cut.
While this planning takes time, it’s critical to achieve that polished, professional finish. Your layout will look more symmetrical.
Step 5: Cut the Tiles
If you have planned your tile layout, you should already have marks on your tiles-in pencil or tile marker-to indicate where you need to cut. If not, do that before proceeding.
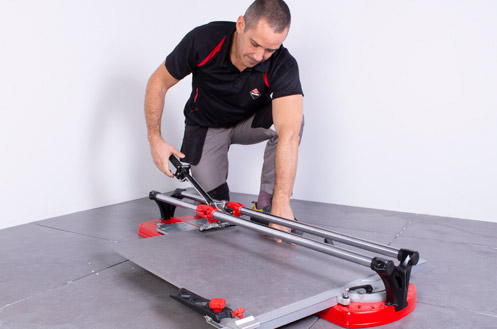
You need a wet saw to make clean, neat cuts on ceramic tiles and to reduce the risk of cracks. Sometimes, you might need a curved cut to help a tile fit in an awkward space. If so, use a tile nipper or hole saw.
Use safety goggles when making any cuts to tiles.

Step 6: Set the Tiles
It’s now time to apply your tiles to the wall area you have prepared. For this part of your shower tile installation, you’ll need:
- A thin-set mortar
- Notched trowel
- A tile spacer
Apply the mortar using a notched trowel. This type of trowel adds grooves to the mortar, which helps secure the tile to the wall. Use the markers you’ve added to the walls to apply the tiles individually.
Use your tile spacer in between each tile so that the finish is evenly spaed bfeore you apply grout. It’s also helpful to continue to check your tiles to ensure they are level before you get too far into your work.

Step 7: Grout the Tiles
You’ll need to wait for the mortar to set and dry before moving on to step 7. That means waiting between 24-48 hours after the final tile is applied. After that, it’s time to apply the grout. You can opt for:
- Mold-resistant grout or
- Epoxy grout
Both help prevent moisture from getting into the mortar.
The grout you buy will have instructions on how to mix it, so follow those. Spread the grout using a rubber float by applying it across the tiles and pressing into the gaps. Check that there are no missed gaps.
When you’ve finished, wipe away the excess grout from the tiles using a damp sponge.
Step 8: Seal the Grout
Let the grout dry after you have finished applying it. This takes around 24 to 72 hours.
Once it’s dry, you can seal it. Sealing the grout adds a protective layer to prevent moisture from leaving your tiling at risk of mold and looking unsightly. To seal the grout, you should use a penetrating grout sealer.
You can add this with a brush, though some come with an applicator. You should apply this seal along the grout lines to avoid the tiles. As with other steps in this process, let the final sealer dry before you use the shower.
How to Install 12×12 Ceramic Tile in a Shower
Every shower can get an instant makeover with some new tiling, and the process is relatively straightforward once you understand the steps. So, keep this guide on how to install 12×12 ceramic tile in a shower handy for future reference.
Getting the right tools for the job is crucial to the best finish. Before you go, stock up on everything you need in preparation for your shower makeover. You can find our wide range of quality tiling tools at Rubi by heading here.


Post a comment