Are you getting ready to do a tile installation in your bathroom this summer? You’re in great company. Research shows tile sales made up 13% of the $23 billion flooring industry market in 2019, falling behind only resilient flooring (e.g., vinyl and linoleum) and carpet. Tile is popular due to being environmentally friendly, durable, easy to maintain, and low-cost. What if you have to cut a circle in your tile – for example, to install a toilet? Working with tile doesn’t have to be a hassle! Let’s explore how to cut a circle in tile using a variety of methods and techniques.


How to Cut a Circle in Tile
Cut a hole in tile with a Dremel, grinder, or hole saw. Avoid using a tile saw, which is designed for cutting a straight line versus a circle.
Hole saws bore clean, precise holes through tile. The holes are the shapes and sizes of the saws used.
Grinders will let you get holes started. Then, you can break through your tile and use a shaping tool to smooth and shape the holes. Shaping tools are hand tools used for removing material to make an object a certain shape.
The grinding process is more time-consuming and less accurate than the hole saw method. However, grinders can easily cut through thick tiles and produce minimal dust.
Dremels are more accurate than grinders. More homeowners also have these convenient tools on hand versus hole saws.
Hole Saw Method
Using hole saws requires physical strength and technique, but the process is straightforward. Let’s examine how to use this type of saw.
Choosing the Bit
Hole saws are specialty bits you can attach to handheld drills. A bit is a cutting tool used to remove materials like ceramic tile, wood, porcelain, concrete, and plastic to form holes.
Hole saws look like hollow cylinders or empty cups whose rims contain teeth or abrasive materials. Use a saw with a ruby-studded rim if you plan to drill several holes in your tile. A diamond-studded rim is sufficient if you’re cutting a single hole.
These saws are available in multiple diameters, ranging from 3/4 inch to 2 inches, and are sold individually or in sets.
Controlling the Heat
You need friction to cut a hole in tile, but too much of it produces excess heat. Controlling the heat will help extend your hole saw’s life.
Have a helper spray your drill site with water while you’re cutting, or regularly douse your workpiece with a wet sponge. Do this only if you’re using a cordless drill. Take regular breaks instead if you’re using a corded drill.
Preparing for Drilling
Draw a circle on the tile with a pencil or permanent marker. Then, attach your hole saw to your drill.
Hold the drill firmly with one hand, and tuck your elbow into your rib area to keep your arm from moving. Place your second hand near your first hand to better support the drill.
Squeeze the drill’s trigger. Let the hole saw spin as fast as it can.
Drilling the Tile
Position the saw at a 45-degree angle with the tile. Only one of the saw’s edges should be touching the tile when you start cutting the hole.
Slowly rotate your drill to form a 90-degree angle once you’ve started cutting. Gently rock the saw while you’re drilling until a hole forms.
Remove the cut-out tile piece from your hole saw before cutting additional holes. Simply poke a screwdriver or nail through a slot on the side or top of the hole saw.

Grinder Method
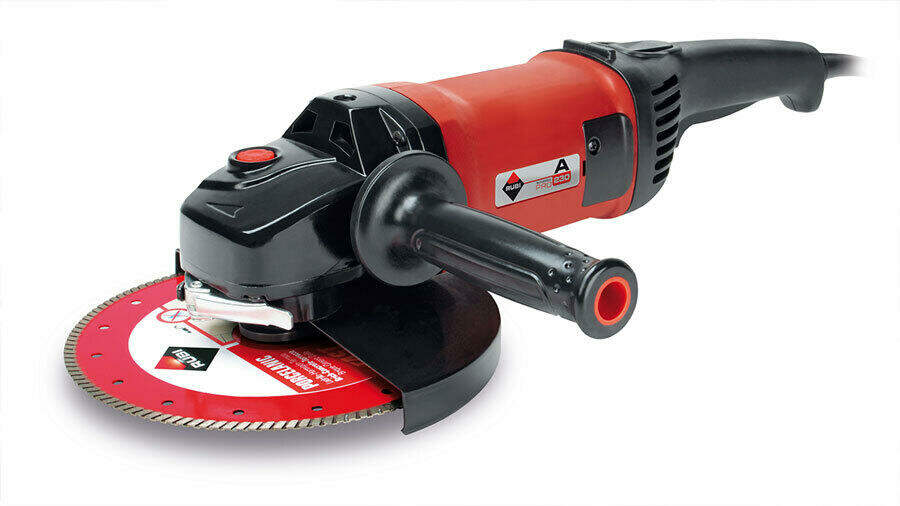
Angle grinders with diamond cutting blades can also help with creating circles in tile. Angle grinders gradually remove small amounts of material until circles form. The holes’ edges are rougher than those created with hole saws.
Preparing for Your Cut
Mark where your hole will go on your tile, and clamp or tape the tile to your work surface. This will keep the tile from slipping when you’re cutting.
Use a clamp with rubber on its edges versus metal if you’re not using tape. A metal clamp may shatter your tile.
Next, attach a blade to the grinder, and adjust the grinder’s guard so it’s between your face and the blade. Angle grinder guards are safety devices attached to grinders to prevent injuries.
Cutting
Lower your diamond blade gently toward the tile, and create cuts that cross the center of your hole. Rotate your grinder as needed.
Flip your tile over, clamp or tape it, and repeat this process on the tile’s second side.
Grinding
Shave off as much of your circle’s material as possible by gently rocking your grinder’s blade on both sides of your tile. You’ll eventually be able to break through the center of the circle.
Knock off all remaining tile chunks using a chisel, and smooth the circle’s edges with a shaping tool.

Dremel Method
Dremels are handheld power tools with fast-rotating motors. Producing precise cuts is easy with a Dremel due to its small size.
Preparing for Cutting
Draw a circle on your tile, and clamp your tile down to your work surface.
Next, attach a #562 diamond-tipped bit to your Dremel. Insert it into the Dremel’s chuck, a clamp designed to hold the bit. Then, tighten the jaw, the part of the chuck that holds the bit.
Cutting and Cleaning Up
Hold your Dremel with both hands before turning it on. Position the tool at a 45-degree angle with your tile once it’s reached its maximum spinning speed.
Begin cutting on your circle’s line, and gradually shift your Dremel so it’s at a 90-degree angle with the tile. Push downward to break through the tile, but don’t press too hard to avoid wearing out or breaking your bit.
Replace the diamond-tipped bit with a diamond-coated grinding bit to smooth the hole’s edges. Rinse the dust off in a sink, or remove it using a vacuum.
Tile Cutting Safety Precautions
Keep your tile-cutting work area well-lit and clean. Dark areas and cluttered benches invite injury-causing accidents.
Don’t use a grinder, Dremel, or hole saw in an explosive environment – a place with flammable liquids, dust, or gases. A power tool may generate sparks, which might ignite fumes or dust.
Keep visitors, children, and bystanders away when you’re cutting a hole in tile. You can easily lose control of your equipment if you become distracted.
Protective Equipment
Wear personal protective equipment to avoid injuries when cutting tile. Let’s discuss the several pieces of equipment you should wear during tile cutting.
Protect Your Face and Eyes
Wear a durable face shield or safety glasses when cutting tile.
Grinders, Dremels, and drills may generate dust, sparks, and flying debris, which may cause severe eye damage. Face and eye protection may protect you from eye injuries and ensure clear vision as you work.
Protect Your Hearing
Wear earmuffs or earplugs when cutting a circle in tile. Power tools produce loud sounds that may cause hearing damage or loss, but ear protection reduces this noise.
Protect Your Breathing
Your power tools might create airborne particles, dust, or fumes that may be harmful if you inhale them. Wear a dust mask or respirator to filter out contaminants and protect your respiratory health long-term.
Protect Your Feet and Hands
Hand tools and power tools usually have rotating or sharp components. Safety gloves will protect your hands from cuts, punctures, and abrasions when you’re using these tools. Safety shoes featuring toe caps will shield your toes from accidental crushing, heavy objects, and impacts during your project.
Protect Your Knees
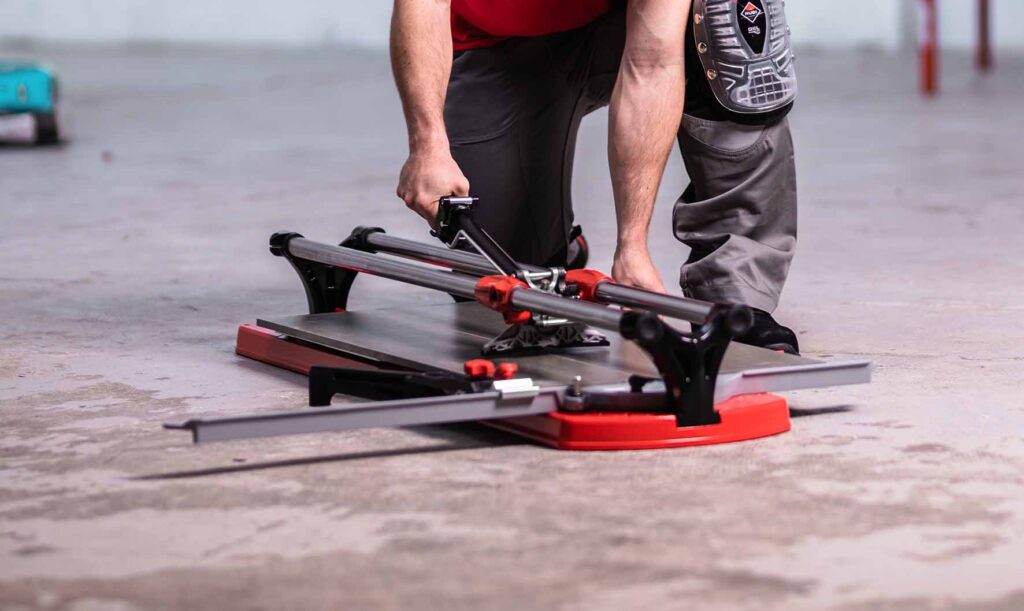
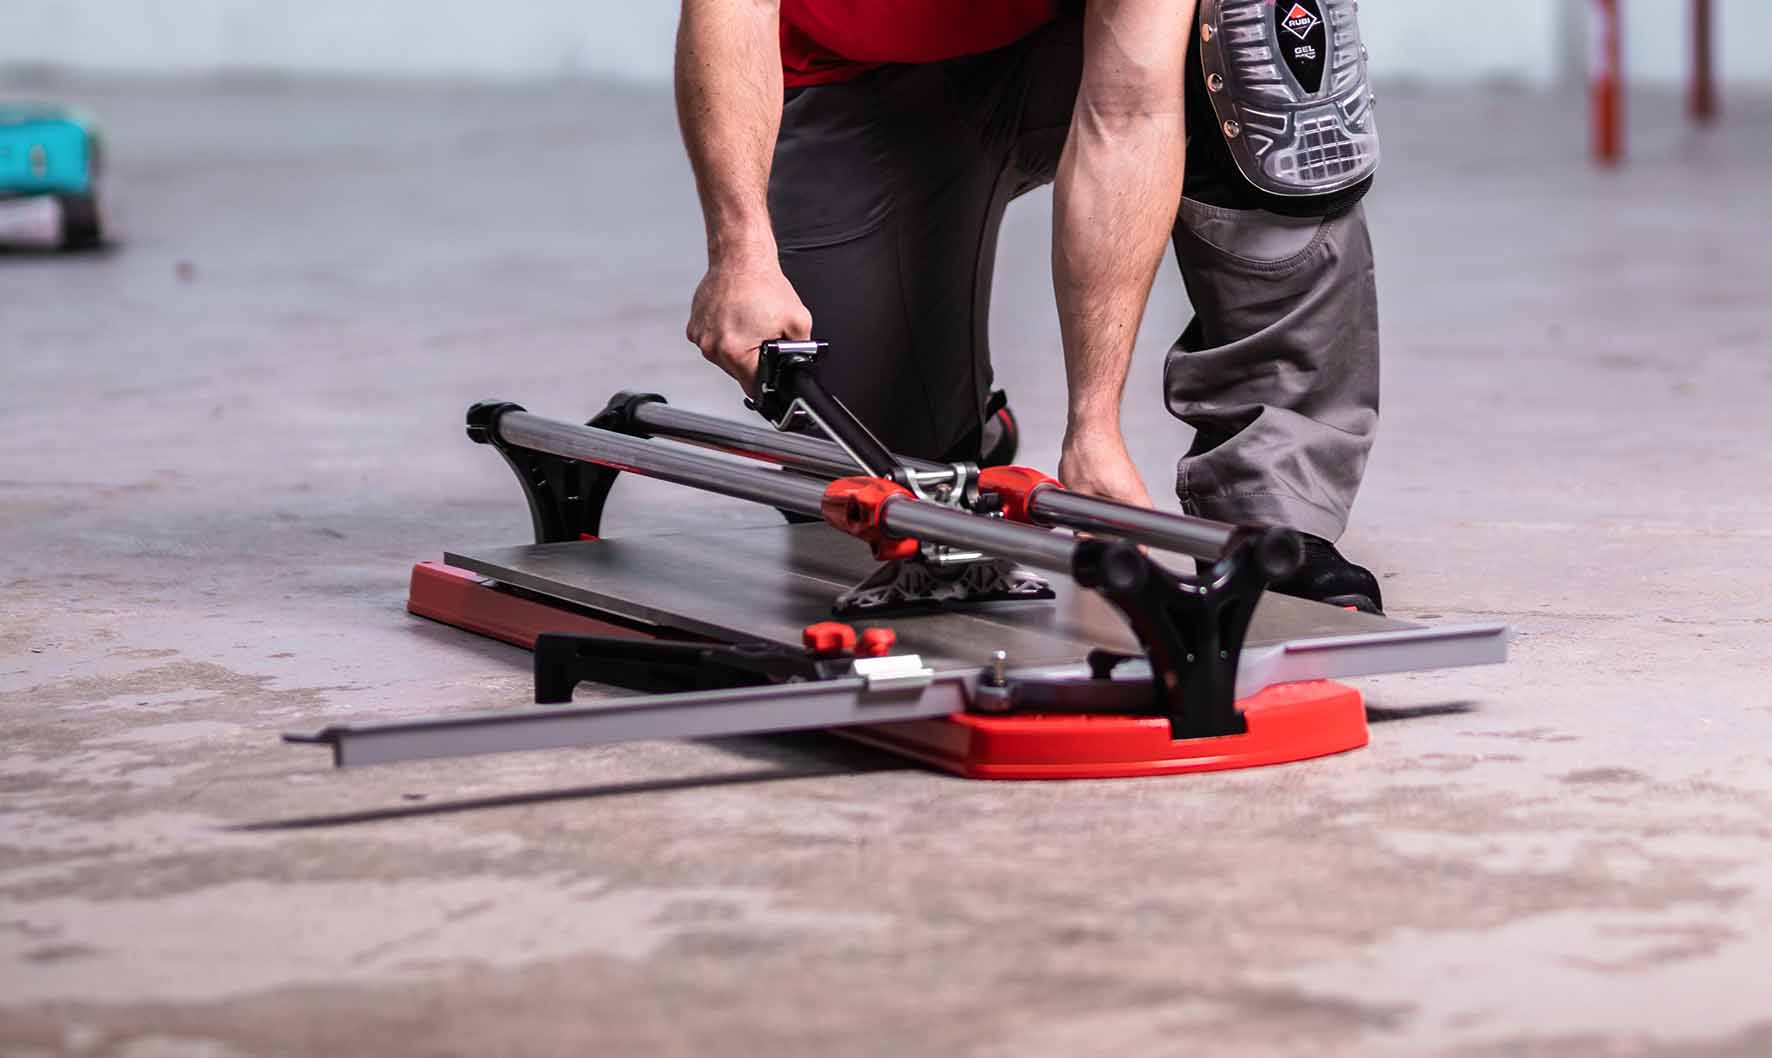
Wear knee pads when using a Dremel, grinder, or drill on the floor. The pads will protect and cushion your knees, preventing injuries like knee joint problems, bruises, and stains.
Avoid wearing overly bulky knee pads, which may restrict your movement, hindering your performance. Your knee pads should have slip-resistant surfaces so they don’t shift or slide while you’re working.
How We Can Help
We’ve explored how to cut a circle in tile using hole saws, grinders, and Dremels.
Hole saws are perfect for cutting precise circles. The circles produced with grinders aren’t as precise, but grinders are small and simple to use. Dremels are also small yet more precise than grinders.
At Rubi, we pride ourselves in offering top-quality tools for do-it-yourselfers and professional tile installers. These include tile saws, drill bits, diamond blades, and more. We also offer the latest tips and tricks for making your tile project a success.
Contact us to learn more about our products, and shop now!


Post a comment