Ceramic tiles are a common choice for home flooring and walls because of their durability, versatility, and appealing look. However, maintaining a tile installation in pristine condition can be super tricky, especially in high-traffic areas like kitchens and bathrooms where dirt, grime, and stains accumulate quickly. Luckily, we can help. Read on to find out how to clean ceramic tile.


Choosing the Right Ceramic Tile Cleaners
First, you need to choose the right cleansers for your tile. pH-neutral cleaners are an excellent choice for ceramic tiles because they are gentle yet effective.
Acidic or alkaline cleaners can erode the glaze on ceramic tiles, dulling their finish over time. pH-neutral cleaners are gentle and won’t damage the tile’s surface. Many pH-neutral cleaners are biodegradable and free from harsh chemicals, making them a more planet-friendly option.
While it might be tempting to reach for the strongest cleaner in your cupboard, harsh chemicals, bleach, and ammonia-based cleaners can do more harm than good when it comes to ceramic tiles.
Harsh chemicals, including bleach and ammonia, can erode the protective glaze on ceramic tiles. This not only dulls the tiles’ shine but can also make them more susceptible to stains and damage over time.
Manufacturer-recommended products are specifically formulated to clean ceramic tiles without damaging their surface. These cleaning products are designed to get rid of all dirt, grime, and stains while preserving the tile’s finish and integrity.
Homemade cleaning solutions are often more cost-effective than commercial cleaners. Common household ingredients such as vinegar, baking soda, and mild dish soap can be used to create effective cleaners without breaking the bank.
Ceramic Tile Cleaning Techniques
Begin by cleaning any loose dirt and debris from the tile surface. Use a soft-bristle broom to sweep up the area or a vacuum cleaner with a specific brush attachment to avoid scratching the tiles.
While you clean, you can check for loose tiles, to make sure you don’t have any further repairs to do.
Fill your bucket up with water and add a few drops of pH-neutral cleaner or mild detergent according to the manufacturer’s instructions. Dip the mop into the cleaner and water mixture and wring it out. The mop should be damp but not dripping. Using too much water can cause it to seep into the grout and damage it over time.
Begin mopping the floor, working in small sections. Move the mop in a figure-eight pattern or use gentle, back-and-forth strokes to ensure thorough cleaning.
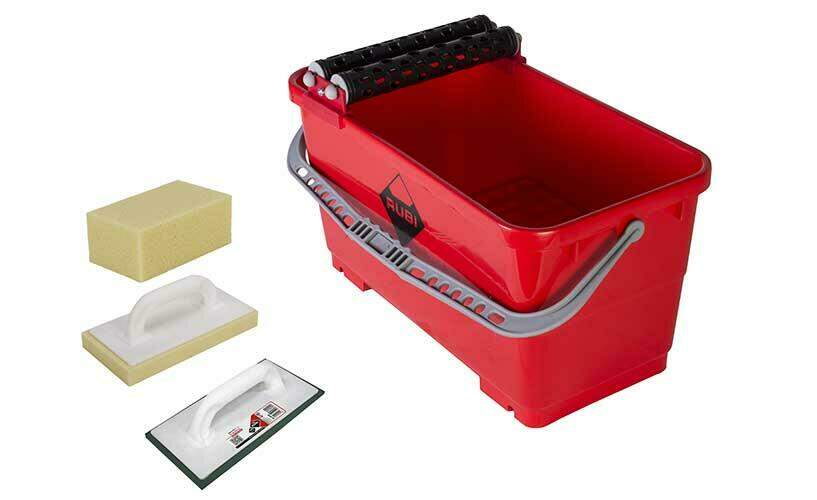
As you mop, the water in the bucket will become dirty. It’s essential to change the water frequently to avoid spreading dirt around. If using a two-bucket system, use one bucket for the cleaning solution and another for rinsing the mop.
Wash and replace the mop head regularly to ensure it remains effective at cleaning. A dirty mop head can spread bacteria and grime instead of removing it.

Scrubbers and Brushes
When dealing with tougher stains or grime embedded in grout lines, soft-bristled brushes or scrubbers can be invaluable tools. Opt for brushes with soft, yet firm bristles. Soft-bristled brushes are gentle on tile surfaces but strong enough to tackle grime and stains in grout lines.
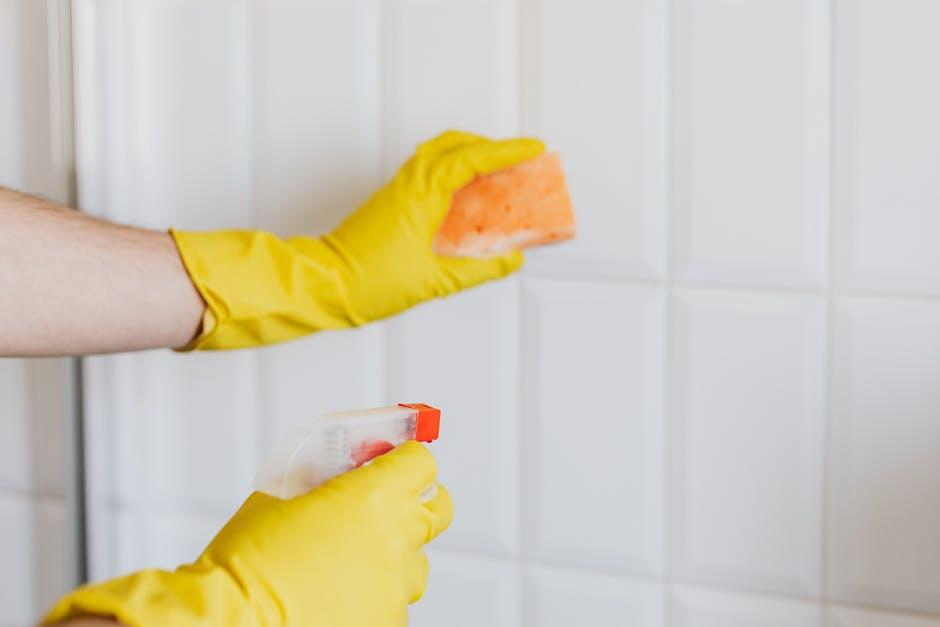
Select non-abrasive scrubbers or sponges designed for delicate surfaces. Avoid steel wool or rough scouring pads that can scratch and dull your tiles.
Before using a new brush or scrubber on a large area, perform a spot test on an inconspicuous part of the floor to ensure it does not scratch or damage the tiles.
Clean in a circular motion when you scrub the stains or grout lines. This technique helps to lift and remove dirt more effectively without damaging the tiles.

Grout Line Home Cleaning
Grout lines can have a ton of dirt and stains if you’re not careful, making them look unsightly over time.
Use a specific grout brush to scrub the grout lines thoroughly. Use gentle pressure so that you don’t damage the grout. Rinse the grout lines with clean water to remove any cleaner residue. Wipe the area dry.
For stubborn stains that regular cleaning can’t tackle, baking soda paste and hydrogen peroxide are powerful and effective solutions.
You should also remember to seal your grout on a regular basis. Unsealed grout can quickly absorb spills and stains, leading to discoloration and a dirty appearance. Sealing grout gives it a protective barrier that stops stains from penetrating.
Maintenance and Protection for Tile Floors
There are also steps you can take to prevent future issues. Mats and rugs at entryways catch dirt, dust, and debris from shoes before they can get all over your tile floors.
This significantly reduces the amount of dirt that accumulates on your tiles, making routine cleaning easier and more effective.
Mats and rugs absorb moisture from rain, snow, or spills, keeping it from seeping into your grout lines and tiles. Excess moisture can weaken grout and lead to mold and mildew growth, so controlling it at the entryway is crucial.
Sweep your tiles every day. That helps prevent buildup that can scratch up your tiles. Attach felt pads to furniture legs to prevent scratches and scuffs when you move them. Regularly check and switch out furniture pads as needed.
For minor chips in the tile, use a tile repair kit that matches the color of your tiles. Follow the kit’s instructions to fill in the chip and smooth the surface.
Some ceramic tiles come with a protective sealant. Over time, this sealant can wear off, especially in high-traffic areas. If your tiles begin to look dull or absorb water, consider resealing them with a suitable tile sealant.
Schedule professional tile and grout cleaning periodically to remove any dirt and stains that you might not be able to reach on your own. Professional services can rejuvenate your tiles and grout, making them look new again.
How to Clean Ceramic Tile: Start Today
How to clean ceramic tile? It’s not as hard as you might have thought. Use this guide to your advantage, and you’ll never have to look up how to make tile shine again.
Are you looking to install new ceramic tile in your home? RUBI only sells the highest quality material, so you’ll ensure your next home renovation project looks its best.
Contact us today.


Post a comment