Decorative ceiling tiles add something truly unique to renovation projects, whether it’s a home foyer, hotel lobby, kitchen, master bedroom, or hallway. Decorative ceiling tiles are an excellent way to enhance the design and atmosphere of any room. According to data from the National Realtors Association (NAR), surveyed homeowners report an 85% satisfaction rate after remodeling projects. 57% of respondents also reported feeling happier.
The balance between functionality and aesthetics was also covered in the study, with 35% of respondents reporting livability as the primary motivator for remodeling, 22% reporting durability of materials as their priority, and 14% citing aesthetic quality as their main reason for renovation.
A home ceiling transformation using decorative ceiling tiles can achieve the above goals and more. Discover ceiling tile designs, installation tips, and maintenance advice in this essential guide.

Types of Decorative Ceiling Tiles
Start your remodeling project by researching the different types of ceiling tiles available. You’ll find tiles come in a range of materials, providing more choices to match your home’s (or business’s) current style.
Materials include
- PVC (Polyvinyl chloride)
- Wooden tiles
- Faux wood, MDF, or composites
- Acoustic tiles
- Decorative plaster tiles
- Embossed metal
- Gypsum
- Cork
Metals are another popular (and durable) choice for decorative ceiling tile work, with copper, tin, brass, and aluminum resulting in eye-popping tile work. Galvanized steel is also used to create stunning decorative ceilings, meeting modern and classic aesthetics.
Where to Install Ceiling Tile Designs
Next, consider the location of the tile installation. Some materials are more suited to certain environments than others.
For example, if you’re installing decorative tiles in a bathroom, you’ll have to install plastic, PVC, or another moisture-resistant tile; this material won’t attract mildew and mold, and they’re much easier to clean. This tip also applies to kitchens that generate a lot of moisture from cooking steam.
Cork is also moisture-resident but better suited for bedrooms, hallways, and common areas. It’s an eco-friendly material with natural soundproofing qualities.
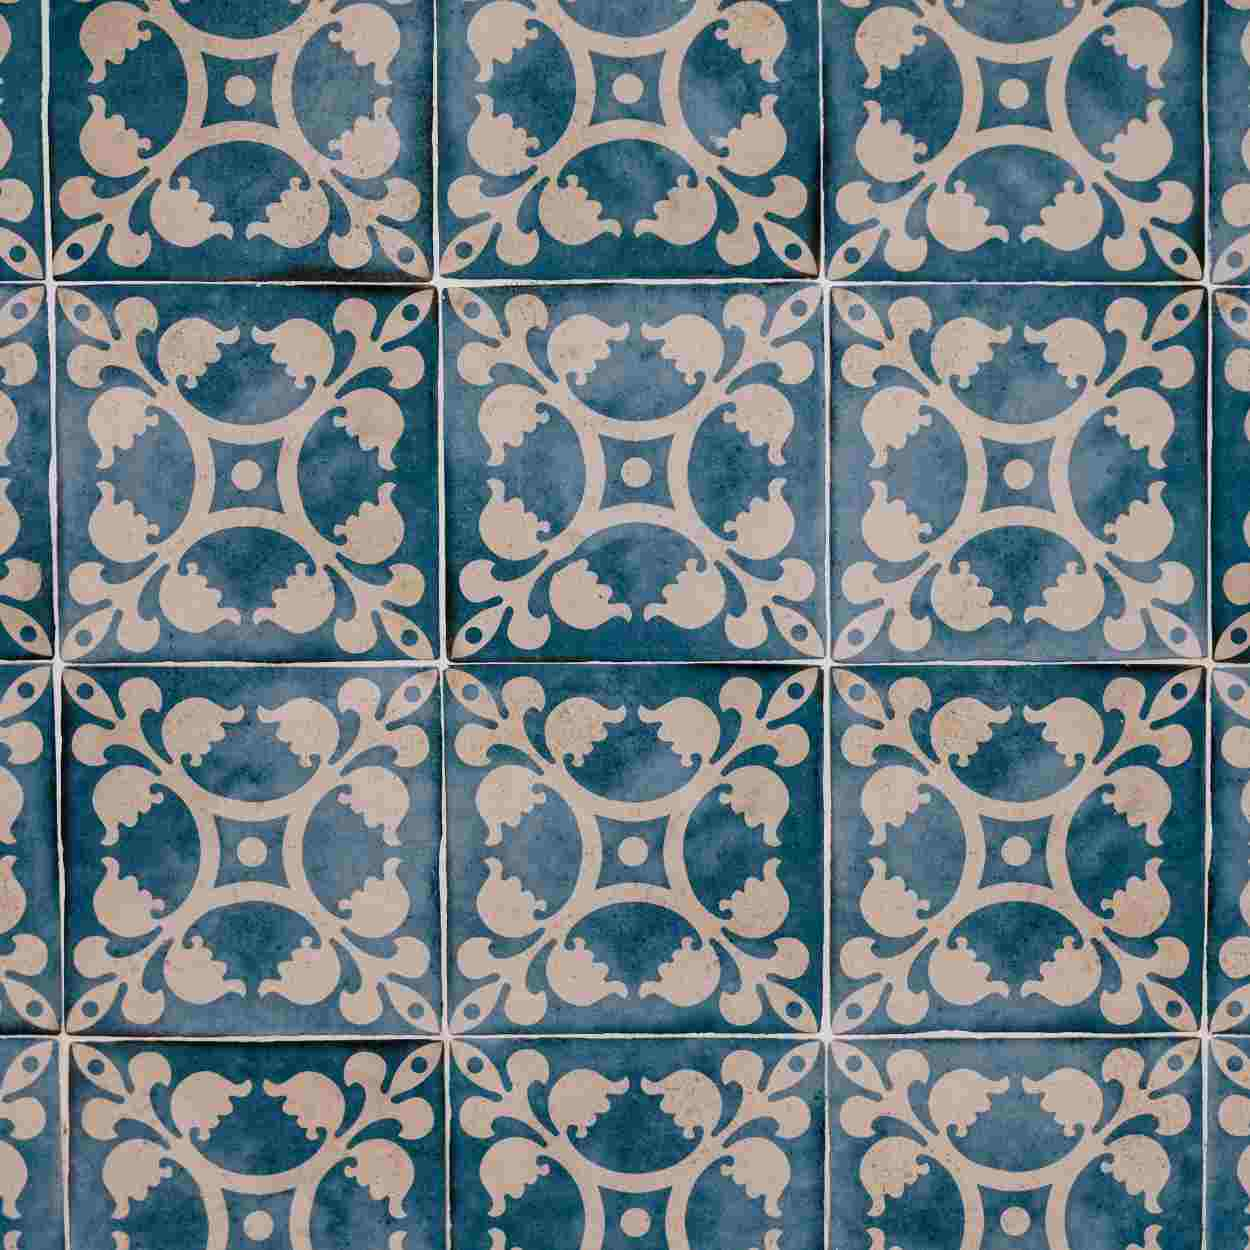
Metal decorative tiles work best in bedrooms, common areas, and hotel hallways and lobbies. They come in a variety of intricate patterns well suited for classic interior decor, including Victorian-inspired buildings. Plastic ceiling tiles may also be designed and embossed to mimic the look of intricate metal and wood tiles.
The next installation consideration is surface type.
For example, interior decor tiles may be installed on prepared popcorn ceiling surfaces. “Popcorn ceilings” have a signature bumpy texture that looks like popcorn kernels. However, this surface must be sanded down to apply tiles properly.
Ceiling tiles may also be installed on wood ceilings and drywall surfaces. Ceiling joists are another surface to know. Joists are ceiling beams installed to support ceiling building materials; they’re often made from wood or steel.
The tile material and surface will dictate the appropriate tile installation method.
Decorative Tile Installation Methods
After choosing your tile material and identifying your ceiling surface type, the next step is to choose the right installation method.
Methods include:
- Drop ceiling
- Surface mount
- Glue-up
- Interlocking tiles
Surface mount installation is a popular method also known as direct application. Ceiling tiles are applied directly to the ceiling surface material or joist beams.
There are different ceiling installation systems available. These systems come with tracks and clips to help secure tiles in place.
Another surface mount technique is to directly apply the tile to the ceiling with a recommended adhesive. This method is typically used on plaster or drywall ceilings.

Installing Decorative Ceiling Tiles with Drop Ceiling Installation
The next method is drop ceiling installation which uses a drop grid to install tiles evenly. First, you’ll need to measure and draw out the grid, denoting center points on the ceiling. Next, create the grid from an appropriate material before attaching it to the ceiling joists with support beams.
Once the grid is installed, gently lift your tiles through the grid to set and level them. Ceiling clips will help keep the tiles in place as you level them out.
Drop ceiling installation is the ideal method for creating access points to plumbing and electrical wiring.
Interlocking Ceiling Tile Installation
The next method is similar to the second surface mount installation technique. Interlocking tile installation applies the tile directly to the ceiling surface. This method works best on smooth ceiling surfaces made of plaster or gypsum board, for example.
Tile adhesive is applied directly to the ceiling before fixing the tile in place. Keep a damp cloth on hand to remove any excess tile adhesive, ensuring a clean finish. It’s important to remove extra adhesive while it’s still wet.
If there are any cracks in the plaster ceiling, furring strip boards can help secure the ceiling for better tile installation. Ceiling clips are also recommended with interlocking tile installation.
Glue-Up Decorative Ceiling Tile Installation
This method is also a direct application method. The glue-up method requires a smooth surface. If you have a textured surface, like a popcorn ceiling, you’ll need to smooth out the texture with sanding or patching.
Measure and draw a grid onto the prepared surface using chalk. Make sure each square is even. Apply a layer of adhesive around the perimeter of the tile and two diagonal, intersecting lines in the middle of the tile, creating an “X” on the back. Slide the tile into place along the chalk lines.
You may need to apply border tiles along the perimeter of the room. Border tiles create a more decorative look and add more dimension to a room. If you’re using thin PVC tiles, you can cut your own border tiles; make sure the cut edges are applied wall side.
Discover and Install Decorative Tile Styles
Proper maintenance plays a key role in ensuring the longevity of your decorative ceiling tiles. Make sure each room has proper ventilation, and attend to spills quickly to prevent staining. Sealant is also available if you want to give your tiles a glossy finish.
Need more stylish ceiling options for your next project?
The Rubi blog is packed with ideas for professionals and DIY homeowners. Discover tiling ideas and tools for a smooth project experience, from start to finish.
Rubi specializes in high-grade tiling tools for long-lasting results, including installation tools, tile cutters, saws, leveling systems, and more. We’re a global family of over 600 construction professionals dedicated to quality craftsmanship.
Browse our selection or reach out today!

Post a comment