In the world of home improvement projects, laying tiles is an art form that demands precision, patience, and the right tools. Among these tools, tiling trowels stand out as versatile and indispensable instruments for applying tile adhesive with finesse. Whether you’re a seasoned DIY enthusiast or a professional contractor, knowing how to tile with tiling trowels can elevate your tile installation game to new heights of perfection.


How to Use YW Tiling Trowels
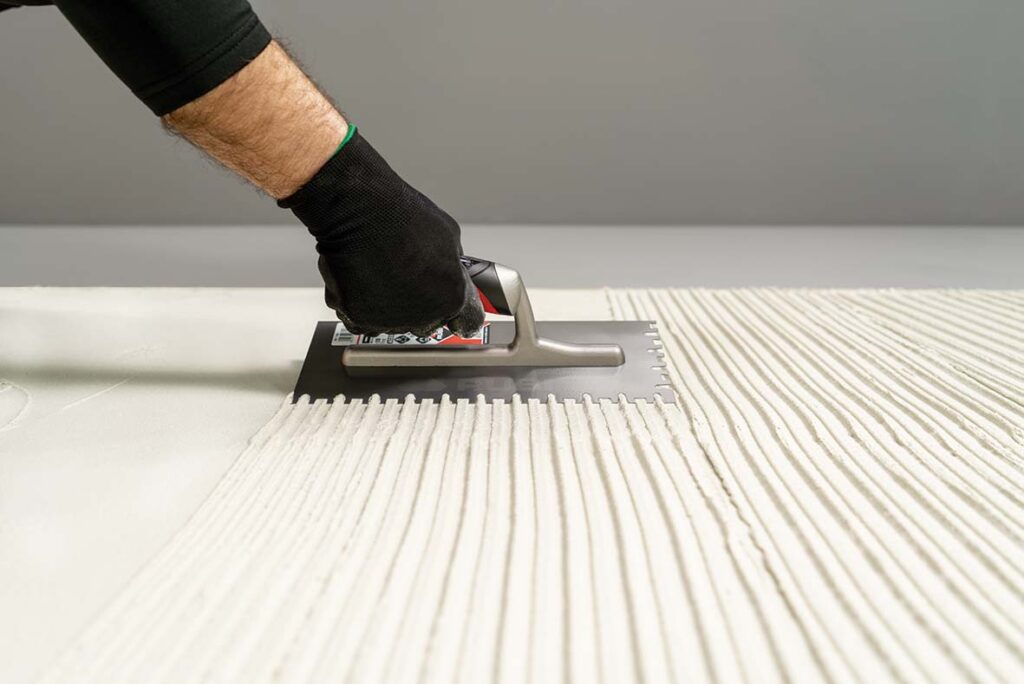
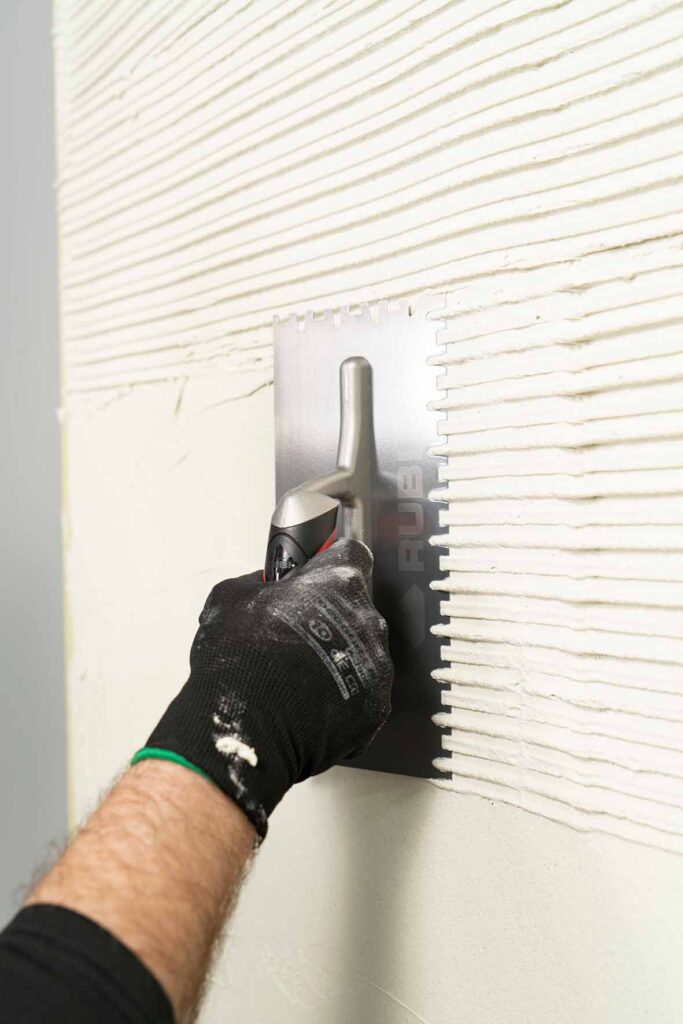
The YW tiling trowel has a distinctive design feature with notches in an irregular pattern. These notches come in various sizes and are crucial for achieving full uniform coverage.
Preparing the Substrate
Before applying tile adhesive, ensure that the substrate is clean, dry, and free of debris. Use a primer or bonding agent if necessary to promote adhesion. Additionally, check for levelness and make any necessary adjustments to prevent uneven tile placement.
Applying the Adhesive
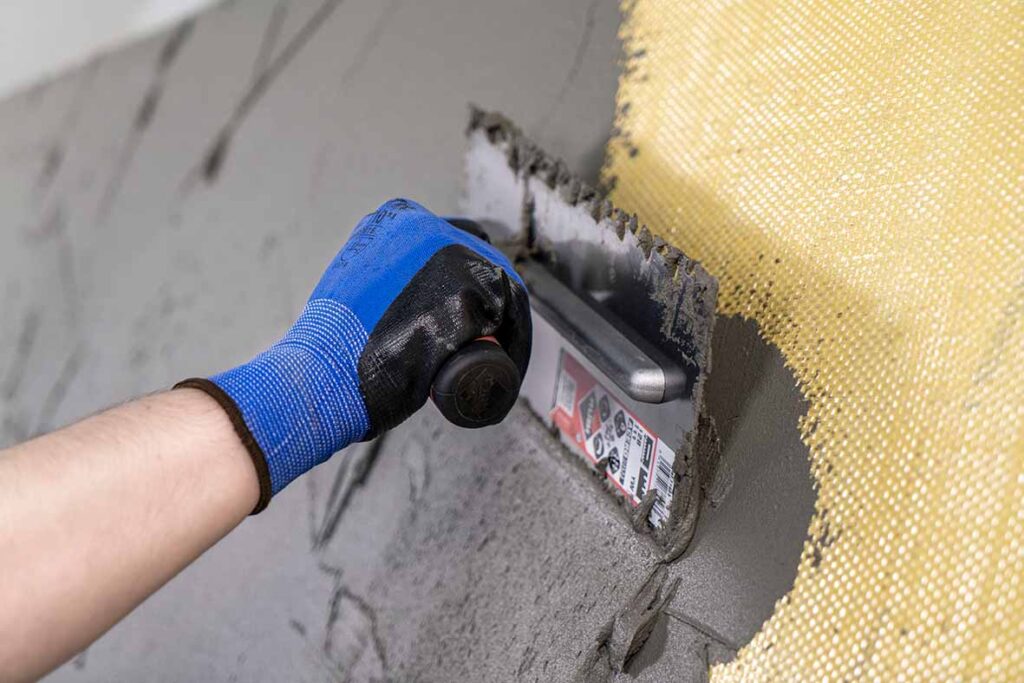
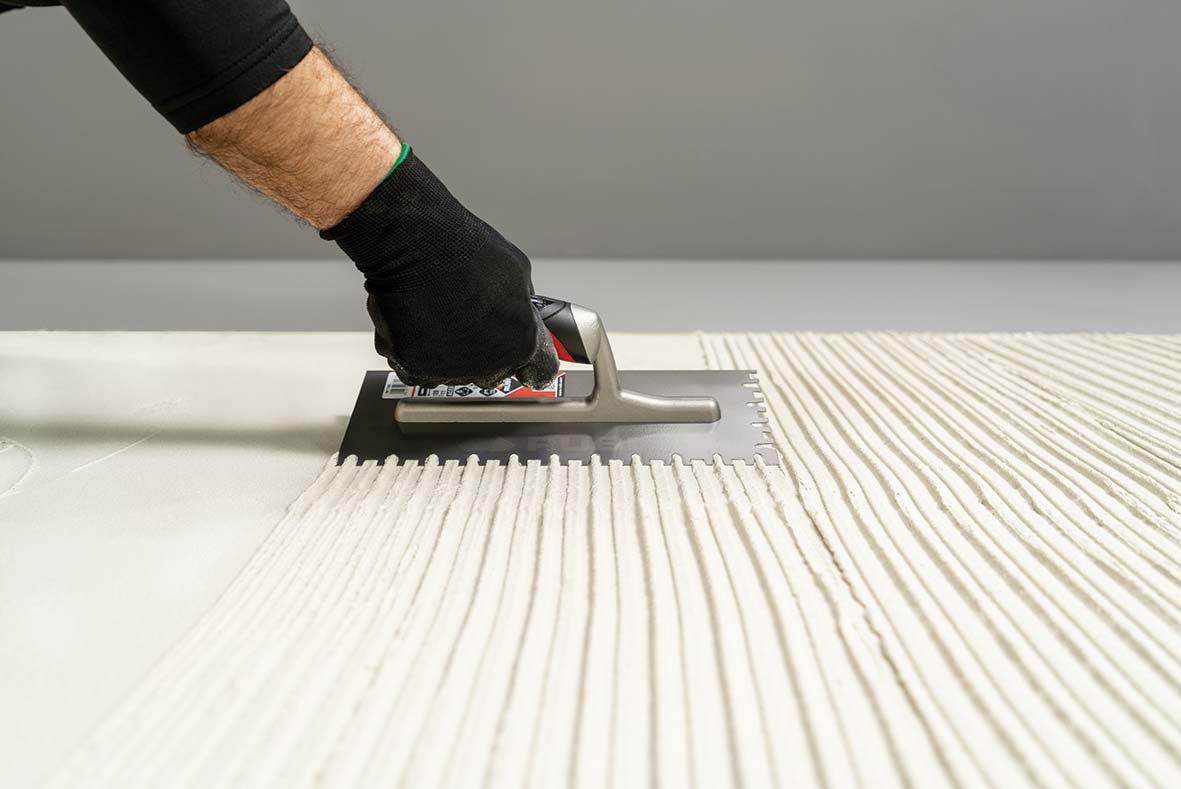
With the YW tiling trowel held at a slight angle, spread the adhesive evenly across the substrate. Use smooth, sweeping motions. The notches on the tiling trowel create ridges in the adhesive, which facilitate air removal and promote proper adhesion. Be mindful of the coverage area and avoid leaving any gaps or voids.

Back-Buttering the Tiles
For larger tiles or uneven substrates, back-buttering is a recommended technique to ensure full coverage and bond strength. Using the flat side of your tiling trowels, apply a thin layer of adhesive to the back of each tile. This supplementary step helps compensate for variations in surface flatness and promotes a secure bond between the tile and the substrate.

Achieving Proper Coverage
One of the most critical aspects of tile installation is achieving adequate adhesive coverage beneath each tile. Insufficient coverage can lead to tile failure, while excess adhesive can result in lippage and uneven surfaces. The notches on the YW tiling trowel serve as a guide to achieving the correct adhesive bed thickness and full coverage.
Maintaining Consistency
Consistency is key when using a YW tiling trowel for tile adhesive application. Maintain a steady hand and uniform pressure to ensure consistent notch depth and adhesive distribution across the entire installation area. Periodically check the tiling trowel for any build-up or clogging, and clean it as needed to prevent inconsistencies in adhesive coverage.

Finishing Touches
Once the tiles are set in place, gently tap them with a rubber mallet or use a vibrating tool to ensure they are level and properly bonded to the substrate. Use tile spacers to maintain consistent grout joints and a tile level system to ensure a perfect finish. Wipe away any excess adhesive before it dries.
In conclusion, mastering the best use of tiling trowels is essential for achieving professional-quality results in tile installation projects. By selecting the right tiling trowel size, preparing the substrate properly, applying the adhesive with precision, and ensuring proper coverage and consistency throughout the process, you can elevate your craftsmanship to the next level and create stunning tile installations that stand the test of time.


Post a comment