Tiling a wetroom in your home is a fantastic way to achieve a sleek, modern bathroom that’s both functional and stylish. However, ensuring the durability of your wetroom requires careful planning, proper techniques, and a focus on waterproofing. In this guide, we’ll explore tiling a wetroom with expert advice from British tiling standards (2024). Whether you’re a professional tiler or a DIY enthusiast, these tips you will know how to tile and waterproof a wetroom.


Why Waterproofing Is Essential
A wetroom is an area designed to handle constant exposure to water. Without proper waterproofing, water can seep through tiles, grout, and structural joints, leading to long-term issues such as:
- Water Infiltration: Unchecked water seepage can cause damage to underlying structures.
- Rot and Mould: Moisture trapped in walls and floors can result in rot and unhealthy mould growth.
- Structural Weakness: Prolonged water exposure weakens substrates, compromising the integrity of your wetroom.
To address these risks, British Standards for tiling wetrooms mandate a comprehensive waterproofing system for all wetroom installations. Adhering to these standards not only ensures compliance but also extends the lifespan of your wetroom.
Creating a Watertight Foundation
A durable wetroom starts with a watertight foundation. Below are the key methods used to achieve this:
1. Waterproof Membranes
Waterproof membranes are sheets installed beneath the tiles to prevent water penetration. These membranes are highly effective for creating a moisture barrier across large surfaces, such as walls and floors.
How to Install:
- Lay the membrane flat, ensuring it overlaps at seams and edges.
- Use a high-quality adhesive to secure it to the substrate.
- Reinforce corners and junctions to eliminate weak points.
2. Tanking Systems
Tanking involves applying a waterproof coating to the walls and floors before tiling. This liquid-based system is highly flexible, making it ideal for areas with complex shapes or uneven surfaces.
Key Steps:
- Ensure the surface is clean, dry, and free of debris.
- Apply the tanking compound evenly with a roller or brush.
- Focus on high-risk areas such as wall-to-floor junctions and around showers or baths.

Key Areas That Need Extra Attention
Certain areas in a wetroom are more prone to water infiltration and require special care during waterproofing and tiling. These include:
1. Shower and Bath Zones
These are the wettest parts of the wetroom and demand meticulous waterproofing. Use additional layers of membrane or tanking compound to ensure a robust barrier.
Pro Tip: Extend the waterproofing at least 1 metre beyond the shower or bath to protect against splashing.
2. Corners
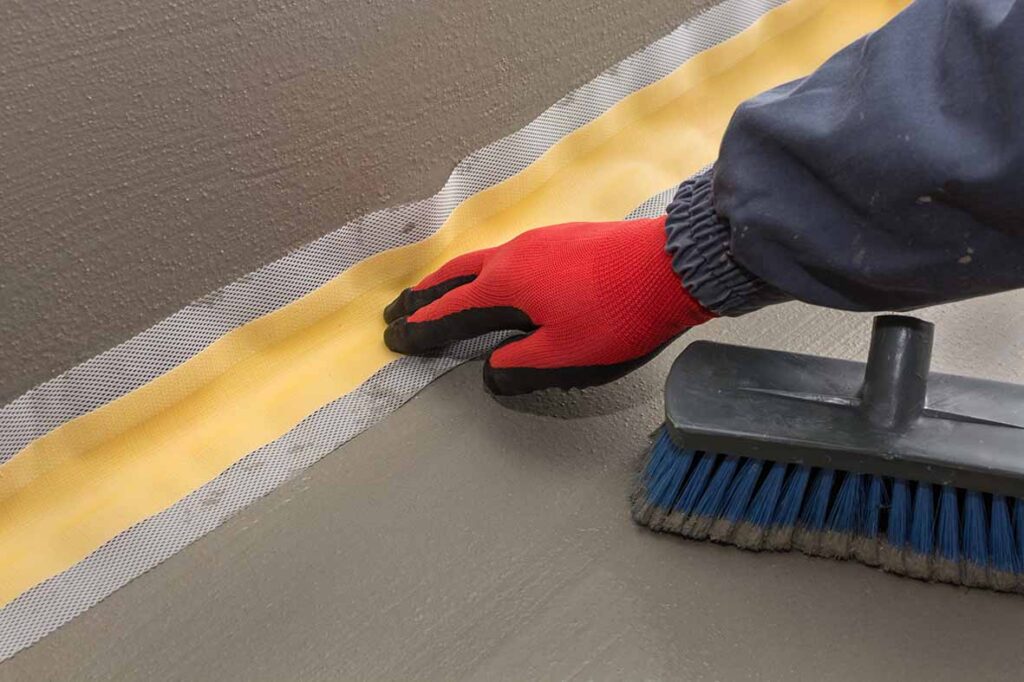
Corners are natural weak points where leaks often occur. Reinforce these areas using waterproof tape or pre-formed corner seals.
3. Wall-to-Floor Junctions
The junctions between walls and floors are another critical area. Use flexible sealants and corner tapes to bridge these joints, preventing water from seeping through.

Choosing Suitable Tiles and Adhesives
Not all tiles are created equal, and selecting the right ones for your wetroom is essential for durability and water resistance.
1. Tiles with Low Water Absorption
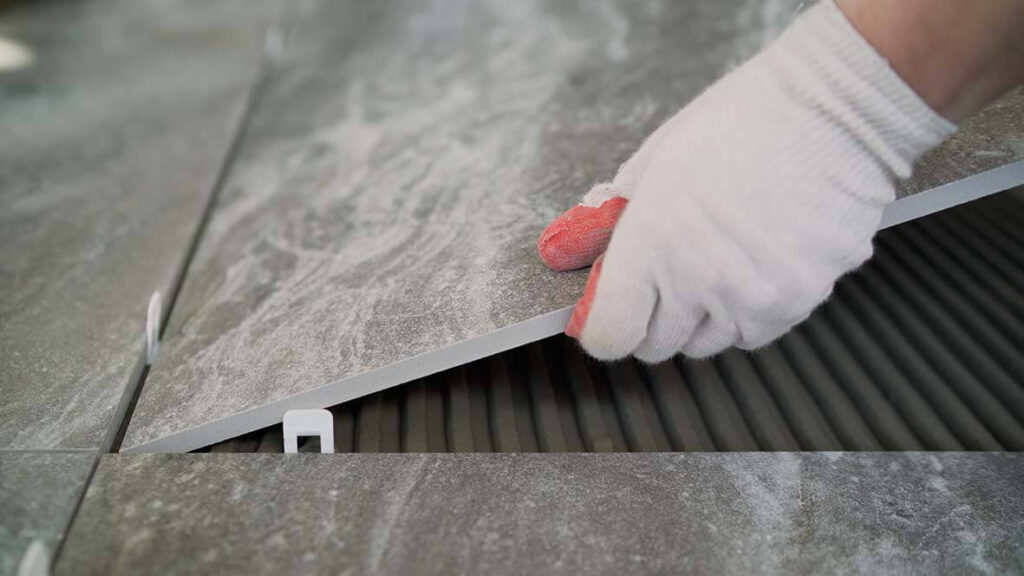
Porcelain tiles are an excellent choice for wetrooms due to their low water absorption rate (<0.5%). Ceramic tiles can also be used but are best suited for walls rather than floors in high-moisture areas.
Other Suitable Options:
- Natural stone (if properly sealed).
- Glass tiles for decorative accents.
2. Using the Right Adhesive
The adhesive you use must be water-resistant and compatible with both the tiles and the substrate. Flexible adhesives are particularly effective in wetrooms, as they accommodate minor movements in the structure.
Recommendations:
- Use cement-based adhesives for porcelain and natural stone tiles.
- Ensure the adhesive complies with British Standards EN 12004 for wet environments.
- Using the RUBIMIX Power Max mixer allows you to mix your adhesive to perfection. Always follow directions from the manufacturer.
3. Sealing Tiles
Sealing your tiles is an extra step which provides additional protection against water penetration and stains. This is especially important for natural stone tiles, which are more porous than ceramic or porcelain options.
How to Seal Tiles:
- Apply a tile-specific sealant before grouting to protect against moisture.
- Reapply the sealant periodically, as recommended by the manufacturer.
Grouting and Finishing Touches
Grout plays a significant role in wetroom durability. Choose a waterproof or epoxy grout for maximum water resistance. Here are some tips for grouting and finishing:

1. Apply Grout Evenly
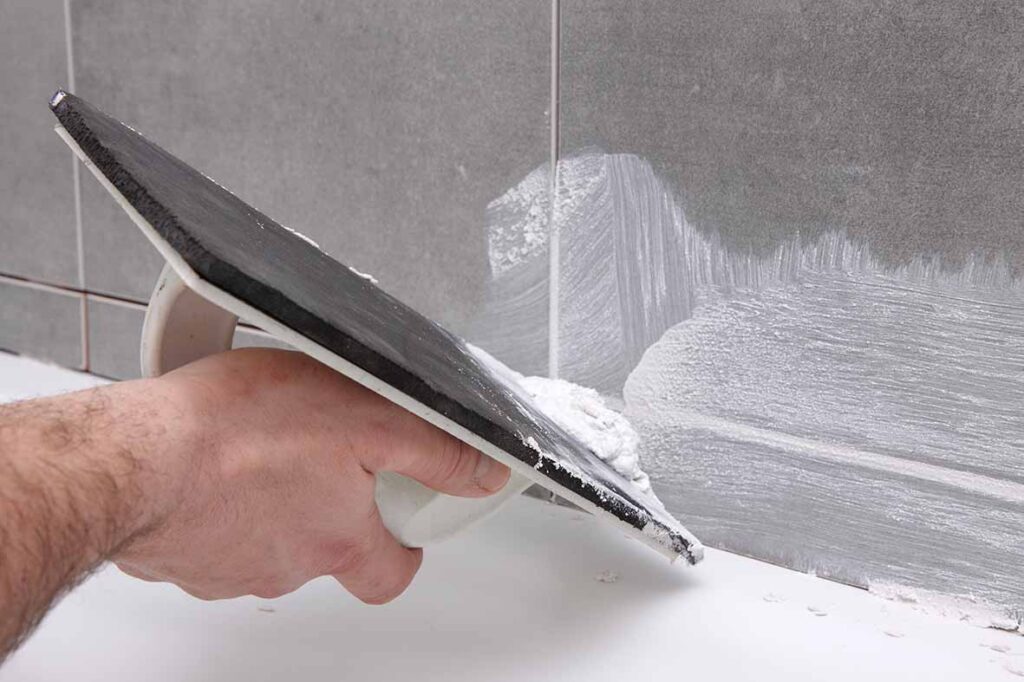
Use a grout float to apply the grout, ensuring all joints are filled without gaps. Remove excess grout promptly to avoid staining the tiles.
2. Seal Grout Lines
Once the grout has dried, apply a grout sealer to further protect against water infiltration and mould growth.
3. Polish and Inspect
After sealing, polish the tiles with a soft cloth and inspect all areas for gaps or weak spots. Address any issues immediately to prevent future problems.
Common Mistakes to Avoid
1. Skipping the Waterproofing Stage
Failing to waterproof properly is the most common mistake in wetroom installations. Always follow British Standards and manufacturer guidelines for waterproofing products.
2. Using Inappropriate Tiles
Avoid tiles with high water absorption rates in wet areas. Using the wrong tiles can lead to water damage and reduce the lifespan of your wetroom.
3. Neglecting Junctions and Corners
These areas are the most vulnerable to leaks. Always reinforce them with waterproofing tape or corner seals.
4. Overlooking Maintenance
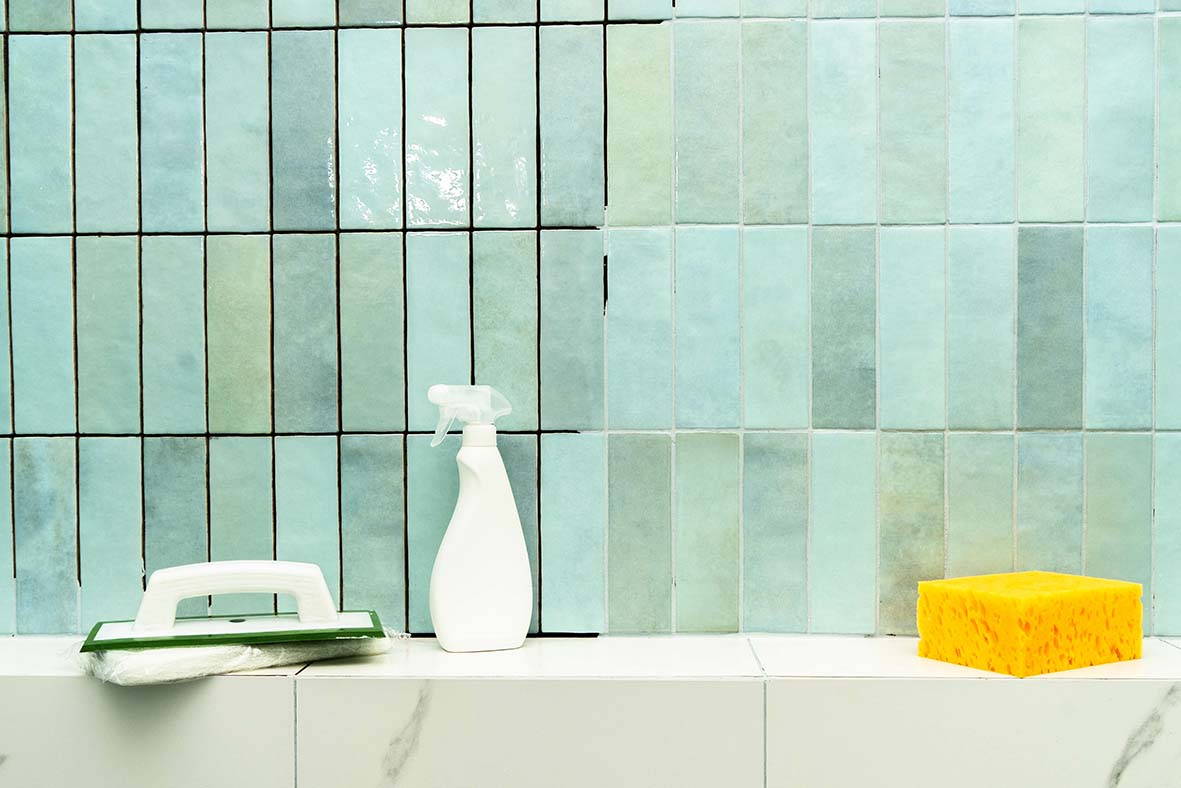
Even the best-installed wetrooms require periodic maintenance. Regularly inspect seals and grout lines for wear and reseal as needed.
Conclusion
Tiling a wetroom requires meticulous planning, high-quality materials, and adherence to British tiling standards. By prioritising waterproofing and choosing suitable tiles and adhesives, you can create a wetroom that not only looks stunning but also stands the test of time. Whether you’re tackling the project yourself or hiring a professional, the key to success lies in attention to detail and a commitment to durability. With these expert tips, you’re well on your way to crafting a watertight, long-lasting wetroom that’s both functional and beautiful.


Post a comment