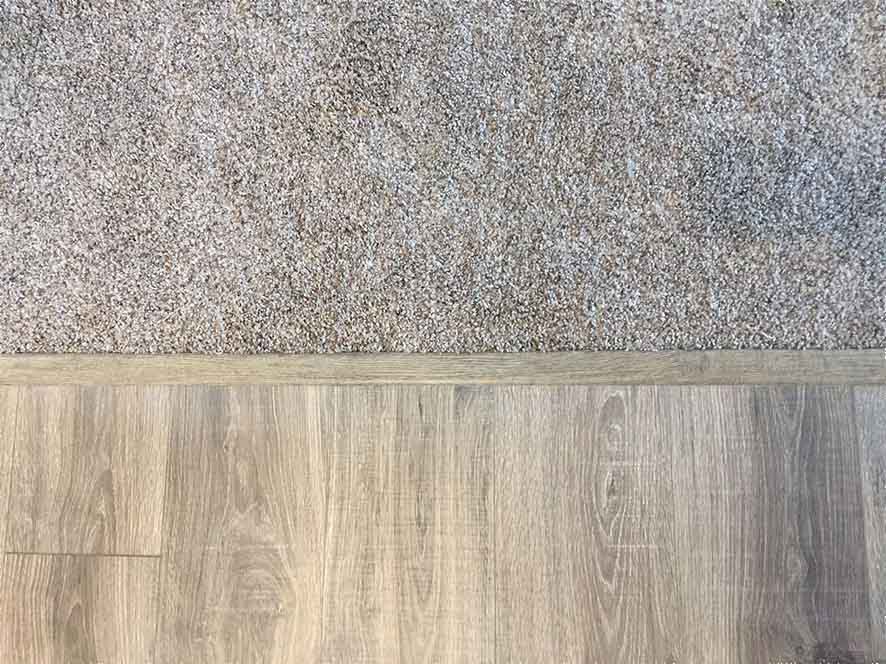
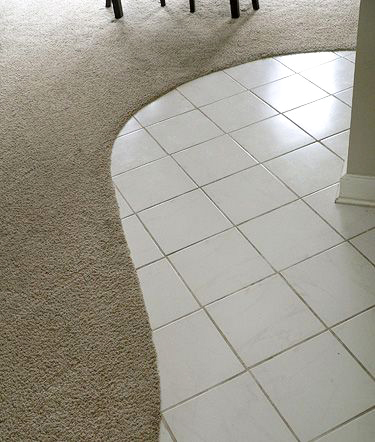
The last step in most tile installation projects is the tile to carpet transition. It’s a key aspect of the job when you learn how to tile. It’s the final touch that can give your work an elegant and thorough look. However, it’s also one of the things that can disrupt the flow of your tile installation project (apart from not using the right tile installation tools).


Finding the best tile to carpet transition options can be a challenging task. For starters, you have two completely different materials, each with their unique particularities and different resistance to wear and tear. Besides their specifications, you also must take the height of the different flooring options into account. Ensure that the edge won’t turn into a potential tripping hazard for the residents of the home.
Regardless how annoying tile to carpet transition can be, you can’t leave the job site until you tackle it. Of course, you could, but then you wouldn’t be able to call yourself a professional tile installer, right?
So, here’s what you need to know about transitioning from tile to carpet and how to choose the perfect transition option.
HOW TO TRANSITION FROM TILE TO CARPET
One of the things that make transitioning from tile to carpet so prone to mistakes is that it looks like an easy enough task. Just install the tile and then cut the carpet where the tile section ends, right?
No, of course not! That’s a sure-fire way to end up with a transition that looks lazy and clumsy.
Instead, you should roll the edge of the carpet back from the tile. Install tack strips about 15mm away from the edge of the tile. Then, once the tile installation project is over, you can roll the carpet over the strips and push it onto the nails you hammered into the subfloor.
The next step you need to take is to place a transition strip over the line where the tile meets the carpet. Lay it so that the edge of the strip that is aimed downward is placed over the carpet.
Don’t forget to suitably bond the transition strip down to the subfloor to ensure that it will stay fixed.
TILE TO CARPET TRANSITION STRIPS: WHICH ARE THE GOOD ONES?
Choosing the right transition strips and installing them might not be the most exciting part of a tile installation project. No one’s heart got racing looking at a T-bar or baseboard. But, as insignificant as these details seem, they can take the floor from ordinary to extraordinary. After all, true beauty lies in the details, right?

So, let’s talk a bit about the importance of finding the right carpet to tile transition strip.
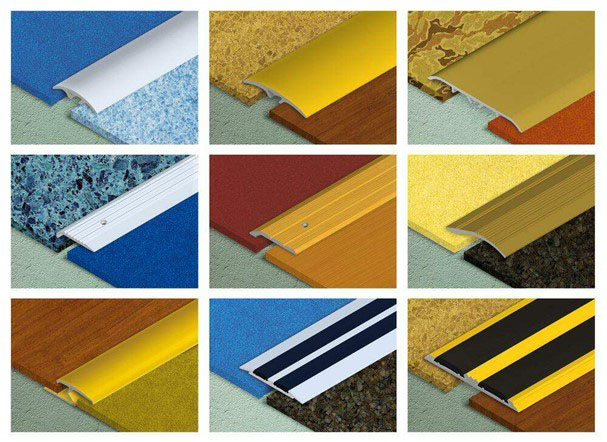
Reducers for carpet and hard surfaces are the gold standard when it comes to transitioning from tile to carpet. Not only that this type of strips ensures a smooth passage, but they also elegantly let you know that there’s a change in height and flooring coming.
When it comes to the material of the surface of the transition strips, you can choose between wood, metal, and vinyl.
- Metal: Metal transition strips come in a wide range of options; pewter, aluminium and brass. Each has different finishes that can accentuate the design of the tile floor.
- Wood: This type of transition strip is ideal for wood effect tile flooring. Not only that it ensures a smooth carpet to tile transition, but it also gives the room a coherent look.
- Vinyl: Most tile installers associate vinyl strips with the cheapest option available. While that’s true to some extent, there’s more to these transition strips that meets the eye. For example, due to their water-absorbent properties, they are an excellent option for projects when moisture control is paramount.

THE BEST TILE TO CARPET TRANSITION OPTIONS
One of the realities of every tile installation project is that at one point two distinct flooring materials will butt against one another. In most cases, the solution is straightforward. There are different types of transition strips that work best for different scenarios. For example, a T-Bar is the perfect choice for surfaces that have the same height.
But, when tile and carpet meet, there number of tiles to carpet transitions and the options increase. Here’s what you need to know about each one to overcome the challenges of carpet to tile transition.
The Tuck-In Method
The most common method, and one you’ve probably used countless times before, is the tuck-in tile to carpet transition. It works best after the tile floor is installed; however, you can also apply it if there’s already a carpet. All you must do is remodel the existing carpet so that it accommodates the transition strip.
As a rule of thumb, make sure to install the tack strip for the carpet about 5-10mm from the edge of the tile. Cut the edge of the carpet so that it reaches the edge of the tile perfectly.
Pull the carpet over the top using a knee kicker. Tuck the extra edge of the carpet under the gap and use the hooks of the transition strip to hold it in place.
If there’s already a carpet there, cut it just a few inches longer than where you want to meet the tile. Then, follow the same steps as above after you finish installing the tile.
The Z-Bar Transition
If you’re looking for an added level of security, then a Z-Bar is one of the best tile to carpet transition options out there. Not only that it delivers a flawless transition between carpet and tile, but it also hides the edges of the carpet, preventing it from being pulled out by accident.
Simply put, this transition bar has the form of the Z letter to ensure that the carpet’s edge is tucked under the tile.
Keep in mind, though, that this option will work best if you install the carpet before the tile floor. That way, the carpet is already tucked in, and you’re just adding an extra level of security.

Mount Tack Strips to Sub-Floor
Mount tack strips to sub-floor is an excellent option if you have concrete underneath the tile or carpet. Be careful, though: one common mistake among novice installers is that they don’t pay attention to the type of adhesive they use and end up destroying their hard work.
The trick with this tile to carpet transition option is that you shouldn’t nail down the tack strip nor use a general adhesive to mount it in place. Instead, you should use specialty glue particularly created to mount tack strips to sub-floor. Unlike general adhesives, these types of glue are easy to apply and fast drying.
Other than that, the same rules apply to this transition option as well. You need to make sure that the tack strip is placed at about 5mm from the tile’s edge to make it easy to tuck into the carpet. If the room already has a carpet installed, just ensure that it meets up the edge of the tile.
Reducer Strips
We’ve talked a bit about reducer strips at the beginning of the article. We’re mentioning them again because you need to understand what makes them different from other tile to carpet transition options.
Unlike other transition options that require you to tuck the materials one below the other, reducer strips lock the carpet and tile in one place using either nails or glue. All you have to do is place the strip over the area where the edges of the tile and carpet will meet.
Et, voila! You have a simple yet sophisticated way to connect the gap between the two types of floorings.
CONCLUSION
It doesn’t matter how much experience you have in the trade. There will always be something new that you need to learn how to tackle. But that’s the beauty of being a tile installer, isn’t it? You never stop learning, and there’s always something to challenge your skills and creativity.
Knowing how to choose the best tile to carpet transition option is one of those things that you constantly need to perfect. But, the feeling of satisfaction you get when the hard work is over, and the floor surface looks flawless is worth all the frustration.
Do you know more tile to carpet transition options? We’d love to hear your thoughts in a comment below. Visit our website to learn more about our tools and find which one is perfect for you.


Post a comment