The layout and design of your tiles can help to bring a whole room together. There are many different tile patterns and designs that you can follow, whether you want your pattern to be subtle or eye catching. In this article on how to tile, we’ll take you through 5 ways to lay tile in patterns.


1. BRICK BOND

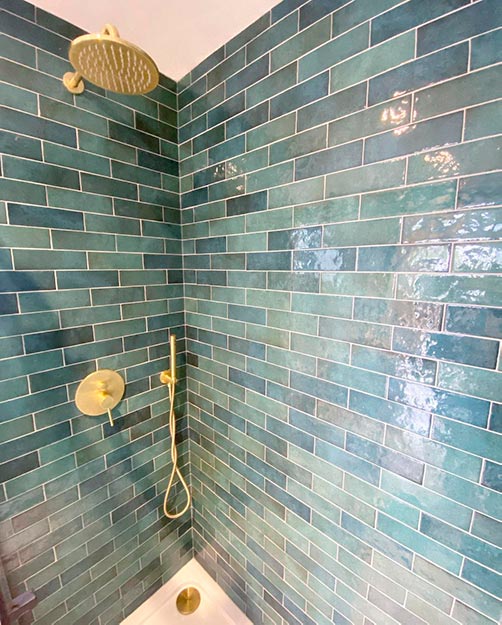
Brick bond is one of the simplest tile patterns but creates a very attractive and appealing option for your room. You can create this pattern by lining up and placing the end of each tile with the centre of the tile above and below or offsetting each new line of tiles by 50%. This creates a staggered look that brings the room together. Brick bond is a great way to add the illusion of space and height to your room.
You can emphasise this feature by choosing a coloured tile that will stand out and draw attention.
2. DIAGONAL
As the name suggests, diagonal tile patterns are laid at a 45 degree angle to one another. This style can be a great way to make a room appear larger than it is. It can also help to add movement to your floors.
For example, laying tile diagonally in a hallway can help to lead the eye down the room, creating a more welcoming feel. To enhance this pattern even further, try using different tile colours or a different coloured grout to help your installation stand out.
3. MODULAR
This tile pattern is a great way to add more interest to your floor or wall. The varying shapes and sizes of tile will help focus the eye on the pattern, adding size and depth to your room.
Due to the different sizes of tile you will be laying, it’s important you plan the floor space very carefully to determine where the first tile will go. As this format is specifically designed to fit the tiles in a particular pattern, it’s key that you have your plan figured out before you start tiling. We suggest dry laying part of your tiles before you begin to make sure you are happy with how everything looks.

THE BEST TILE CUTTER FOR YOUR WORK
There are many different options of cutters for tiling. For any of these patterns, you may require a tile cutter to cut down the size of certain tiles so that they fit the shape and size of the room. A wet cutter will enable you to cut through any type of tile (including natural stone or porcelain tiles) without the risk of breaking the tile, or the tile not scoring.
However, if you are planning to work with ceramic tile, then a manual tile cutter will work perfectly. Additionally, you won’t incur as much of a cost. The TX Max cutter is perfect for intense cutting of all types of ceramic tile. You can position the angular guide at a 45-degree angle, allowing for quick and precise angular cuts. The steel guides and separator mechanism allows you to work with one hand, making it very easy when scoring and cutting tiles.
4. BASKET WEAVE
You can create basket weave tile patterns by laying rectangular tiles alongside each other to make a square shape, then laying the next set of adjacent tiles in the opposing direction. For example, if you lay your first set of tiles in a horizontal direction, lay your next set of tiles vertically.
It’s a great way of adding interest and drawing the eye around the room. This pattern is good for smaller rooms too, helping draw attention to the unique layout and adding character and depth to the space!
5. HERRINGBONE

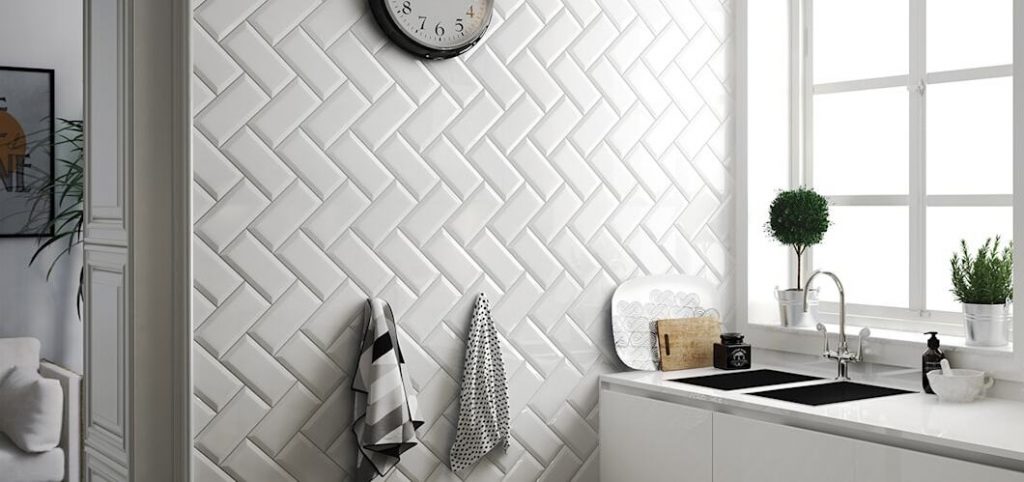
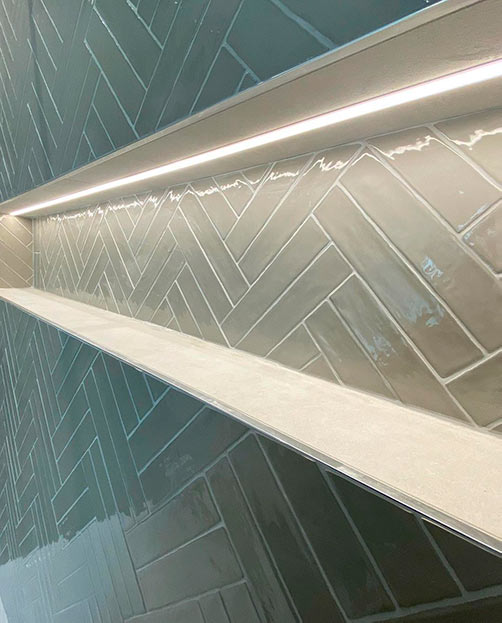
This last design is easily becoming one of the most popular choices of tile patterns. Although herringbone has typically been used on flooring for areas such as the hallway, there has been a huge increase in demand for this pattern to be used on other surfaces within the home.
You can create a herringbone by placing rectangular tiles at a 45 degree angle to create a zig-zag effect in a V formation. This is a great design for making a smaller room appear larger. Demand for using the herringbone style as a feature wall on kitchen splashbacks and in bathrooms has continued to grow. You can use a variety of bold colours to create an eye-catching statement as you enter a room.
These are just 5 of our favourite styles and ways of laying different tile patterns. There are many other styles and patterns to choose from!
We hope you found our blog useful! To get up-to-date information on future blogs and product releases, sign up to our mailing list.
For more tiling tips and tricks, check out more of our blog articles here.


Post a comment