Setting floor tile can transform any space, adding beauty, durability, and functionality. Whether you’re working with ceramic or porcelain tiles, understanding how to tile using the correct techniques and tools is essential for a successful project. This guide provides expert tips for setting floor tile, focusing on cutting techniques and installation processes to ensure a professional finish.


Preparing for Setting Floor Tile
Before setting floor tile, it is crucial to properly prepare the area to ensure a flawless installation. Preparation involves cleaning, levelling, and laying out your design before you begin tiling.
Clean the Subfloor
The first step in setting floor tile is to thoroughly clean the subfloor. Remove any dust, debris, or adhesive residues from previous flooring. A clean surface allows for better tile adhesion.
Level the Subfloor
Ensuring the subfloor is level is vital for preventing uneven tiles that can lead to cracking over time. Use a levelling compound to fill low spots and sand down high areas.
Tools Needed
Straight edge, level, levelling compound
Tip: Always check the floor’s level in multiple directions to identify any discrepancies.
Plan Your Layout
Take the time to plan the layout before setting floor tile. This includes deciding on the pattern, measuring the space, and marking reference lines.
Use a Chalk Line
Mark the centre point of the room and snap chalk lines to guide tile placement.
Consider Grout Lines
Account for grout lines in your measurements to avoid small cuts at edges.
Cutting Floor Tiles
Cutting tiles accurately is a critical step in setting floor tile. Depending on the type of tiles and the complexity of the project, you may use different tools, including a manual tile cutter, a grinder, a bridge saw, or a track rail circular saw.
Cutting Ceramic and Porcelain Tiles
Manual Tile Cutter
A manual tile cutter is an excellent choice for straight cuts and is ideal for ceramic or porcelain tiles.
How to Use
- Measure and mark the tile where it needs to be cut.
- Place the tile on the cutter’s base and align the cutting wheel with the mark.
- Score the tile by pushing the handle forward.
- Press down on the handle to snap the tile along the scored line.
Tips
- Ensure the cutting bed is free from debris before you place the tile on the machine.
- Practice on spare tiles to get comfortable with the tool.
- Be careful when handling cut tiles as their edges can be very sharp.
- Using a light score avoids chipping. A heavy score made with lots of pressure will chip the tile surface.
Grinder with a Diamond Blade
A grinder is versatile for cutting curves, notches, and more complex shapes in both ceramic and porcelain tiles.

How to Use
- Attach a diamond blade to your angle grinder, and apply the blade guard. This protects you from any mishaps that may happen while you use the tool.
- Secure the tile to a work bench using a clamp and mark the cutting line.
- Slowly guide the grinder along the line, applying gentle pressure. It is important to let the tools do the work, and not to force the blade through the material.
- For thicker tiles (above 15mm) it is recommended to score 5-10mm into the tile surface along the full length of the tile, before going back and cutting through the rest. This will result in a better finish with fewer chips, and elongate the life of the blade.
Safety Tips
Wear safety goggles and a dust mask. Clamp the tile securely to prevent movement.
Bridge Saw
A bridge saw is perfect for making long and straight cuts, especially on larger tiles.
How to Use
- Set the tile on the saw’s table and adjust the blade to the desired cutting depth.
- Align the tile with the guide and start the saw.
- Slowly pull the handle forward, bringing the blade into contact with the tile, cutting through the material slowly and controlled.
Track Rail Circular Saw
A track rail circular saw offers precision and is excellent for both straight and angled cuts.
How to Use
- Attach the rail system together to the desired length. Then lay this over the tile you wish to cut. Secure the track to the tile securely.
- Mark your cutting line and align the track accordingly.
- Adjust the blade depth depending on the thickness of the tile.
- Guide the saw along the track for a precise cut.
Tips
- If you are using a wet and dry system, such as our TC-125 G2, it is always advised to use a wet cut. This will achieve the best finish.
- Maintain steady speed and pressure for clean cuts.

Installing Floor Tiles
Once you’ve prepared the subfloor and cut the tiles, it’s time to install them. Proper installation techniques are vital for a durable and aesthetically pleasing floor.
Mix the Thin-Set Mortar
Thin-set mortar is the adhesive used to bond the tile to the subfloor.
How to Mix
- Follow the manufacturer’s instructions for water-to-powder ratio.
- Mix thoroughly until it reaches a peanut butter-like consistency.
- Let it sit for a few minutes to slake, then mix again. This allows all the polymer particles in the adhesive to fully absorb the water, which is better for adhesion.
- Tips:
- Only mix as much mortar as you can use within the pot life of the mix. You can find this on the packaging. Pot life and curing time are different, it is important that you take note of both.
- Use a drill with a mixing paddle for even consistency, or use a mixer designed for dealing with these thick materials.
Apply the Mortar
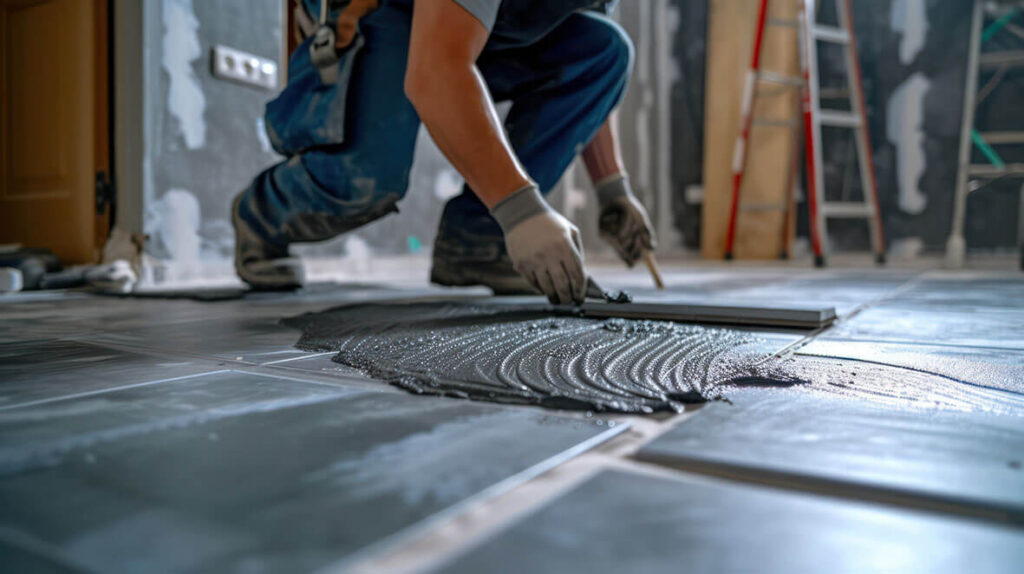
Spread the mortar evenly across the subfloor using a notched trowel.
Technique
- Use the flat side of the trowel to spread a thin layer.
- Switch to the notched side to comb ridges into the mortar. Comb the adhesive in the direction of the short edge of the tile, and make sure that you are combing in one straight line. This allows for the air to escape when you press the tiles into the adhesive on the floor.
- Work in small sections to prevent the mortar from drying out.
- Apply adhesive to the subfloor and to the back of the tile – this is called back buttering and is the recommended technique to achieve British Standards in tiling.
Tips
- Use the appropriate notch size for your tile. For more information about this, you can read our blog here.
- Clean off excess mortar to prevent interference with grout lines.
Lay the Tiles
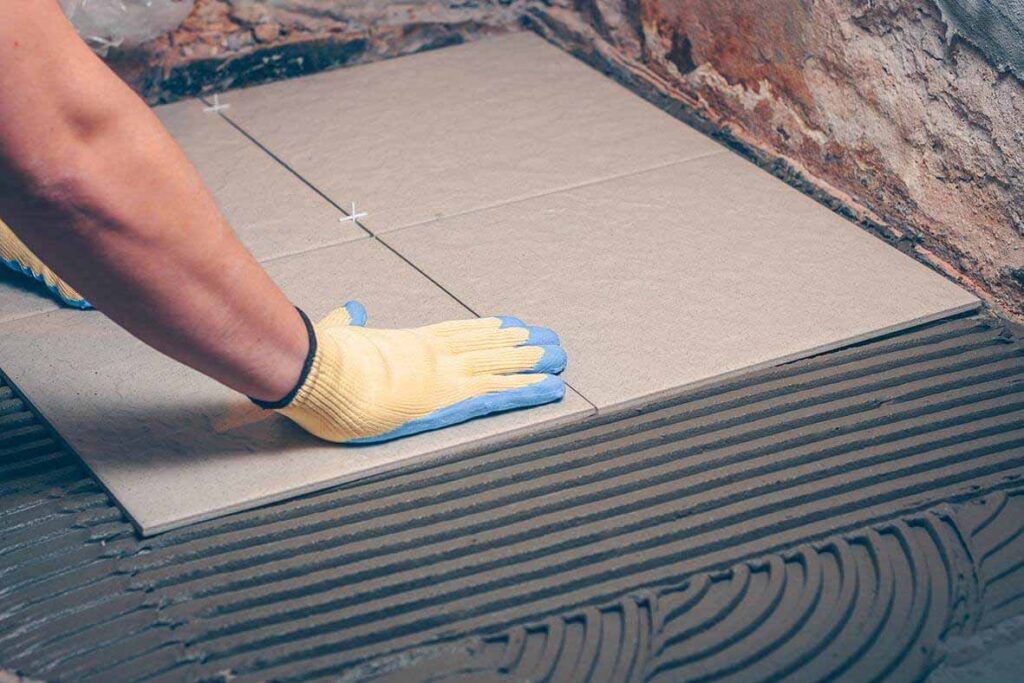
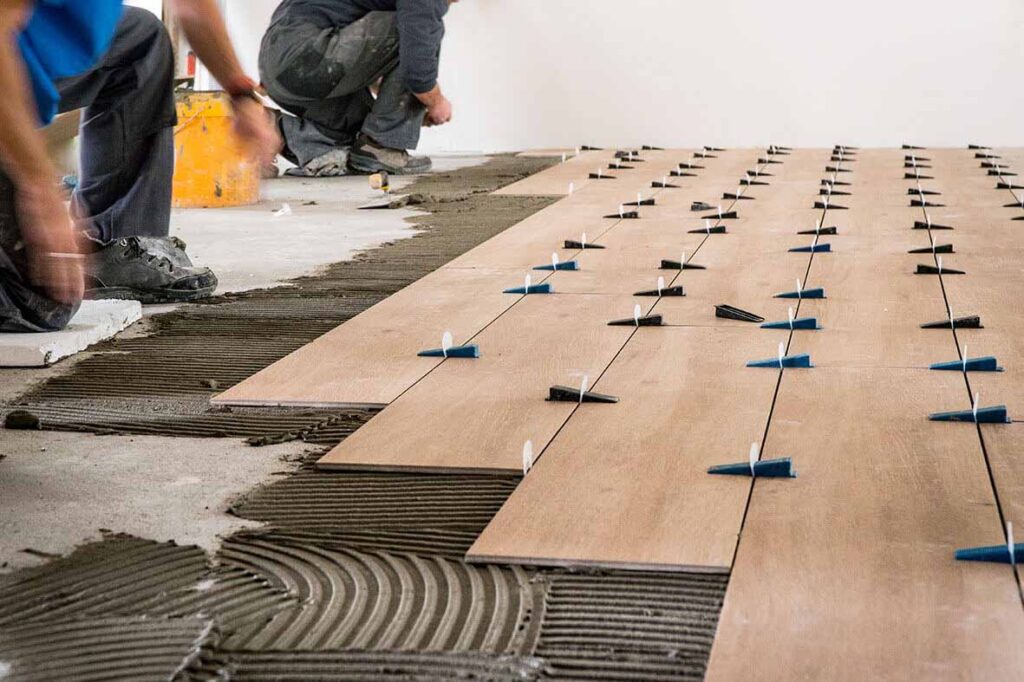
Carefully lay each tile into the mortar, pressing firmly for good adhesion.

Technique
- Start from the centre of the room and work towards the edges.
- Place spacers between tiles to ensure even grout lines.
- Tap tiles gently with a rubber mallet to seat them properly.
Tips
- Check alignment frequently and adjust as needed.
- Ensure tiles are level by using a spirit level.
Cut and Fit Edge Tiles
Use your cutting tools to shape tiles to fit around obstacles and along edges.
Technique
- Measure gaps and transfer dimensions to the tile.
- Cut and test fit each piece before setting it into mortar.
- Make adjustments as necessary for a seamless fit.
Tips
- Double-check measurements to avoid costly mistakes.
- Use a grinder for intricate shapes and cuts.
Grouting the Tiles
After the tiles have set (usually 24-48 hours), it’s time to apply grout.
How to Grout
- Mix grout according to package instructions.
- Spread grout diagonally across tiles with a rubber grout float.
- Press grout into gaps and wipe away excess with a damp sponge.
Tips
- Use sanded grout for wider joints and unsanded for narrow ones.
- Change water frequently when cleaning excess grout to reduce grout haze.
Sealing the Grout
Sealing the grout protects it from stains and moisture.
How to Seal
- Wait for the grout to cure completely.
- Apply a grout sealer with a small brush or applicator bottle.
- Wipe away excess sealer and let it dry.
Tips
- Reapply sealer every few years for continued protection.
- Test a small area first to ensure no discoloration occurs.
Final Touches
After setting floor tile and grouting, inspect your work for any imperfections.
- Clean the Surface. Remove any remaining grout haze and polish the tiles for a clean finish.
- Inspect for Flaws Check for uneven tiles, gaps, or other issues and make necessary adjustments.
Setting floor tile is a rewarding project that enhances the look and feel of any room. By following these expert tips for setting floor tile, you can achieve a professional-quality installation that stands the test of time. From proper preparation and precise cutting to careful installation and grouting, each step is crucial for success. Happy tiling!


Post a comment