Patterned tiles add personality and charm to any space, elevating the aesthetics with their intricate designs and timeless allure. From classic herringbone to contemporary chevron, the world of patterned tiles offers a myriad of possibilities for transforming floors, walls, and even outdoor spaces. If you’re considering learning how to tile patterned tiles, this comprehensive guide will walk you through the process. From planning and preparation, to laying out different patterns with precision and flair, learn everything in this article.


Where can you use a tile pattern?
Tiles laid in a pattern can be used anywhere in your home and they are a great way to add character and features in your home.
Kitchen Backsplash
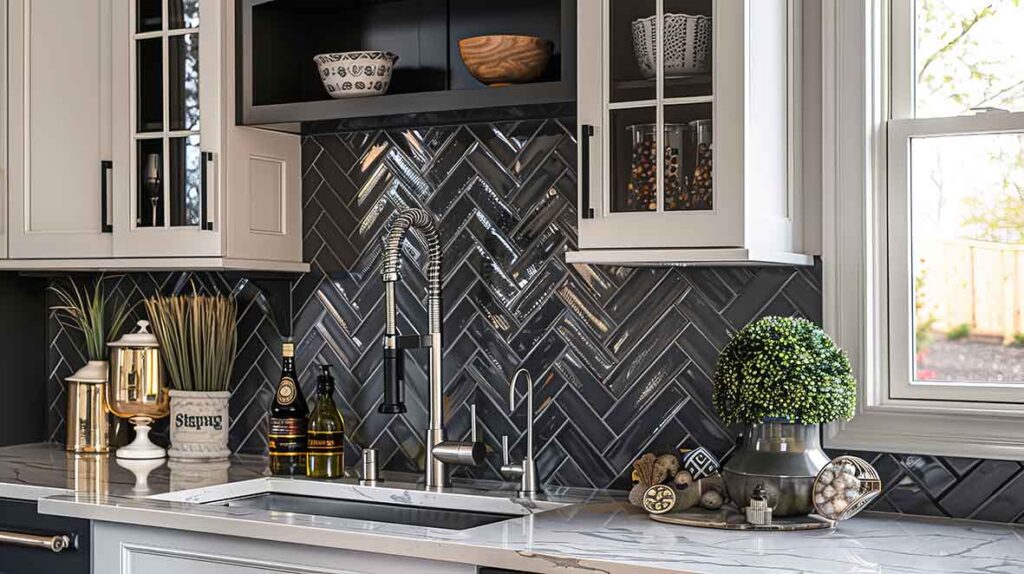
A kitchen backsplash is often tiled. Tiles are a perfect option for this area of the home as they provide a hygienic barrier from food, heat, water, and oil from the wall. With them being easy to clean and maintain, they can also be laid in various patterns to create a visually appealing aspect of your wall.
Bathrooms
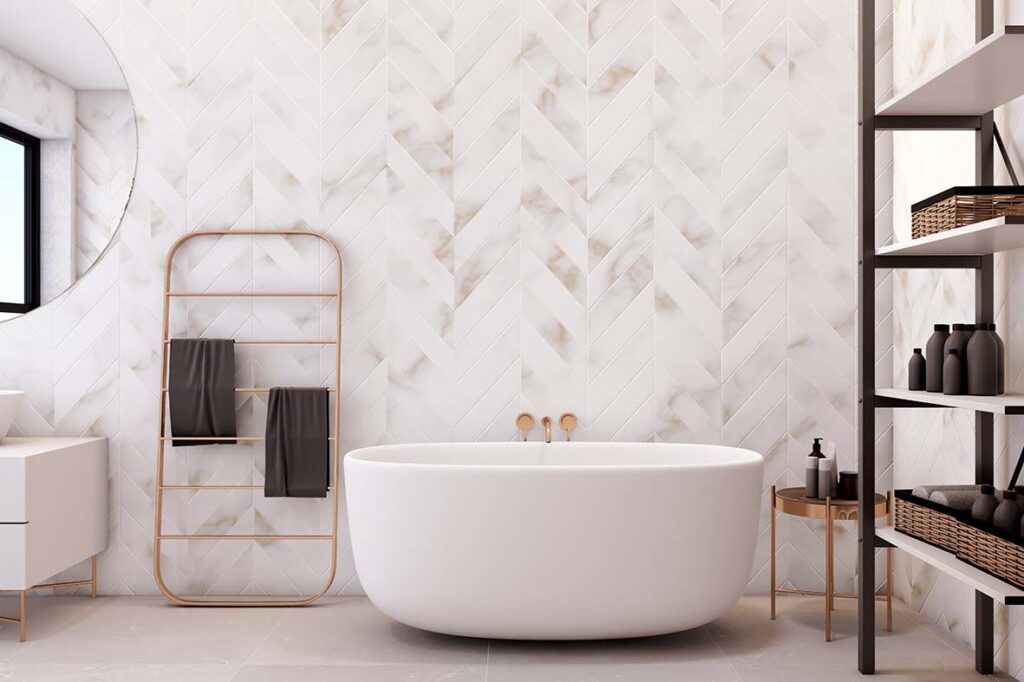
You can easily add a focal point in your bathroom by adding a feature wall with tiles laid in a pattern. This is really effective when creating a calming and welcoming space. It can separate out the shower or bath area from the rest of the room, or it can frame the mirror for a more striking effect.
Flooring
There are many patterns in which tiles are often laid for flooring. These can take an ordinary floor and elevate it into something special that people notice the minute they walk into a room. Floor tiles laid in a pattern can also flow throughout the whole home, connecting individual rooms and creating cohesion.
Planning for Patterned Tiles
Before diving into your patterned tile project, it’s essential to plan meticulously to ensure a visually appealing and cohesive result. Here’s how to approach planning for some popular patterns:
Herringbone
Herringbone is a timeless pattern characterized by its zigzag arrangement, reminiscent of the bones of a fish. To plan for a herringbone pattern, start by determining the orientation of the tiles. Typically, herringbone tiles are laid at a 45-degree angle to the walls, creating a dynamic visual effect. Measure the dimensions of the area to be tiled and calculate the number of tiles needed, accounting for any cuts required along the edges. This can help ensure that you don’t run out of tiles before you finish.
Chevron

Similar to herringbone, but with a more angular and continuous V-shaped pattern, chevron tiles add a modern twist to any space. Planning for a chevron pattern involves establishing the direction and angle of the V shapes. Like herringbone, chevron tiles are usually laid at a 45-degree angle to the walls. Careful measurement and calculation are essential to ensure symmetrical and uniform placement of tiles.
Stacked
Stacked, or straight lay, is a simple yet effective pattern where tiles are laid in straight rows, either horizontally or vertically. This pattern is versatile and works well with both large-format and small-format tiles. To plan for a stacked pattern, determine the orientation of the tiles (horizontal or vertical) and calculate the number of tiles needed based on the dimensions of the area to be tiled.
Basket Weave
Basket weave is another classic pattern that creates a woven or interlocking effect with alternating horizontal and vertical tiles. Planning for a basket weave pattern involves deciding on the size of the individual tile units and calculating the layout to achieve a balanced and visually pleasing result. Pay attention to the spacing between tiles to maintain the integrity of the pattern.

Preparation and Prep Work
Proper preparation is key to a successful patterned tile installation. Follow these steps to prepare the area before tiling:
Surface Preparation
Ensure that the surface where you’ll be installing patterned tiles is clean, smooth, and free of any debris or imperfections. Repair any cracks or uneven areas, and use a primer or sealer as needed to achieve proper adhesion.
Layout Planning
Before laying out the tiles, dry-fit them on the surface to visualize the pattern and make any necessary adjustments. Use chalk lines or tile spacers to establish reference lines and maintain alignment throughout the installation process.
Tile Cutting
Depending on the pattern and layout, you may need to make cuts to fit tiles around edges, corners, or obstacles. Use a tile cutter or wet saw to achieve clean, precise cuts, ensuring a seamless and professional finish. Here at RUBI we offer a vast range of manual tile cutters, and wet saws.
Adhesive Application
Select a high-quality tile adhesive suitable for the type and size of patterned tiles you’re installing. Apply the adhesive evenly to the surface using a notched trowel, working in small sections to prevent drying. Make sure you check beforehand if your tiles need sealing before applying adhesive.

Tile Installation
Using a trowel, apply adhesive onto the wall or floor, making sure to spread the adhesive in the direction of the short edge on the tile – this creates a shorter channel for air to escape from between the tile and the adhesive. Then, carefully place each tile according to the planned layout, pressing firmly to ensure proper adhesion. Use tile spacers to maintain consistent spacing between tiles and create uniform grout lines.
Patterned tiles offer a versatile and stylish solution for enhancing the aesthetic appeal of any space. By planning meticulously and preparing the area properly, you can achieve stunning results with patterns such as herringbone, chevron, stacked, and basket weave. Whether you’re updating your kitchen backsplash, revamping your bathroom floor, or creating a statement feature wall, mastering the art of patterned tile installation allows you to infuse your home with personality and charm that reflects your unique style and taste.


Post a comment