Levelling clips have revolutionised the world of tiling, providing a simple yet effective solution for achieving perfectly flat and uniform tile installations. In this comprehensive guide, we’ll delve into how to tile with levelling clip systems, their advantages, and debunk the misconception that they are designed to take the bow out of tiles.

Understanding Levelling Clips
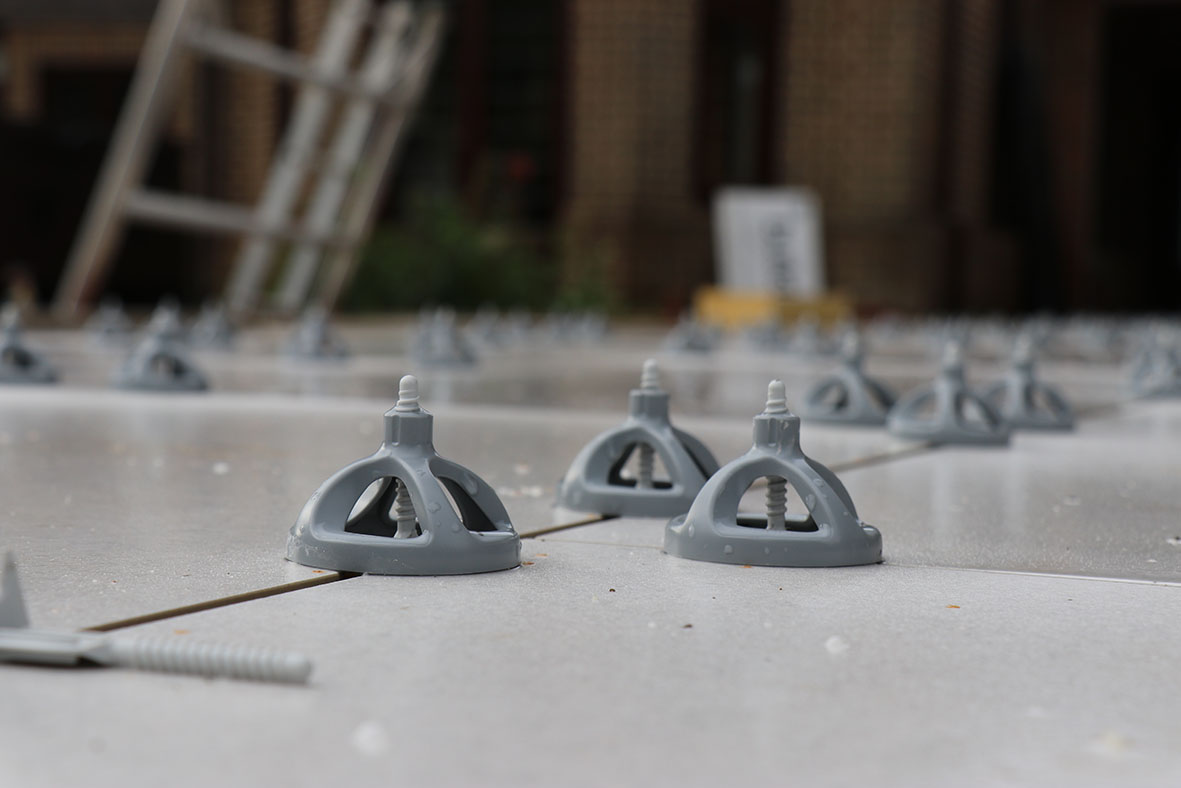
Levelling clip systems consist of reusable plastic clips, wedges or spin tops, and pliers designed to assist in the installation of ceramic, porcelain, and natural stone tiles. The clips are inserted between adjacent tiles to ensure uniform spacing and level alignment, while the wedges are used to apply pressure and maintain consistent tile heights.
Proper Usage of Levelling Clips
Surface Preparation
Before using levelling clip systems, ensure that the substrate is clean, flat, and free of any debris or contaminants. Proper surface preparation is crucial for achieving optimal results and long-lasting tile installations.
Tile Layout
Plan the layout of the tiles to determine the starting point and direction of installation. Use chalk lines or layout grids to guide the placement of the tiles and ensure uniform spacing and alignment.
Applying Thinset
Spread a layer of thinset adhesive onto the substrate using a suitable trowel. Ensure full coverage of the substrate to promote strong adhesion between the tiles and the surface.
Placing Tiles
Place the tiles onto the thinset adhesive, pressing them firmly into place. Use tile spacers to maintain consistent spacing between tiles and ensure straight grout lines.
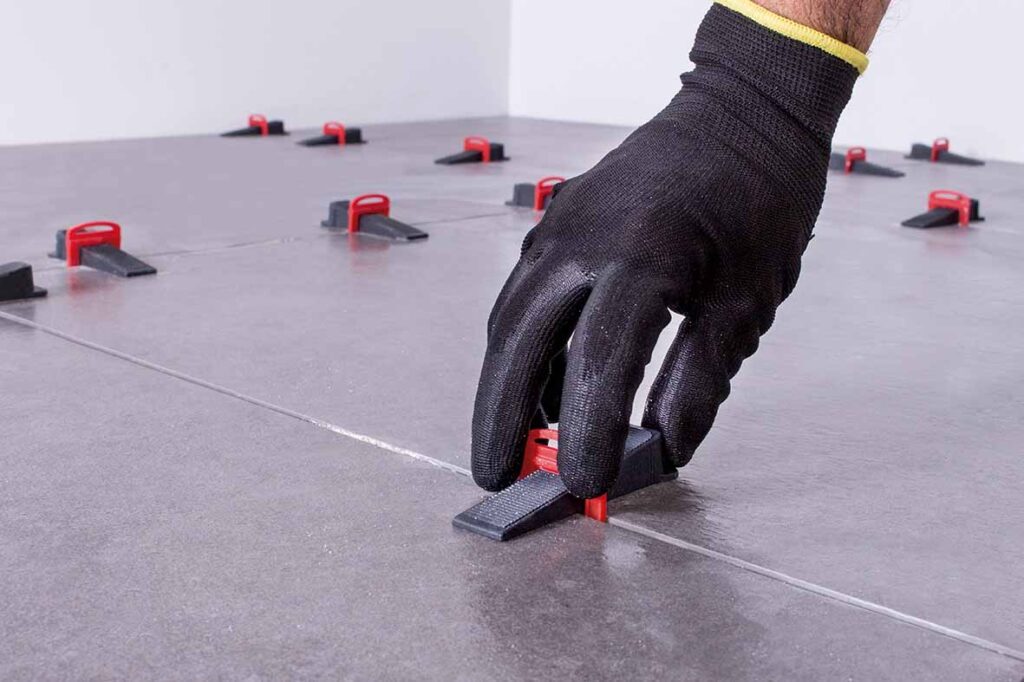
Inserting Levelling Clips
Once the tiles are in position, insert levelling clips into the gaps between adjacent tiles. Position the clips approximately 6-8 inches apart along the edges of the tiles.
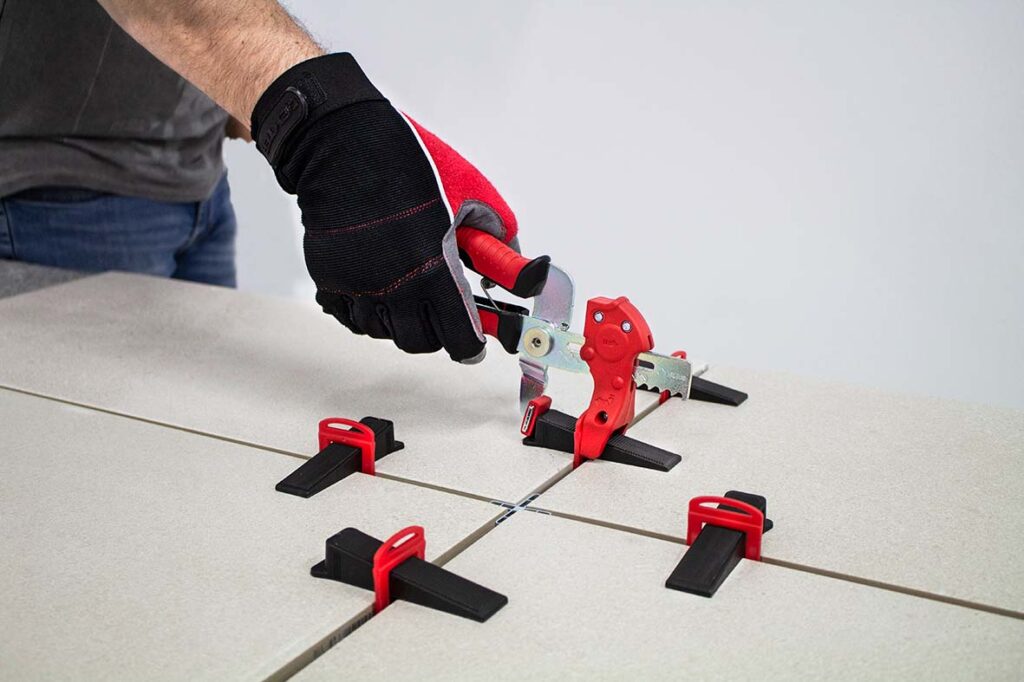

Adjusting Tile Heights
Use levelling wedges and pliers to apply pressure to the clips and adjust the height of the tiles as needed. The wedges help to eliminate lippage and ensure that the surface remains flat and level. They do not lift tiles from the adhesive bed, or create voids.
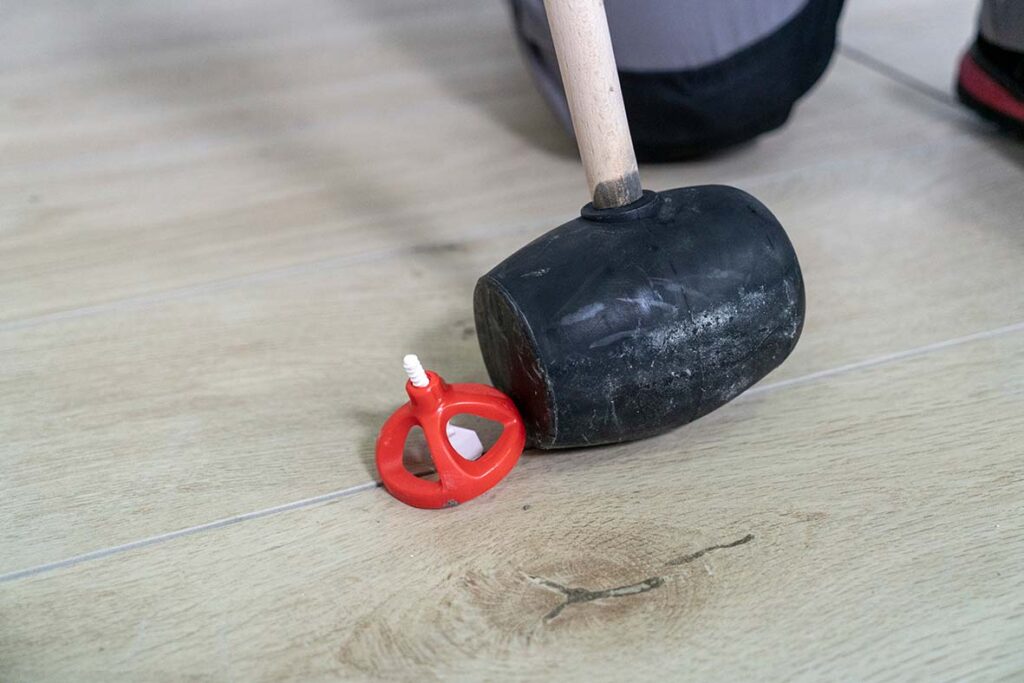
Allowing Adhesive to Cure
Allow the thinset adhesive to cure according to the manufacturer’s recommendations before removing the levelling clips and wedges. This typically takes 24-48 hours, depending on environmental conditions and the type of adhesive used. When you do remove the levelling clips, always remove in the direction of the grout joint. This reduces the chances of tiles chipping, and allows the clips to break correctly, leaving you with straight and even grout lines to grout.
Grouting
Once the adhesive has cured and the tiles are firmly set, remove the levelling clips and wedges. Proceed to grout the joints between the tiles using a suitable grout material and a grout float.
Cleaning
After grouting, clean any excess grout from the surface of the tiles using a damp sponge. Rinse the sponge regularly to prevent grout haze from forming on the tiles.
Advantages of Levelling Clips
Achieve Perfectly Flat Surfaces
Levelling clips ensure that tiles are installed at an even height, eliminating lippage and creating a smooth, uniform surface. This results in a professional-quality finish that enhances the aesthetic appeal of the tiled area.
Reduce Installation Time
By eliminating the need for manual adjustments and minimizing the risk of tile slippage, levelling clip systems can significantly reduce installation time. This makes them ideal for both DIY enthusiasts and professional tile installers looking to streamline their workflow.
Minimise Wastage
Levelling clip systems help to minimise tile wastage by ensuring that each tile is installed correctly the first time. This reduces the need for rework and replacement, saving both time and money.
Suitable for Large Format Tiles
Due to the size and weight of large format tiles, levelling clips are especially helpful to help prevent lippage in these installations. Levelling clips ensure precision and accuracy, even in large format tile installations.
Debunking Levelling Clip Misconceptions
It’s important to note that levelling clip systems are not designed to take the bow out of tiles. While they can help to minimise lippage and ensure uniform spacing and alignment, they are not intended to correct structural imperfections in the tiles themselves. It’s essential to inspect the tiles before installation and address any bowing or warping issues separately.
Levelling clip systems have revolutionised the process of tile installation, making it easier than ever to achieve perfectly flat and uniform surfaces. By following the proper techniques outlined in this guide and understanding the advantages of levelling clip systems, you can ensure a flawless tile installation that enhances the beauty and durability of any space. Remember, while levelling clips can help to minimise lippage and improve overall tile alignment, they are not a substitute for proper surface preparation and tile inspection.

Post a comment