
It can be overwhelming figuring out where to start when you first learn how to tile and you’re installing tile floor. Billions of square feet of floor tile are installed in US homes each year and the UK has seen similar trends.

If you’re learning how to tile, mistakes are inevitable. However, these mistakes are crucial for developing your tiling skills. To help you avoid common pitfalls, we’ve compiled a list of the 10 most frequent mistakes beginners make when learning to tile. Follow these guidelines to ensure your tiling projects go smoothly.
1. SELECTING THE WRONG TROWL SIZE FOR YOUR FLOOR TILE
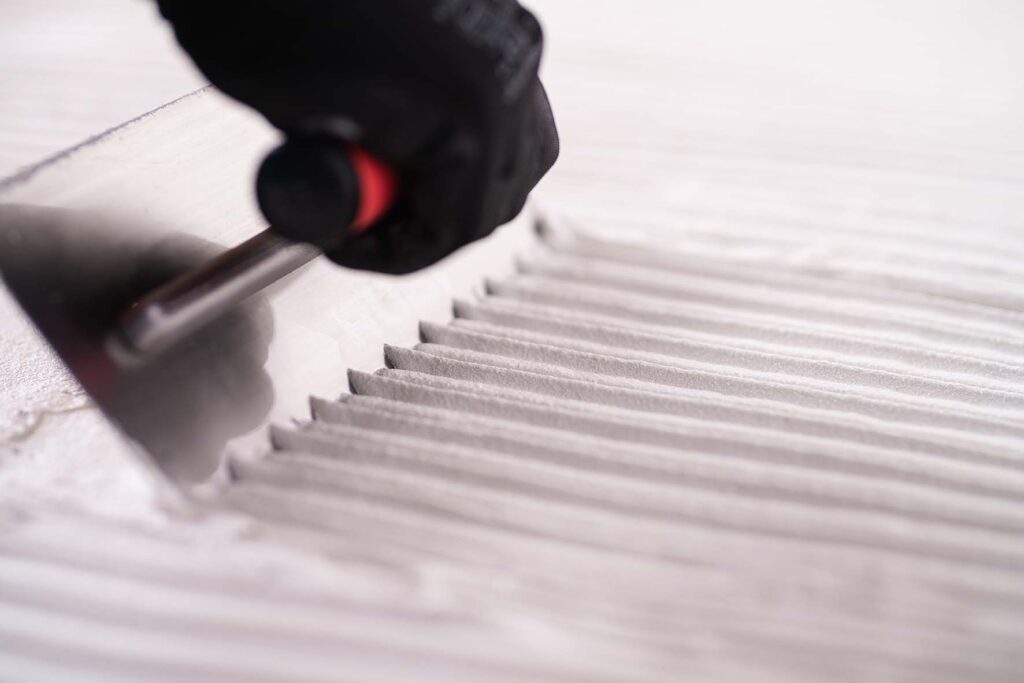
The size of your trowel needs to match the size of the tile. The larger the tile you are using, the deeper the grooves of the adhesive need to be.
To create deeper grooves, you need a trowel with large notches. These notches allow for making adjustments while installing tile floor.
Generally, the notches in trowels are square. The numbers you’ll see relate to the height and width of the notches in mm. For example, a 3×3 notched trowel will create a 3mm channel. This would be best for a smaller size tile, such as metro or small ceramic. For larger format, consider using a larger toothed trowel such as a 20×20.
Make sure the adhesive you buy has phrasing like “large tile” or “large format” on it. This type of adhesive is thicker and holds the larger tiles, while also having a longer open time to work with the product. Consider the BAL XL Floor One adhesive.
Remember that you will go through your thin set faster because you are using more. Roughly, 4 to 6kg adhesive per m2, so a 20kg bag will cover around 3 to 5 m2.
2. BREAKING THE TILE
When cutting tile, take precautions to avoid breakage. Too many broken tiles will become wasteful and expensive.
There are two ways to cut a tile; with a manual cutter or an electric cutter.
For interior work, manual cutters are generally used. They don’t take up much space and are easy to work with for beginners. But, there are some tricks to ensuring a clean score and snap to reduce your waste or cracked tiles. A score made with light pressure is all that’s needed to snap a tile. Heavier pressure can cause chipping in the top finish, and cause the snap to veer off from the score line.
Remember, the tile edge will be sharp so use something like our polishing pads to buff the edges down. They can also be used to buff out any chipping in the top finish that can occur.
There are, however, some tiles that won’t break easily or nicely on a manual cutter. For these, we recommend an electric cutter.
Using a diamond wet saw will leave a better finish, but it does take longer to cut each tile. To get the best finish from an electric saw, let the blade do the work. Don’t pull the tile through the blade too quickly, as this can cause the tile to be pushed out of alignment and cut improperly.
If you hear the blade slow down as you are cutting, then you are pushing too fast. The harder the material you’re cutting, the slower you need to go.
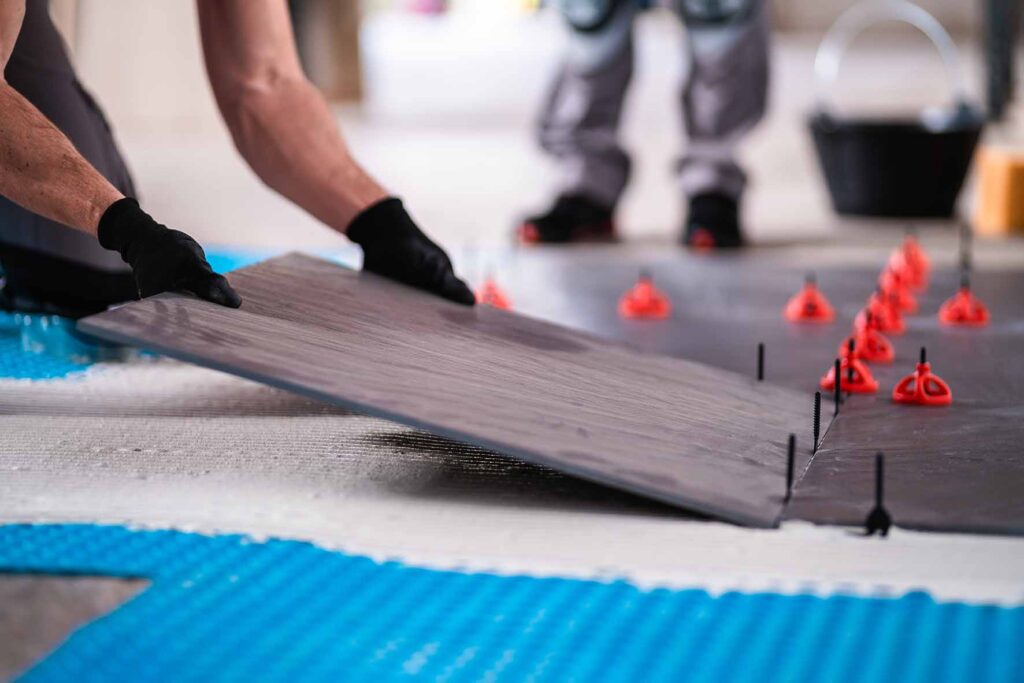
3. INSTALLING TILE ON SUBFLOOR
The subfloor is the surface that the tile gets installed on. You need a flat, even, and strong surface. If you do not have this, your tile will sag and crack in places.
If the subfloor is not level, it’s advised to use a self-levelling compound to get the correct level before you start installing tile floor.
It’s common in the UK to also add matting to the subfloor to allow for some movement and prevent cracking or decoupling after the tiles have been laid.
If you have old vinyl flooring that is suitable you can tile right over it (assuming that the floor is thick enough to support the tile).
Keep in mind that you are raising the height of the floor when adding self-levelling compounds and matting. You might need to adjust the height of doors and other elements in the room to accommodate the additional height on the floor.
4. LAYING THE TILE OUT WRONG
Installing tile floor requires planning, even if it’s a simple pattern. A diagonal pattern requires even more planning. If your tile is square, you can measure 45-degree angles.
Regardless of if your pattern is simple or not, start by centring the first tile in the middle of the floor. Then work outwards from here and calculate the cuts needed at the edge of the room.
Build the design out around this first measurement. Check your lines with a straightedge as you work. Remember, measure twice and cut once!

5. WRONG GROUT
The wrong grout, or grout done wrong, can ruin the look of your tiling work. You want clean and even grout lines.
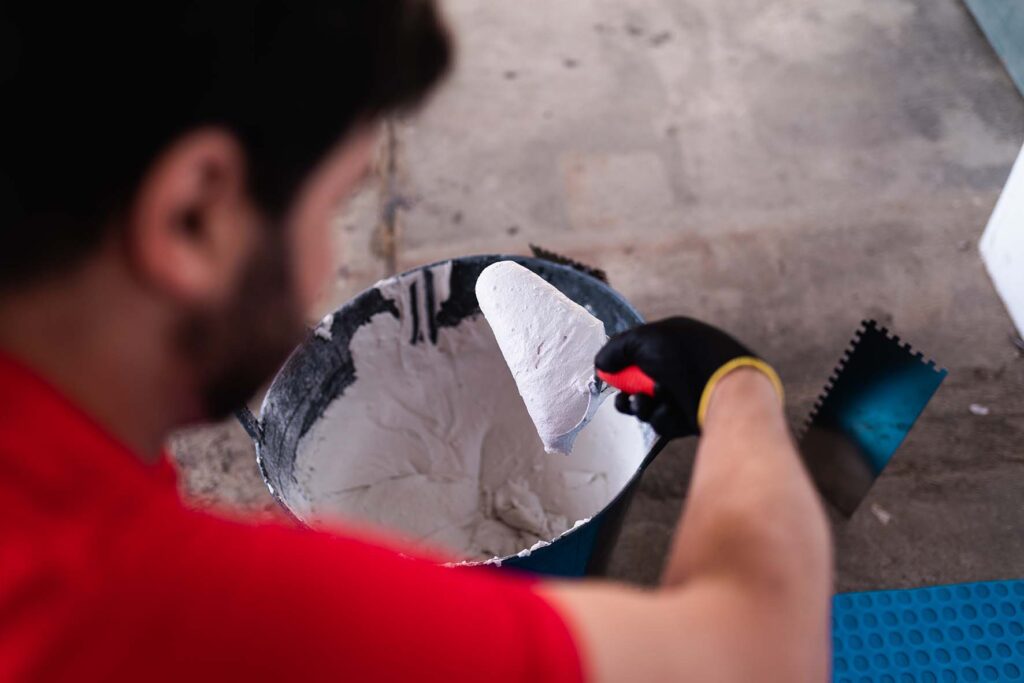
Mix your grout with a trowel until it is the consistency of peanut butter. Using a drill or paddle mixer will introduce air which weakens the holding strength.
Be sure to let the grout rest for 10 minutes before using it. Skipping this step will result in a weaker grout that will crack.
6. INSTALLING TILE FLOOR WITHOUT PROPER PREPARATION
You need to clean and prep your surface before you tile. Remove any grease, dirt, or debris.
If you don’t do this, the adhesive might not adhere to the floor very well. This is an issue most common when tiling bathroom or kitchen walls.
Use a mixture of water and mild dish soap to clean the walls. If you have a lot of stains or build-up, use an abrasive pad.
7. NO BACKER BOARD OR TANKING
If you are tiling in an area with water, you need to use backer board and a tanking kit. The backer board stays stiff and prevents water from seeping into where it shouldn’t be, and the tanking kit keeps everything waterproof.
Cement board is the most durable type of backboard as it’s made of cement and sand, reinforced with fiberglass.
Fibre cement board is cement and sand, reinforced with wood fibre. It is like the other cement board but comes with limitations for use.
Glass mat gypsum works well for damp areas, but not places with constant water. It is silicone-treated gypsum reinforced with fiberglass.
If you are tiling around a sink, water-resistant drywall works well. It can resist the occasional splashing but not constant moisture.
8. NOT PUTTING SILICONE ON THE JOINTS
When tiling, one of the final steps is to apply silicone to the joints. Using silicone in the edge joints accommodates any movements between the tiles, floor, and walls.
BUYING THE SUPPLIES
It is important to buy the right silicone for your work.
There are a few types that are suitable for kitchens and bathrooms and that can prevent mould and mildew from growing.
You will also need to buy the right colour. Most stores will only carry white, clear, and almond. Head to a flooring supplier for more custom colour options.
LAYING THE SILICONE
Spend the extra money and buy a high-quality silicone gun. This will give you a smooth line and easy application. Cheaper guns will cause your line to be too thick and too thin in places.
Line the area you intend to silicone with masking tape. This will give you a clean line on either side.
Cut the nozzle to match the width of your gap. This will make the line match the size you need. The final step is to remove the masking tape while the silicone is still wet.
9. NOT BUYING ENOUGH TILE
The main reason for not buying enough tile is a lack of proper planning. To avoid this, take the time to measure accurately and double-check your calculations.
Here’s a step-by-step guide:
- Measure the length and width of the area you plan to tile.
- Multiply these two measurements to get the total square footage.
- Check the square footage covered by a single box of tiles.
- Divide your room’s total square footage by the square footage per box to determine how many boxes you’ll need.
- Calculate the overage by multiplying your room’s square footage by 10%, then add this to your total square footage.
- Divide this new total by the square footage per box to find out how many boxes you need to buy. The extra tiles will account for cuts, breakage, and waste.
10. NOT PLANNING PROPERLY WHEN INSTALLING TILE FLOOR
With all the advice we have given you in the previous steps, you should be prepared for installing floor tile. But, to make things a little easier, let’s recap:
- Have the right equipment such the right type of trowel, and a manual or electric cutter with the right blade or scoring wheel.
- Make sure the subfloor and base is flat and level from before you start.
- Planning is everything! Make sure you talk to your customer to select the right style and size of tile they want, and then plan the layout.
- Follow the instructions for your grout applications.
- Make sure everything is clean before you start.
- Make sure you select the right backing board for the room and type of tiles. Any wet areas also need to be tanked or waterproofed.
- Silicone the outer joints to allow for movement in the subfloor and walls to avoid cracking and uncoupling in the tiles.
- Make sure you buy enough tiles for the space you will be working in as well as tiles for the overage. This way you won’t be caught short without tiles, or have to buy tiles again from a different batch.
- Mistakes happen on every job, no matter how experienced you are. Being prepared for these mistakes allows you to continue working without significant interruptions or issues.
Now you have all the tips and tricks you need for installing tile floor! Get ready for your next tiling project with one of our premium diamond blades.

Great guide on tile installation! I really liked how you explained the importance of proper surface preparation and planning before starting the work. It clearly shows that using the right tools and techniques is key to achieving a long-lasting and professional finish.