Tiling a bathtub is a practical and stylish way to refresh your bathroom while protecting surfaces from water damage. Whether you’re a seasoned tiling professional or taking on your first project, a systematic approach ensures a flawless finish. In this guide, we’ll walk you through how to tile a bathtub, focusing on preparation, waterproofing, layout planning, tile installation, and grouting.


Preparation is Key
A successful tiling project begins with meticulous preparation. First, clean the area around the bathtub thoroughly. Remove any old adhesive, grime, or residue, ensuring the surface is smooth and ready for tiling. This step prevents weak bonds, creating a professional and long-lasting finish.
Inspect the walls and floor around the bathtub for any signs of damage or unevenness. Sand rough areas and patch any cracks to create a stable foundation for the tiles. Skipping this step can lead to misaligned tiles and a less durable installation.
Waterproofing the Area
Bathrooms are high-moisture environments, making waterproofing essential to prevent water damage and mould growth. Before tiling, apply a reliable waterproofing membrane or liquid waterproofing system to the walls and floor in the bathroom, paying close attention to the area surrounding the bathtub. This barrier protects the underlying surfaces from water penetration, ensuring a long-lasting installation.
Focus on corners, seams, and joints—areas particularly prone to leaks. Allow the waterproofing layer to cure fully before proceeding to the next step. This extra effort upfront guarantees peace of mind and prevents costly repairs in the future.
Plan Your Tile Layout
Proper planning ensures your tiles are evenly distributed and visually appealing. Start by finding the centreline of the wall above the bathtub. Use this line as a guide to distribute tiles symmetrically, avoiding awkward gaps or uneven cuts.

When planning the layout, account for tile cuts around corners, fixtures, and edges. Strategically placing cut tiles in less noticeable areas, such as low corners, enhances the overall appearance. Remember, precision at this stage eliminates headaches later.
Pro Tip: Start Tiling from the Bottom
Begin tiling at the bottom edge of the wall and work your way upwards. This approach helps maintain consistent alignment and ensures tiles don’t shift due to gravity while the adhesive sets.
Applying the Tile Adhesive
Choose the right adhesive based on your tile type and surface. Thin-set mortar is a popular choice for most bathtub tiling projects due to its durability and strong bond.
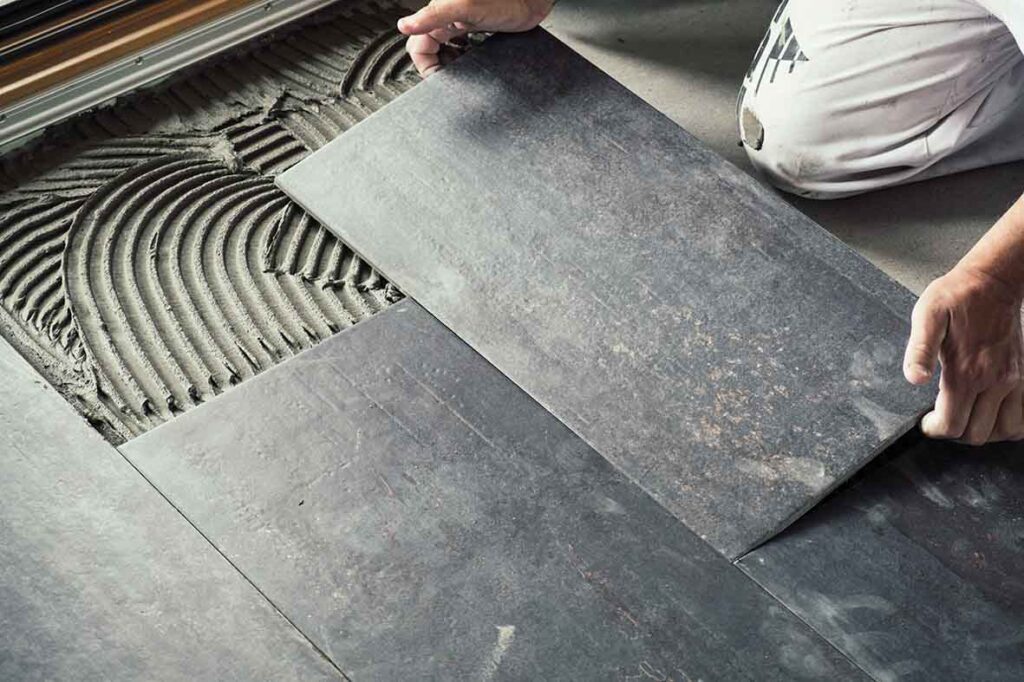
Spread the adhesive evenly over a small section of the wall using a notched trowel. The notches help regulate the adhesive’s thickness, ensuring a uniform application. Work in manageable sections to prevent the adhesive from drying out before you can set the tiles.

How to Tile a Bathtub
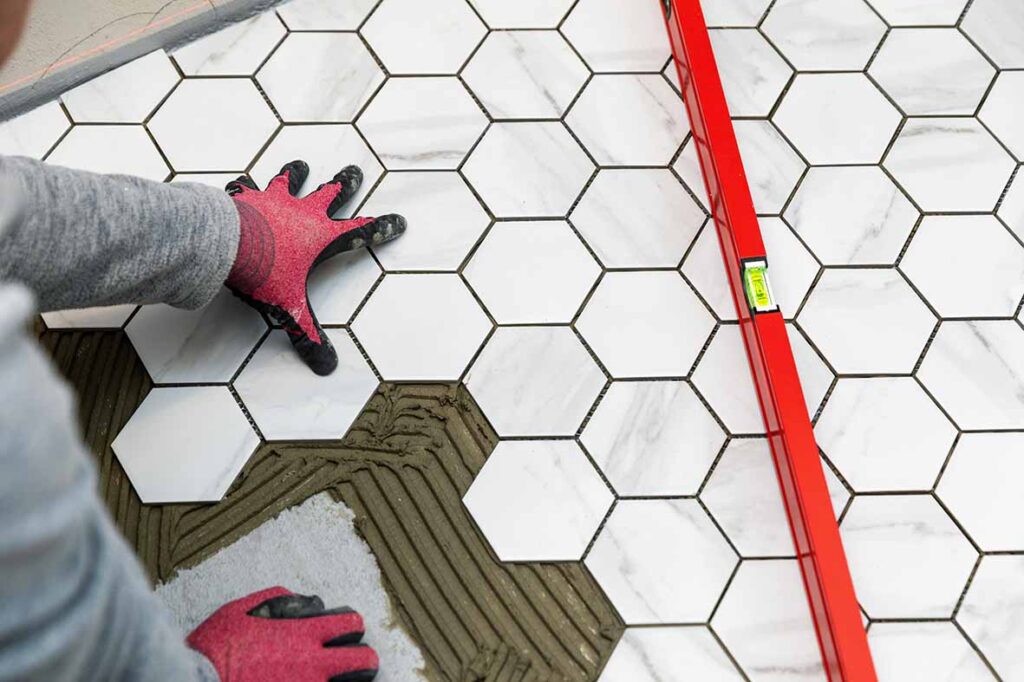
Press each tile firmly into the adhesive, giving it a slight twist to ensure a secure bond. Use tile spacers to maintain consistent grout lines and alignment. Check regularly with a spirit level to ensure the tiles are straight and even.

For corners and edges, measure carefully and cut tiles to fit using a tile cutter or wet saw. Take your time to avoid unsightly gaps or uneven edges. Remember: measure twice, cut once.
Pro Tip: Wipe Away Excess Adhesive
As you work, remove any adhesive that seeps through the grout lines using a damp sponge. This step prevents hardened adhesive from complicating the grouting process later.
Grouting the Tiles
Once the tiles are firmly set and the adhesive has cured, it’s time to apply grout. Select a grout suitable for wet environments to ensure long-lasting protection. Mix the grout according to the manufacturer’s instructions, and apply it using a rubber grout float.
Work the grout into the joints, holding the float at a 45-degree angle. Remove excess grout from the tile surface by wiping diagonally with the float. After the grout has partially dried, clean the tiles with a damp sponge to remove any haze.
Seal for Longevity
To protect against water and stains, seal the grout and tiles (if applicable) with a quality sealant. This final step enhances durability and keeps your bathtub area looking pristine for years to come.
Final Thoughts
Tiling a bathtub is a rewarding project that combines functionality with aesthetics. By focusing on preparation, waterproofing, and precision at every stage, you can achieve a professional finish that withstands the test of time. With these expert tips on how to tile a bathtub, you’ll be ready to tackle any tiling challenge with confidence.


Post a comment