
If you need to know how to remove tile adhesive, this can feel daunting to figure out. Whether you’re renovating a kitchen, updating a bathroom, or simply fixing a few loose tiles, it’s important to prepare. Properly removing old tile adhesive ensures that the new tiles adhere correctly and last longer. In this guide, we’ll walk you through the tools you’ll need, the situations where you might need to remove tile adhesive, and how to tile on new adhesive.

Why You Might Need to Remove Tile Adhesive
There are several scenarios where you might find yourself needing to remove tile adhesive:
- Renovation Projects: When updating a space, removing old tiles and their adhesive is crucial for a fresh start.
- Repair Jobs: If tiles have come loose or cracked, removing the adhesive can help ensure a solid foundation for replacements.
- Substrate Replacement: Sometimes, the surface beneath the tiles (like drywall or cement board) needs replacing, necessitating adhesive removal.
- Improper Installation: If the initial installation wasn’t done correctly, you might need to remove the adhesive to fix issues.
Tools Needed to Remove Tile Adhesive
Before diving into the removal process, gather the necessary tools to ensure an efficient and effective job:
- Safety Gear: Safety goggles, gloves, and a dust mask are essential to protect yourself from debris and dust.
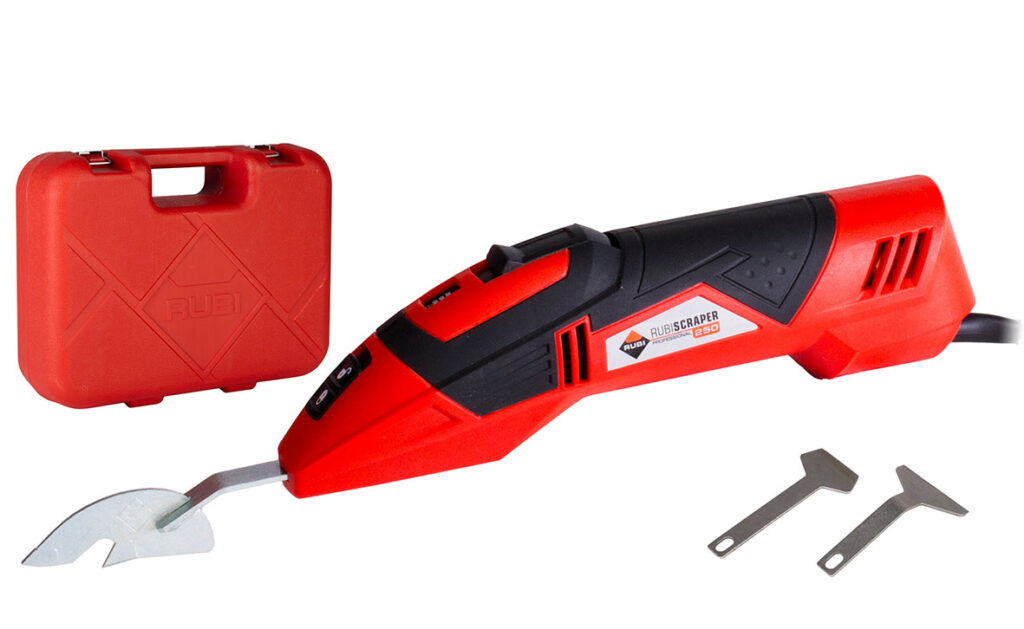
- RUBI Scraper: This can be used to remove adhesive, as well as grout.
- Chisel and Hammer: Useful for stubborn adhesive spots.
- Grinder pads: For even more stubborn areas, a grinder with grinding pads might be best.
- Electric Multi-Tool: Fitted with a scraper attachment, this can make the job quicker.
- Chemical Adhesive Remover: For particularly tough adhesives, a chemical solution might be necessary.
- Bucket and Sponge: For cleaning up as you go.
- Vacuum Cleaner: To keep the area clean from dust and debris.
Step-by-Step Guide on How to Remove Tile Adhesive
Step 1: Safety First
Before starting, put on your safety goggles, gloves, and dust mask. Tile adhesive removal can produce a lot of dust and sharp debris. You can also hang dust sheets in doorways to make sure the dust and debris only stays in one room.
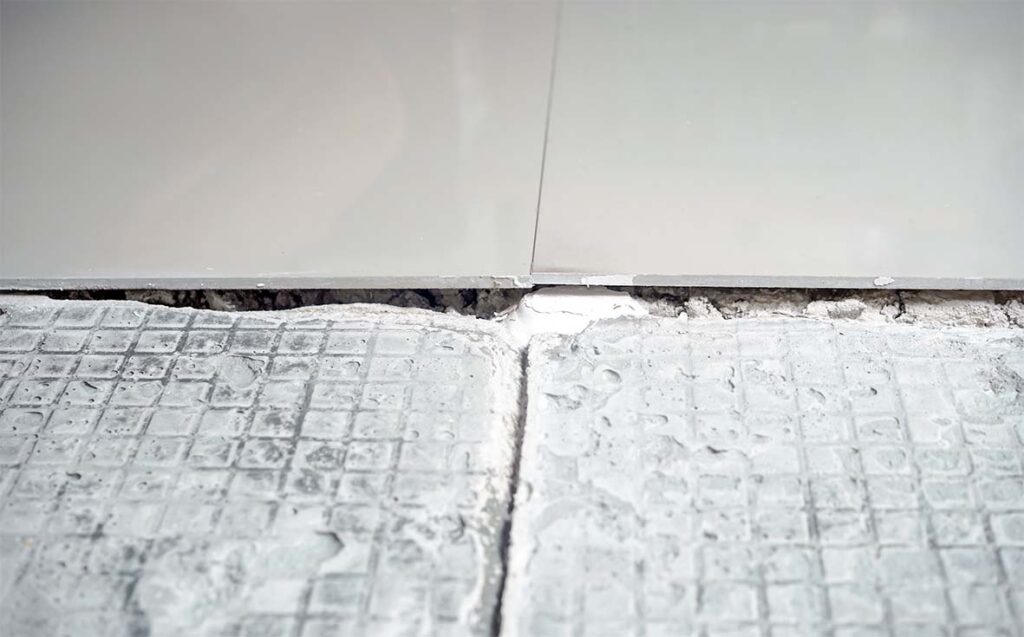
Step 2: Assess the Adhesive and Subfloor
Identify the type of adhesive used. Cement-based adhesives are more challenging to remove than organic mastic adhesives. You will also need to assess the condition of the subfloor. During adhesive remove you can damage the subfloor, which might need to be fixed before you lay new adhesive down.
Step 3: Start with Mechanical Removal
Begin with the RUBI scraper and the flat head attachment to remove as much adhesive as possible. Hold the tool at a low angle and push it under the adhesive, making sure to let the tool
Step 4: Use Grinder Pads
For stubborn adhesive, use grinder pads. This can make the removal process a lot easier, and target larger areas in one go. Be sure not to apply too much pressure, as this can damage the subfloor and burn out the grinder pad early.
Step 5: Chisel and Hammer
For remaining spots, use a chisel and hammer. Position the chisel at a low angle and gently tap it with the hammer to break the adhesive free.
Step 6: Chemical Adhesive Remover
If all the methods mentioned above aren’t enough, apply a chemical adhesive remover. Follow the product instructions carefully, typically involving application, waiting, and then scraping off the softened adhesive.
Step 7: Clean the Surface
Once the adhesive is removed, make sure you use an M Class vacuum to remove any left over dust and debris. After this you can clean the surface with a bucket of warm water and a sponge. Ensure all residues are wiped away and dry before proceeding to the next step.

Preparing the Surface for New Tile Adhesive
Proper surface preparation is crucial for the success of new tile installation. Here’s how to ensure your surface is ready:
Step 1: Inspect the Surface
Check for any damage that may have occurred during adhesive removal. Repair cracks, holes, or uneven spots with appropriate fillers.
Step 2: Sand the Surface
If the surface is rough, lightly sand it to create a smooth, even base for the new adhesive. This step is particularly important for wood or drywall surfaces.
Step 3: Clean Thoroughly
Remove all dust, debris, and residues from the surface. An M Class vacuum cleaner can help with this, followed by wiping down with a damp cloth.
Step 4: Dry Completely
Ensure the surface is completely dry before applying new adhesive. Moisture can prevent proper adhesion and lead to future problems.
Step 5: Prime if Necessary
Depending on the surface material, applying a primer can enhance adhesion. Follow the adhesive manufacturer’s recommendations for any specific priming requirements.
Tips for Successful Adhesive Removal and Surface Preparation
- Take Your Time: Rushing can lead to mistakes and potential damage to the underlying surface.
- Use the Right Tool for the Job: Different adhesives and surfaces require different tools and techniques.
- Follow Safety Precautions: Always wear protective gear and work in a well-ventilated area, especially when using chemical removers.
- Consult Professionals if Needed: If the task seems too challenging or if you encounter unexpected issues, don’t hesitate to seek professional help.
Removing tile adhesive is a critical step in any tiling project. By using the right tools and following a systematic approach, you can ensure a clean, smooth surface ready for new tile adhesive. Whether you’re renovating an entire room or making small repairs, proper adhesive removal and surface preparation will contribute significantly to the longevity and appearance of your tiles. Remember, thorough preparation leads to better results, so invest the time and effort to do it right.

Post a comment