When it comes to achieving a professional finish in tiling projects, learning how to cut tile trim is an essential skill. Tile trim not only enhances the aesthetic appeal of your tiled surface but also protects the edges of your tiles from damage. In this guide, we’ll cover everything from selecting the right type of tile trim to using the correct tools and techniques to achieve precise cuts. Whether you’re a DIY enthusiast or a professional tradesperson, these tips will help you know how to tile using tile trim.


Types of Tile Trim and Their Uses
Tile trim comes in a variety of materials, each suited for different applications and aesthetic preferences. The most common types include:
1. Metal Tile Trim
Metal tile trim, often made of aluminium or stainless steel, is perfect for modern, sleek designs. It is highly durable and works well in high-traffic areas or wet environments such as bathrooms and kitchens. Metal trims are ideal for external corners, providing both protection and a clean, polished look.
Where to Use Metal Tile Trim:
- Bathrooms and showers for a waterproof finish.
- Kitchens for sleek edge detailing around backsplashes.
- High-traffic areas where durability is paramount.
2. PVC Tile Trim
PVC tile trim is a budget-friendly and versatile option, available in a wide range of colours to match your tiles. While not as robust as metal trims, it is lightweight and easy to cut, making it ideal for straightforward DIY projects.
Where to Use PVC Tile Trim:
- Domestic spaces with lighter use.
- Projects where cost is a key consideration.
- When colour coordination is crucial.
Each material has its strengths, so choosing the right type of tile trim depends on your project’s requirements.

Tools You’ll Need to Cut Tile Trim
To achieve a precise fit for your tile trim, you’ll need the correct tools. The type of trim material (metal or PVC) will influence your choice of tools:

Essential Tools:
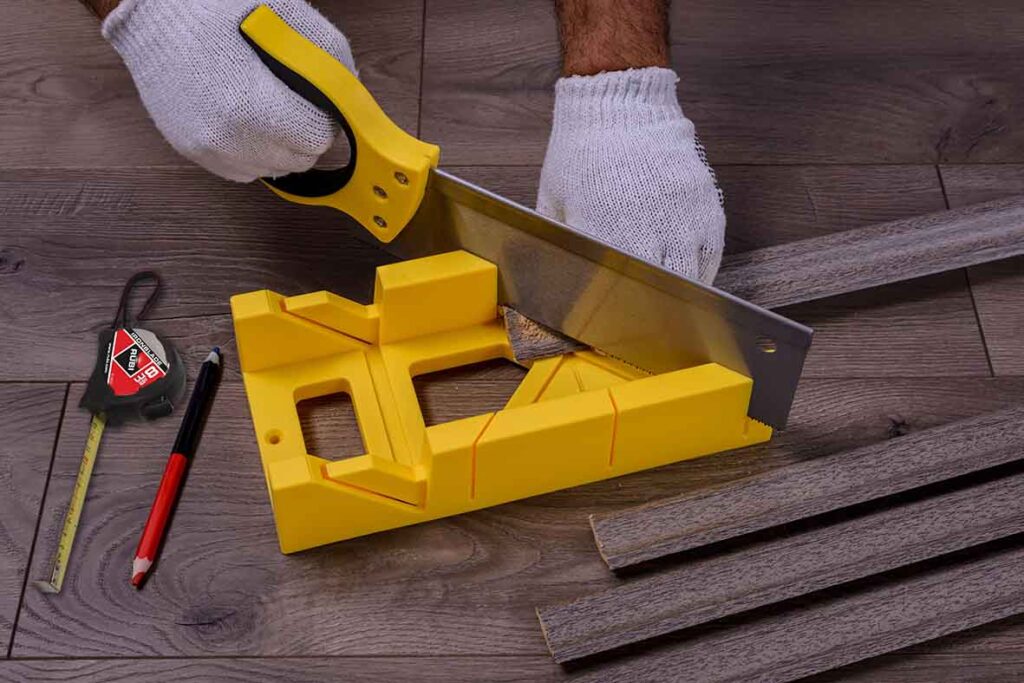
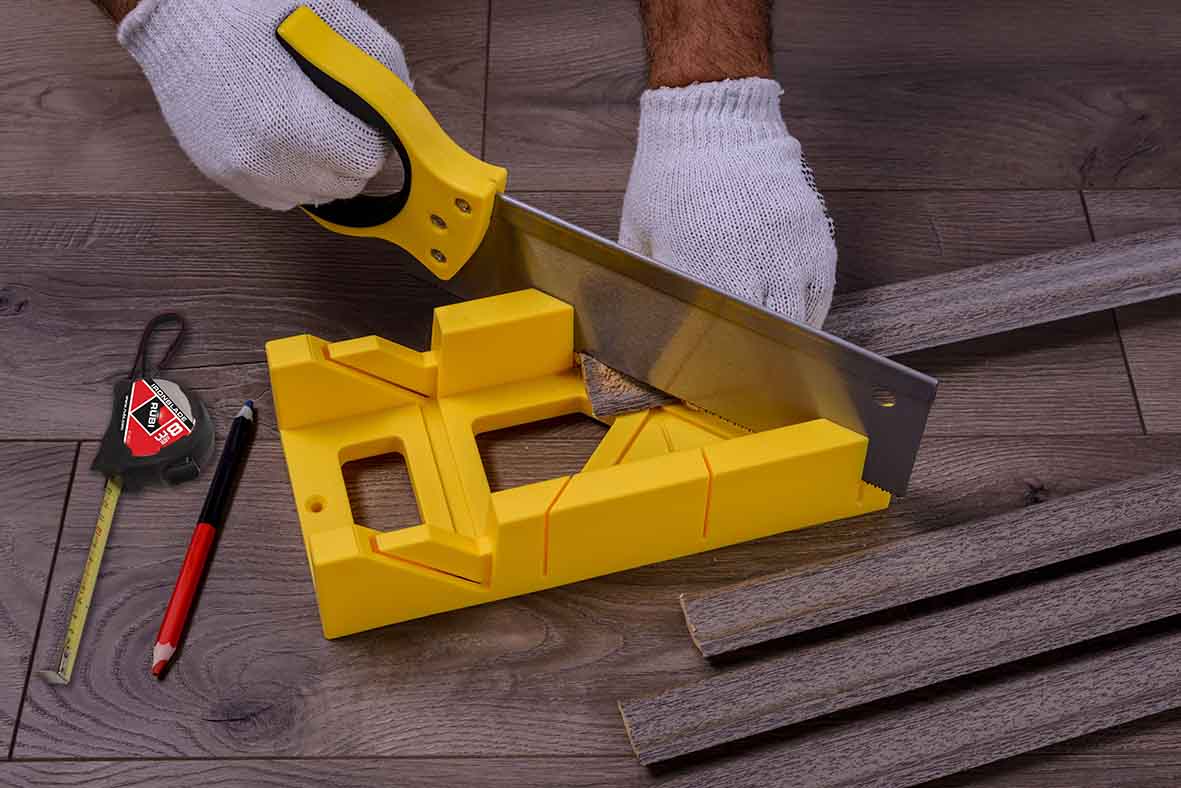
- Mitre Box
A mitre box helps guide your cutting tool, ensuring accurate angled cuts, such as 45-degree mitre cuts for corners. - Hand Saw
Ideal for cutting PVC tile trim. Choose a fine-toothed saw to prevent splintering. - Angle Grinder
Perfect for cutting metal tile trim. Use a blade designed for cutting metal to achieve clean edges. You can use the RSQ blade from RUBI to cut metal and PVC tile trims. - Measuring Tape
Precise measurements are essential for professional results. The Ironblade measuring tape from RUBI offers the precision needed. - Pencil or Marker
To mark your cut lines on the tile trim. - File or Sandpaper
Used to smooth sharp edges after cutting, preventing injuries and ensuring a polished finish.
Step-by-Step Guide to Cutting Tile Trim
1. Measure Twice, Cut Once
Accurate measurements are the foundation of any successful tiling project. Use a measuring tape to determine the exact length of tile trim required, accounting for both the tile thickness and the gap needed for grout.
Pro Tip: Allow for grout lines in your measurements. Failing to do so can result in trim that doesn’t align perfectly with your tiles.
2. Mark Your Cut Line
Using a pencil or marker, clearly mark the area where the trim needs to be cut. If you’re making a mitre cut, ensure the angle is marked accurately (typically 45 degrees for corners).
3. Choose the Right Tool
- For PVC Trim: Use a hand saw for straight or angled cuts. A fine-toothed saw will give you clean, precise edges without causing cracks or splinters.
- For Metal Trim: An angle grinder with a metal-cutting blade is your best option. Ensure the trim is clamped securely to prevent movement during cutting.
4. Straight Cuts vs. Mitre Cuts
- Straight Cuts: These are used for finishing edges or when the trim runs along a straight line. Place the trim in a mitre box and guide your saw or grinder along the marked line for a neat cut.
- Mitre Cuts: Mitre cuts are essential for creating seamless corners. Secure the trim in the mitre box at the desired angle (usually 45 degrees) and cut along the guide. Take care to align the trim correctly to avoid gaps.
5. Smooth the Edges
After cutting, inspect the edges of your tile trim. Use a file or fine sandpaper to smooth any sharp or rough edges. This step is especially important for metal trim, which can have sharp edges that pose a safety risk.
Pro Tip: Always wear gloves when handling freshly cut metal trim to avoid cuts or injuries.
Tips for Perfect Results
1. Take Your Time with Measurements
Rushing this step can lead to mistakes that are difficult to fix later. Double-check all measurements before making any cuts.
2. Test-Fit Before Installing
Before securing the trim, test-fit it along the tile edges to ensure it fits perfectly. This step allows you to make any minor adjustments before adhesive or grout is applied.
3. Cut Conservatively
It’s better to cut slightly less than needed and adjust than to cut too much and waste the trim.
4. Plan for Grout Lines
As mentioned earlier, grout lines can affect the placement of your tile trim. Factor in this allowance to avoid gaps or misalignments.
5. Use Proper Safety Gear
When using tools like angle grinders, wear protective goggles and gloves to protect yourself from flying debris and sharp edges.

Common Mistakes to Avoid
- Not Accounting for Grout: Forgetting to include grout allowances can result in trim that doesn’t align with the tiles.
- Skipping the Test-Fit: Neglecting this step can lead to errors that only become apparent after installation, making them difficult to correct.
- Using the Wrong Tool: Cutting PVC trim with an angle grinder or metal trim with a hand saw can damage the material and result in poor cuts.
Conclusion
Mastering how to cut tile trim is crucial for achieving perfect edges in any tiling project. By understanding the types of trim, using the right tools, and following a step-by-step approach, you can ensure a flawless finish that enhances both the functionality and appearance of your tiled surfaces. With careful measurements, precise cuts, and attention to detail, you’ll be able to tackle any tiling challenge with confidence.


Post a comment