Keeping your floor tiles sparkling clean is a satisfying task, but what often remains an eyesore is the grout in between those tiles. Learning how to tile and how to clean floor tile grout effectively can make a significant difference in the overall appearance of your floors. This guide will delve into different types of grout, the maintenance required for them, and when you might need to consider replacing the grout.

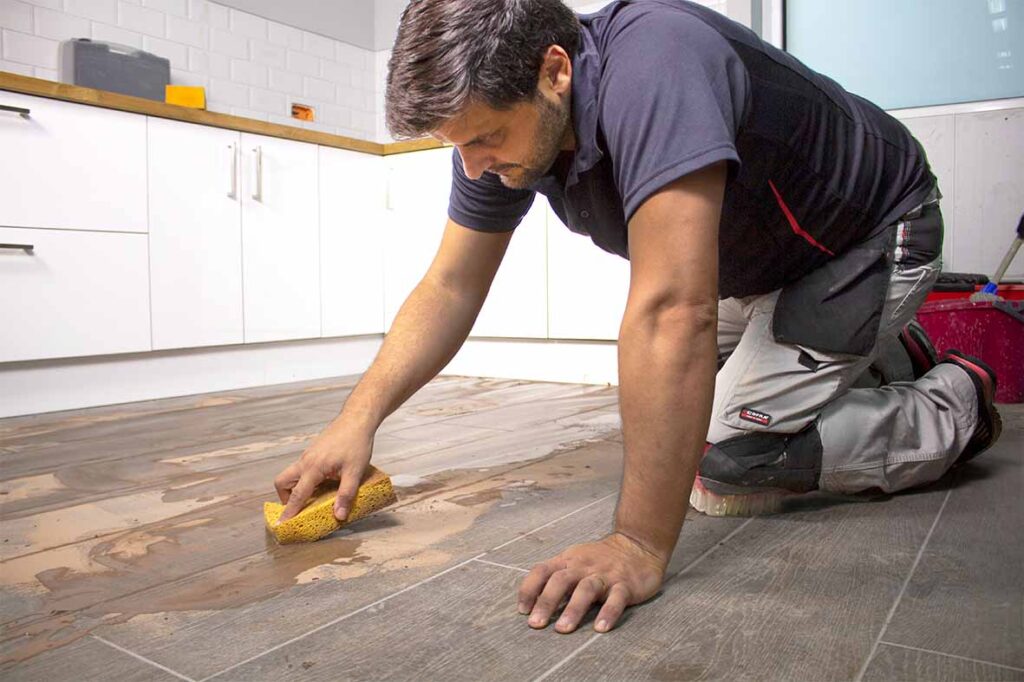
Understanding Grout: Cementitious vs. Epoxy
Before we get into the cleaning process, it’s crucial to understand the type of grout you’re dealing with. Grout generally falls into two categories: cementitious and epoxy.
Cementitious Grout:
Cementitious grout typically comes in two types: Sanded and unsanded. Sanded grout is used for wider joints (more than 1/8 inch), while unsanded is suitable for narrower joints. They are both made from a mixture of cement, water, and sand.
Cementitious grout is porous and can absorb stains and moisture. These grouts require sealing to protect against water and stains.
Epoxy Grout:
Epoxy grouts are made from epoxy resins, and a filler powder. They are highly durable, non porous, and resistant to stains and chemicals. Epoxy grouts also don’t need sealing, unlike cementitious grouts.
If you are grouting areas such as kitchens and bathrooms, epoxy grout might be the best choice as it is ideal for use with high exposure to water and high traffic areas. Epoxy grout is strong and durable, making it a good choice in the home.

Cleaning Floor Tile Grout: Step-by-Step
Cleaning your floors is something that you probably do regularly, but targeting your grout lines might not be something that you have on your list of chores. These small detail areas can trap dirt easily.
Thankfully, you don’t have to search any further for how to clean floor tile grout.
How to Clean Cementitious Grout:
Your first step will be to sweep and mop your floors, as you would normally. Regular sweeping and mopping can prevent dirt and grime from settling into the grout lines. You can also use small brushes to get into the grout lines and use a gentle cleaning solution, such as warm soapy water, to help remove some mild staining.
For more severe staining and dirt build-up, you might need to use a pH Neutral cleaner designed specifically for tile and grout. This will avoid any chemical damage that can happen to your tiles or grout.
For Epoxy Grout:
Due to its non-porous nature, epoxy grout is less likely to stain. Regular cleaning with a mild detergent and water should suffice. But if there are any stubborn stains that remain, you can use a pH Neutral cleaner. This will avoid any further damage to your tiles and grout.
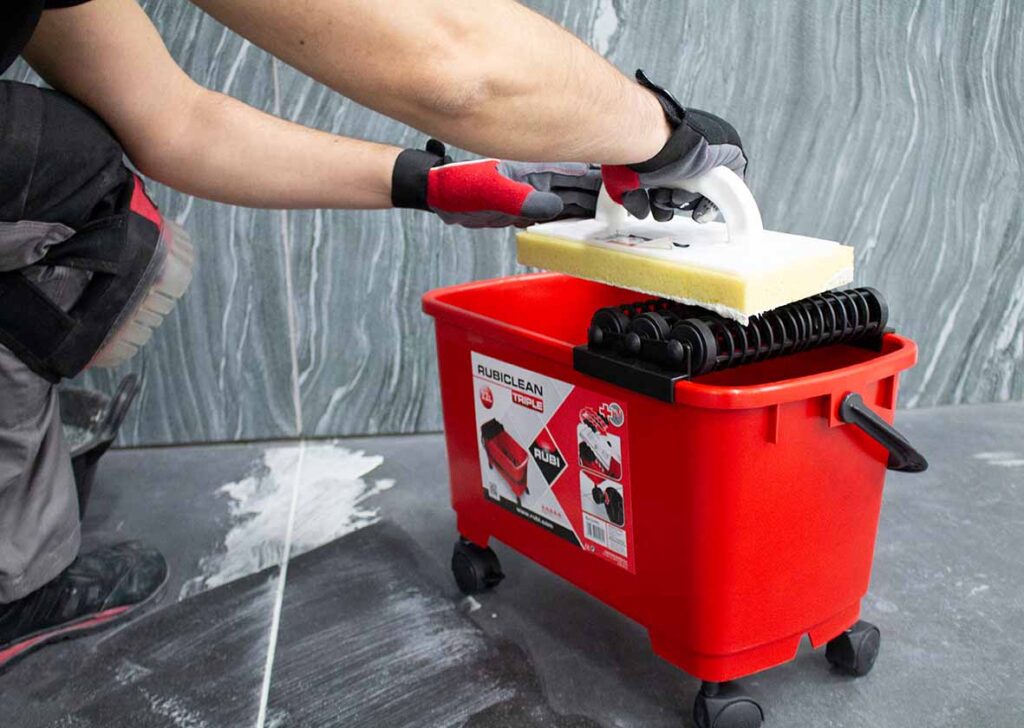
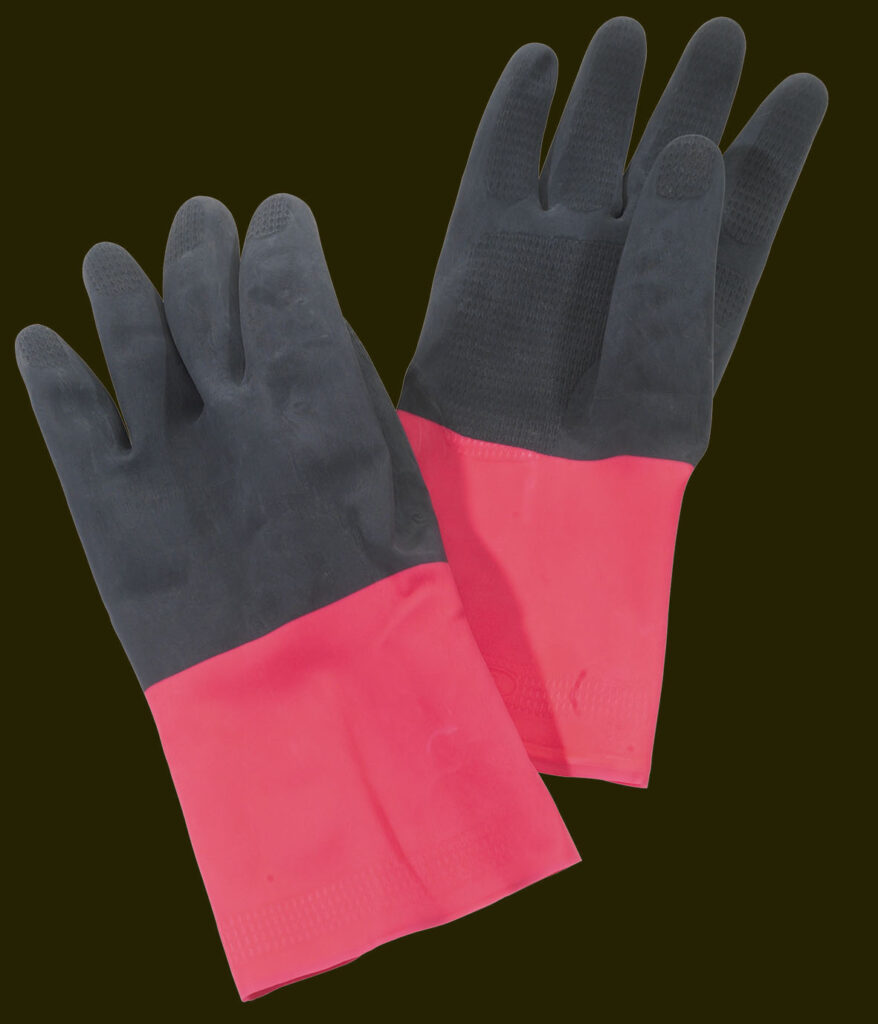
Sealing Cementitious Grout
Sealing cementitious grout is essential for maintaining its appearance and longevity. After deep cleaning, allow the grout to dry completely before applying a high-quality grout sealer. Follow the manufacturer’s instructions for the best results. Sealing should be done every 1-2 years depending on the amount of traffic and wear the floor experiences. Epoxy grout does not require sealing.
When to Replace Grout
Even with regular cleaning and maintenance, grout can become damaged or discoloured over time. Here are signs that it might be time to remove and replace your grout:
Cracks and Chips
Cracked or chipped grout can allow moisture to seep beneath the tiles, leading to further damage.
Persistent Stains
If deep cleaning doesn’t remove stains, it might be time to replace the grout.
Loose Tiles
Loose tiles can indicate that the grout beneath them has deteriorated.
Mold and Mildew
If mold and mildew keep returning despite cleaning, replacing the grout may be the best solution.
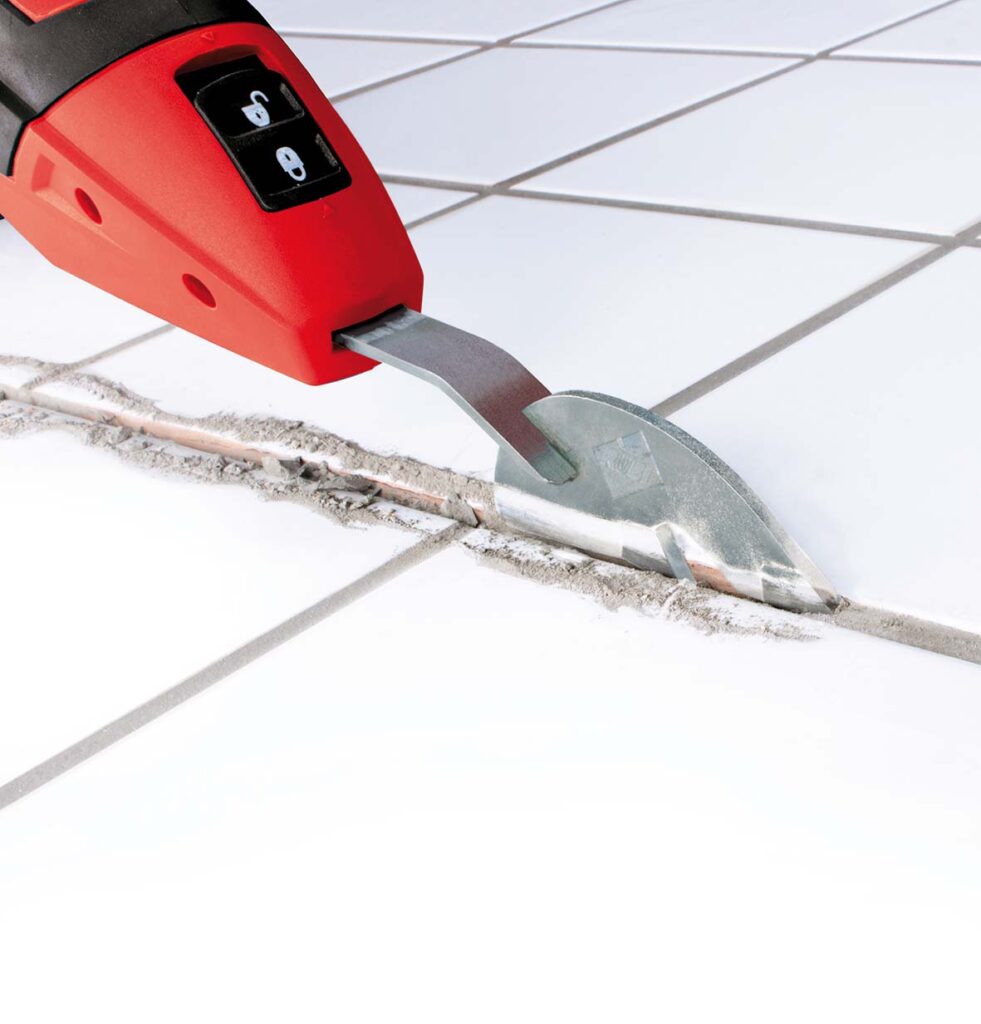
How to Remove and Replace Grout
When your grout is showing signs that it needs to be replaced, you’ll need a grout saw or multi-tool with a grout removal attachment, a vacuum, new grout, a grout float, and a sponge. Use the grout saw or multi-tool to carefully remove the old grout from between the tiles. Be cautious not to damage the tiles. Going slow and allowing the tool to do the work is always best. Vacuum out any debris and dust from the grout lines.
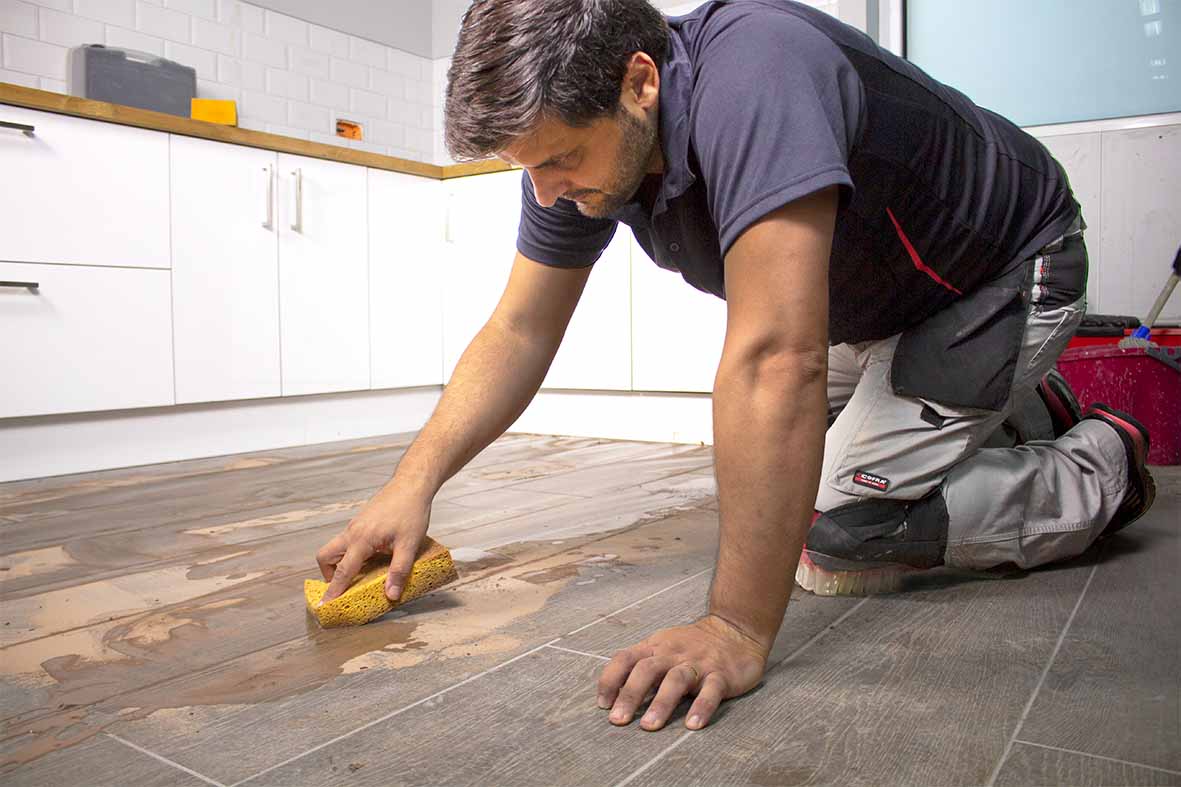
Next, follow the instructions on the grout packaging to mix the new grout. You might need a mixer paddle or to do this. Use the grout float to apply the new grout, pressing it into the joints. Wipe away excess grout with a damp sponge. Allow the grout to cure as per the manufacturer’s instructions. If using cementitious grout, remember to seal it after it has cured completely.
Tips for Maintaining Grout
Place mats or rugs in high-traffic areas to reduce wear on grout lines. Clean up spills immediately to prevent staining, especially highly acidic spills such as wine. Regularly inspect grout lines for damage or wear and address issues promptly.
Learning how to clean floor tile grout effectively and understanding when it needs replacement can keep your floors looking pristine. Whether you have cementitious, or epoxy grout, proper care and maintenance will extend its lifespan and keep it looking fresh. Regular cleaning, sealing, and timely replacement are key to professional-looking tile floors. With these tips, you can tackle grout cleaning and maintenance like a pro, ensuring your floors always look their best.


Thank you a lot for taking the time for you to share such a piece of good information. wood floors NYC
Thank you very much for taking the time to share such valuable information about clean floor tile grout.