When learning how to tile, one of the most crucial steps is determining how many tiles you’ll need to cover the required area. Underestimating can lead to delays, while overestimating can be costly. In this guide, we’ll walk you through how to find out how many plain tiles per metre squared are needed for a tiling project. We will cover the essential factors to consider when calculating tile quantities, including tile size, grout spacing, layout patterns, wastage allowance, and the use of tile coverage calculators.

Understanding Tile Size and Coverage
Tiles come in various sizes, and the dimensions directly impact how many plain tiles per metre squared are needed. Some common tile sizes include:
- 150mm x 150mm
- 200mm x 200mm
- 300mm x 300mm
- 600mm x 600mm
- Rectangular tiles (e.g., 300mm x 600mm, 200mm x 400mm)
The size of the tile influences the overall aesthetic and the amount of grout lines visible. Smaller tiles require more grout, which may increase the maintenance required over time, whereas larger tiles create a more seamless appearance.
Calculate tiles per metre squared
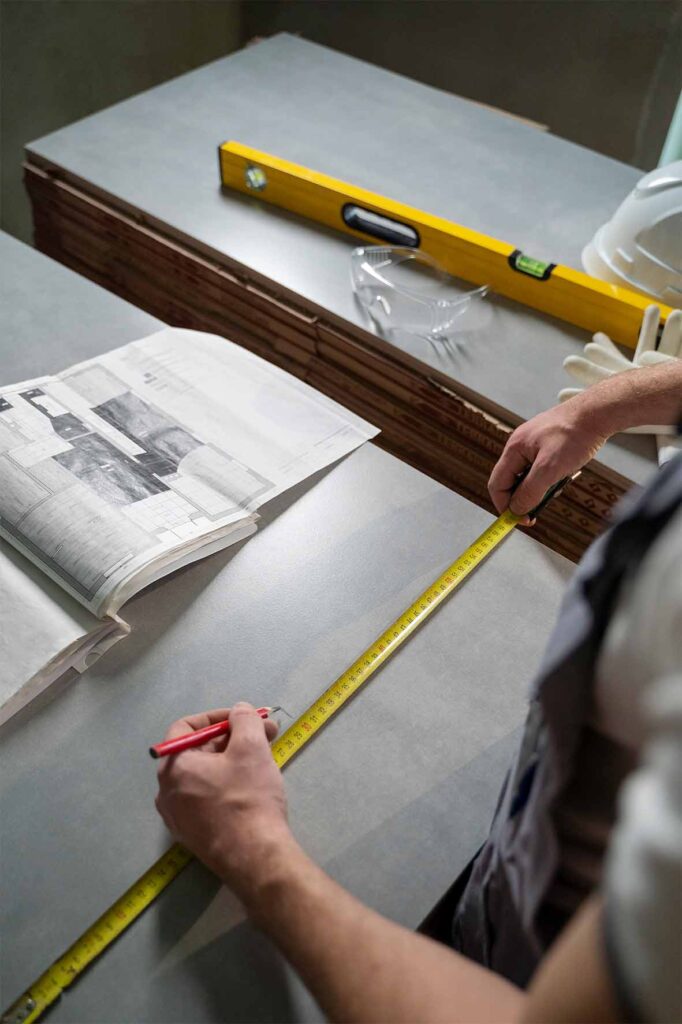
To calculate the number of tiles required per square metre, you simple divide the total area of the space (a) by the area of one tile (b). But first you will need to know how to find the square metre of a single tile and the room being tiled.
The formula for calculating the square metre of something is length in metres x width in metres = m2. For example, if you are using 300mm x 300mm tiles (which is 0.3m x 0.3m), the calculation would be: 0.3 x 0.3 = 0.9m2.
0.9m is the area of one tile.
Now you will need to do the same for the room being tiled. It’s best to do this for each surface individually. For example, let’s say you’re tiling a bathroom which is 6 metres long, and 4 metres wide, and the height of the walls are 5 metres. The square metre for the floor is 6m x 4m = 24m2.
The width of two walls is 6m x 5m = 30m2
The other two walls are 4m x 5m = 20m2
For the entire room you will need to add each calculation together: 24m2 + 30m2 + 20m2 = 74m2
Now, to find out how many tiles are needed for this room you will need to dive 74m2 by 0.9m2 (A / B)
74m2 / 0.9m2 = 82.222….
Since you can’t purchase 0.222 of a tile, you will need to round up to 83 tiles. Always round up when ordering tiles to ensure full coverage.
However, it is always recommended that you order 10%– 20% more tiles than needed to account for wastage and breakage.
Grout Spacing and Pattern Layout
Grout joints add spacing between tiles and slightly affect the overall tile count. A typical grout joint width varies from 2mm to 5mm, which can slightly increase coverage efficiency but should still be factored in for accuracy.
Grout choice can also influence the final look of the tiling. Matching grout colours create a seamless effect, whereas contrasting grout highlights the tile pattern.
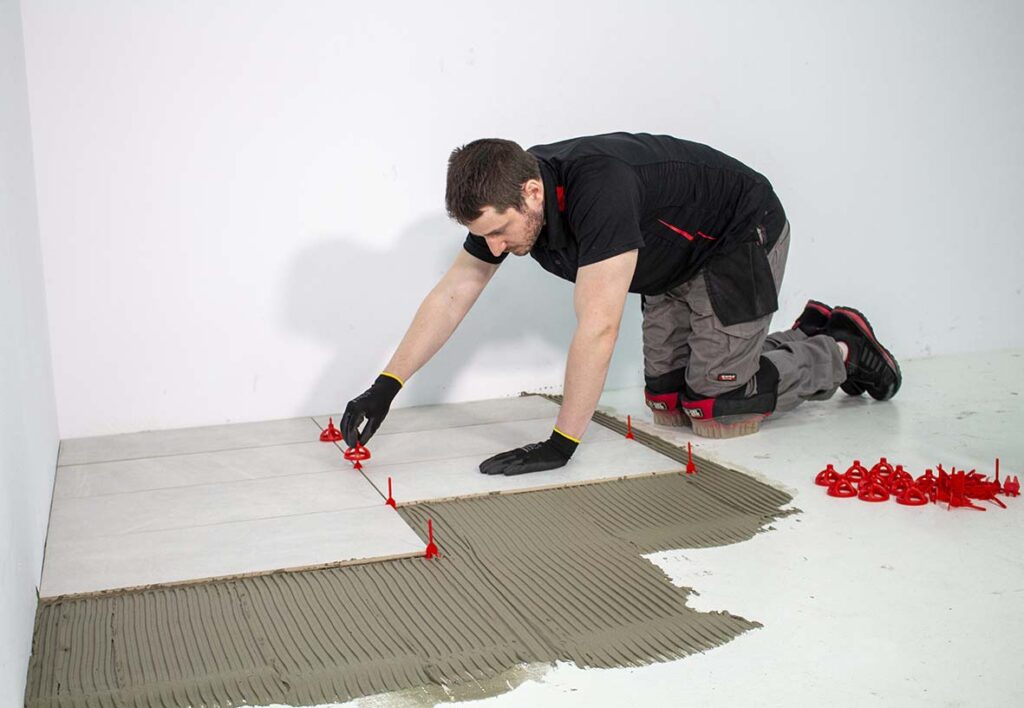
Different Tile Layout Patterns
Different tile layouts impact the number of tiles required. Some common layouts include:
- Straight Lay (Grid Pattern): The simplest pattern, requiring minimal cuts and wastage.
- Brick Bond (Offset Pattern): Requires more cuts, especially at the edges.
- Herringbone Pattern: A visually striking design but generates more wastage due to angled cuts.
- Diagonal Lay (45-Degree Angle): Requires additional tiles due to corner cuts and off-cuts.
- Chevron Pattern: Similar to herringbone but with precise angled edges, requiring even more cuts.
A more complex layout increases the number of tiles needed, so plan accordingly. Some patterns require professional installation expertise due to intricate cuts.

Allowing for Wastage and Cuts
To avoid running out of tiles due to breakages, cutting mistakes, or awkward room shapes, you should order extra tiles. A general rule is:
- Straight Lay: Order 10% extra
- Brick Bond/Offset Pattern: Order 15% extra
- Herringbone/Diagonal Patterns: Order 20% extra
- Chevron or intricate patterns: Order 25% extra
For example, if your project requires 50 tiles based on area calculations, ordering an extra 10% means you would purchase 55 tiles to allow for breakages and adjustments.
Factoring in Irregular Room Shapes
Rooms with alcoves, curves, or obstacles (such as pipes) may require additional cuts, increasing tile wastage. In such cases, rounding up your total tile requirement is advisable. If you’re tiling stairs or niche areas, ensure you consider custom cuts that may result in more waste.
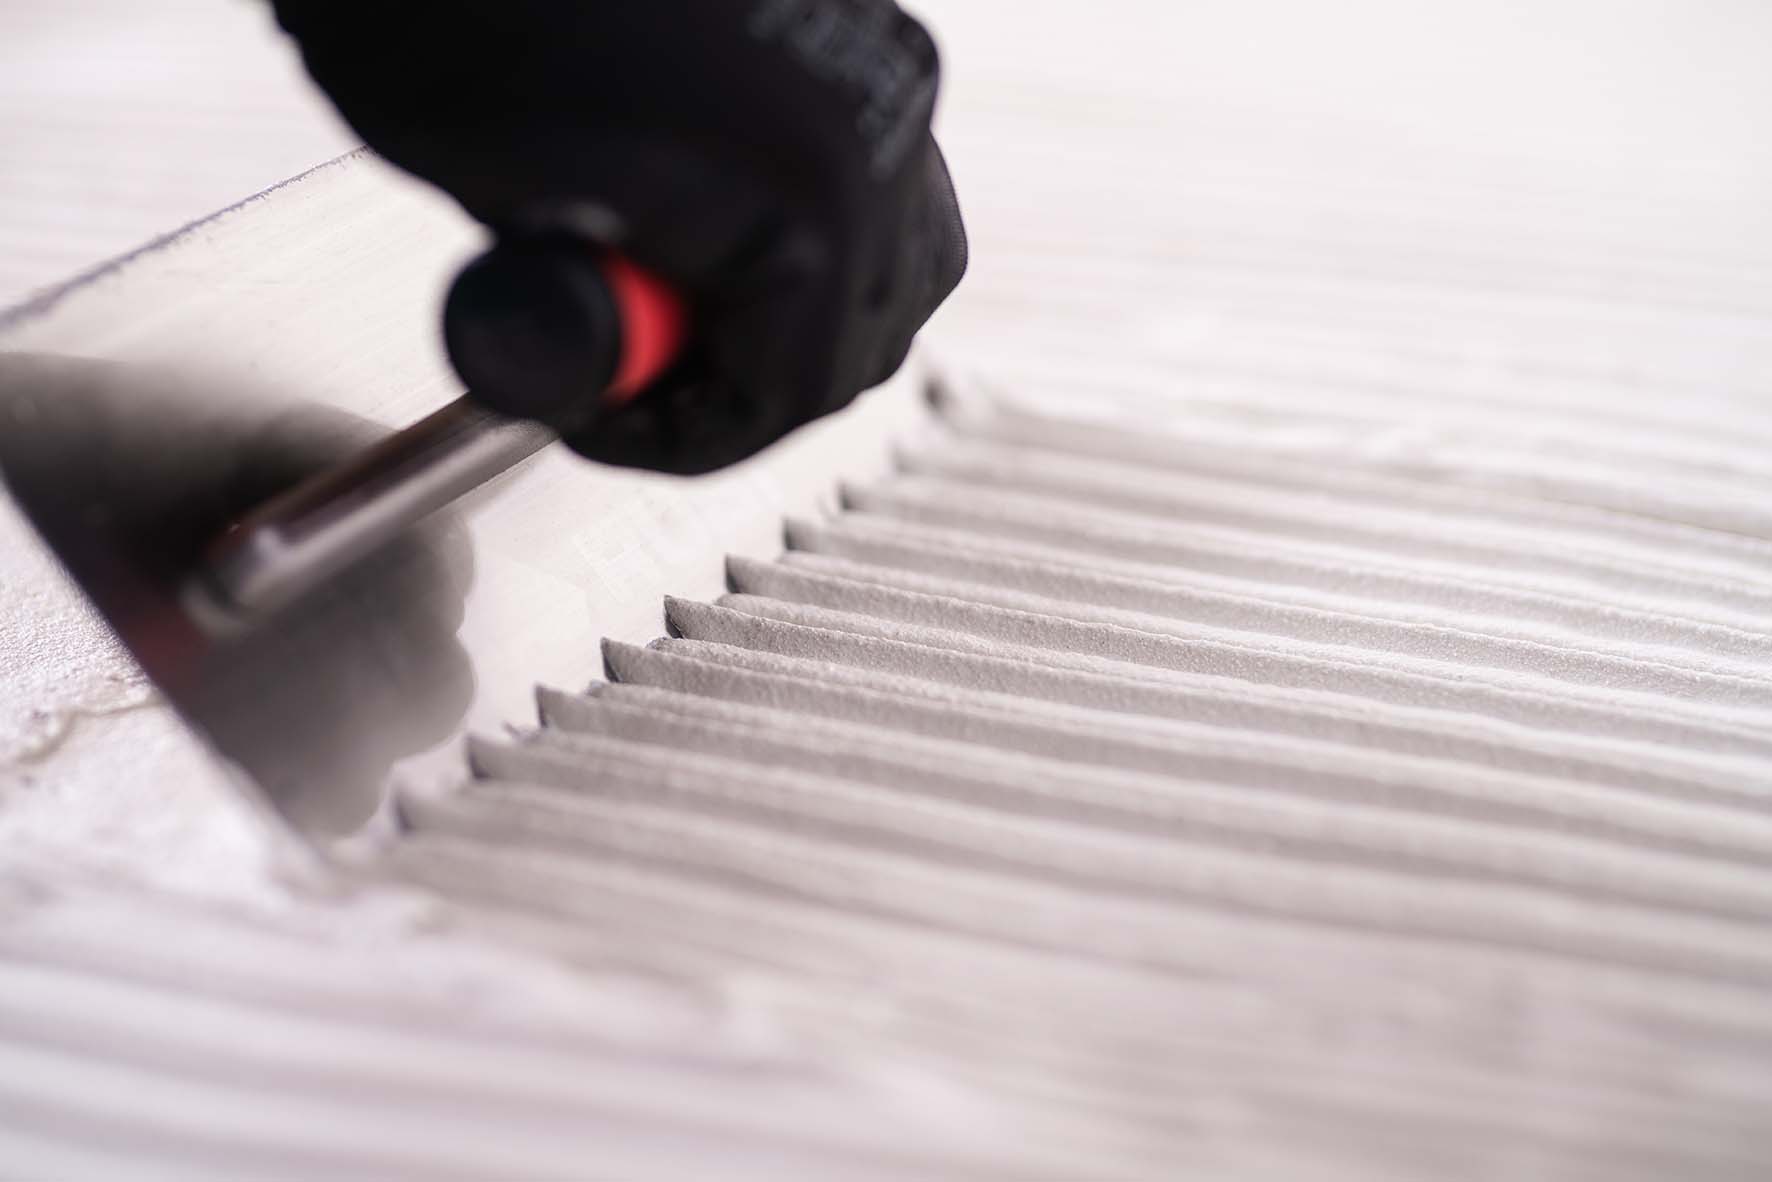
Cutting Tools and Their Role in Wastage
Using the right tools can minimize wastage. A manual tile cutter is great for straight cuts, while a wet saw is recommended for intricate shapes. Precision cutting can help reduce unnecessary waste and optimize tile usage.
Additional Tips for Ordering Tiles
While all the tips we have mentioned so far can help you get started and lay out beautiful tile patterns in whatever project you’re working on, it’s very easy to forget a few key considerations.
Consider Future Repairs
It’s a good idea to purchase a few extra tiles beyond your calculated wastage allowance. If tiles get damaged in the future, having spares ensures you can replace them without struggling to find a matching tile batch.
Checking Batch Numbers
Tiles can have slight variations in shade between production batches. Always check that your purchased tiles come from the same batch to ensure colour consistency.
Storing Extra Tiles
Store spare tiles in a cool, dry place to prevent warping or breakage. Keeping them from direct sunlight and stacking them carefully can prolong their usability. However, it is important to remember not to store your tiles in a cold environment. Cold air can make tiles more brittle, and increase the chance of breaking incorrectly.
How many plain tiles per metre squared
So, here is a breakdown of everything discussed in this blog post:
- The formula for calculating the square metre of something is length x width = m2 (make sure to use your measurements in metres). Use this formula to calculate the area of the room being tiled, and to find the area of one tile.
- To calculate how many tiles are needed per metre squared you will need to divide the total area in metres squared by the area of one tile in metres squared.
- Plan for mistakes! Order roughly 10% – 20% more tiles than you have calculated. This covers any mistakes that are made.
- Order spares for down the line. There’s nothing more frustrating than trying to find a tile to replace a broken one years after they’ve been installed. It’s best to keep two or three stored somewhere just in case.
- Account for grout lines – even if your grout lines are 2mm wide, the gap adds up. This can drastically affect your layout, or how many tiles you use. Smaller tiles will mean more grout lines, and larger tiles means fewer grout lines.
- Try and order your tiles from the same batch – there can be slight differences between batches in colour and size
- Don’t store your tiles too cold! This can make them brittle and more prone to breaking.
Conclusion
By following these steps—understanding tile size, factoring in grout and layout, allowing for wastage, and using a tile calculator—you can accurately estimate how many plain tiles per metre squared you need for your project. Proper planning ensures a smooth tiling process, prevents shortages, and helps maintain budget control. Whether tiling a small bathroom or a large commercial space, these principles remain the same for achieving a professional and efficient tiling job.
Tiling is both a functional and aesthetic decision. Ensuring you have the right quantity will help you achieve a flawless finish without unexpected hiccups.
Post a comment