Would you like to know the best practices and tips on how to tile and use a glass tile cutter? It is a simple hand-operated tool, as well as a must-have for any tile installation using glass tile. It can help you cut accurately and safely. Whether you are working with standard or custom-sized tile, a glass tile cutter can be an ideal option for cutting glass. You will be able to enjoy all the benefits of glass tile while still having access to a variety of styles and designs.
With this guide, you’ll learn about the most widely used models, how to choose one, and how to make all your cuts without fracturing the material or causing scratches.


WHAT IS GLASS TILE?
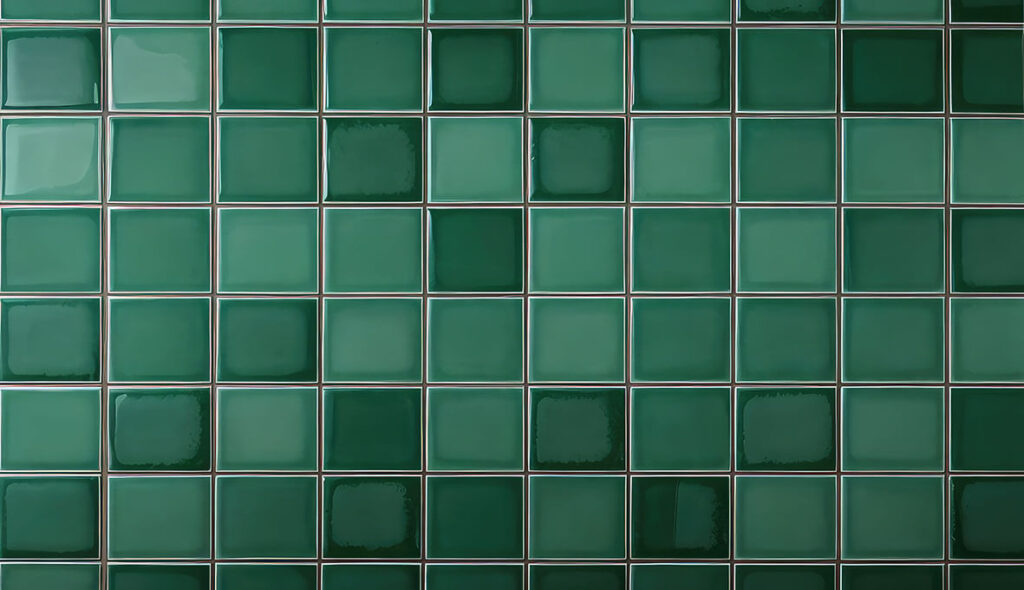
Glass tiles are like ceramic tiles; only translucent glaze is baked onto the back of thin pieces of glass to create the glass tile finish, giving it a translucent coating.
Glass tiles are gaining popularity recently due to the beautiful effect they give a room. In the same way that you would use a mirror to make a room look larger, glass tiles can provide the same effect as the light reflects off the glass surface.
Glass tiles are available in a wide range of ready-made mosaic patterns, or you can purchase them as individuals, allowing you to be as creative as you desire.
TIPS & TRICKS FOR USING A GLASS TILE CUTTER
Before we get into the nitty-gritty of cutting glass tile, here are a few tips to keep in mind:
1. Use a glass blade or scoring wheel: glass tile diamond blades and scoring wheels have finer and softer diamonds, ensuring a smooth cut.
2. Cut upside down: this will produce a better-looking cut once you’ve smoothed the front side of the glass (this should not be done with glass tiles with no backing).
3. Round is better: round the corners of your L -cuts to help prevent cracking during installation or over time.
4. Cut each end before the middle: this will help prevent the corner chipping at the end of the cut.
HOW TO CUT GLASS TILE
First, you’ll need to decide on which tool you will need. To do this, you need to figure out what type of tile you are cutting, what sort of cut is required, and how many tiles you need to cut. There are four main methods of cutting glass, and each requires its own specialized tool.
These tools are:
- Glass tile cutter
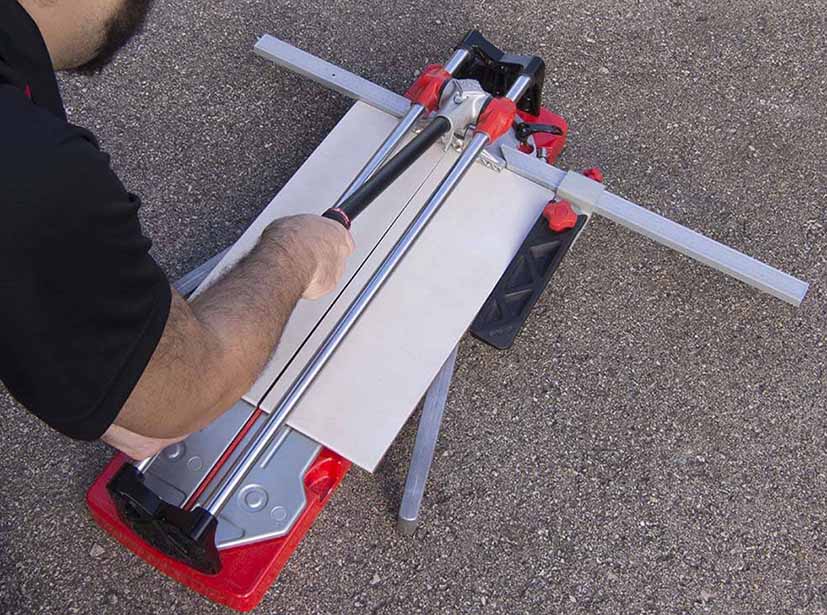
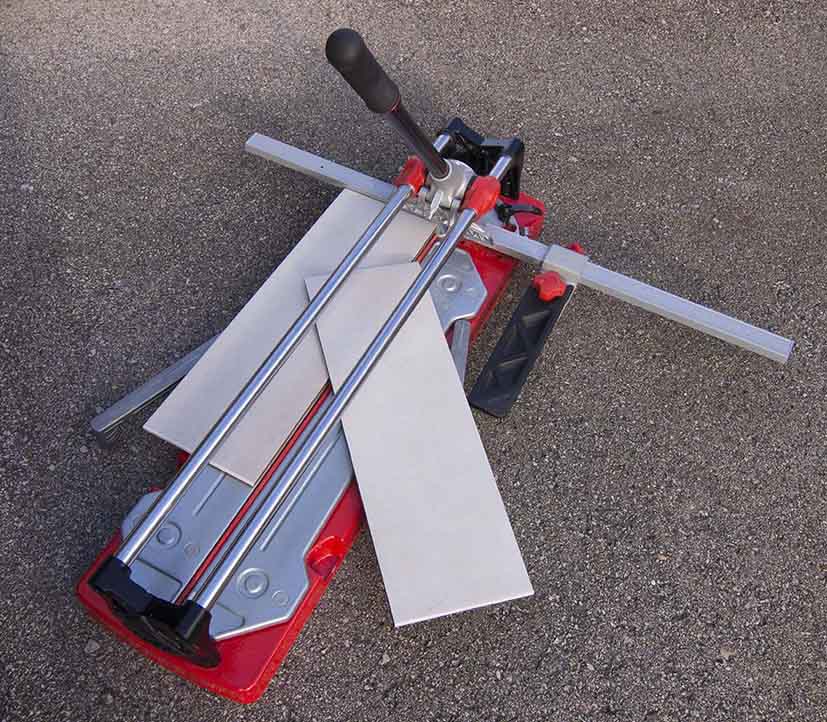
- Manual tiler cutter
- Wet saw
- Tile nippers

USING A GLASS TILE CUTTER
A glass and tile cutter is not an expensive item to get and, unlike some of the other tools we will mention, is conveniently small and portable. When purchasing this tool, you will also need to buy a pair of pliers.
Pro tip: practice with some spare tile first, so you can get a feel for it.
Now that you’re ready, start by marking your tile where you want it cut. Next, score the tile on one side with the tile cutter. Finally, place the cutter away from you and draw the wheel towards you.
Pro tip: press firmly enough that you hear a cracking noise as you cut.
Once scored, take your pliers and grip the tile on one side. Pull down to snap it off. Finally, smooth the edges with your rubbing stone and wipe it down with the cloth.
Best Used For: small jobs with not too many cuts.
USING A MANUAL TILE CUTTER
A manual cutter can really come into its own if you have a lot of tiles to cut. It’s more efficient than a glass tile cutter, as the cutter can both score and snap the tile.
The method of use is quite simple. First, mark off the part you want to cut and place the tile on the bar tile cutter’s cutting pad. Then, line up your marker line with the guide on the manual tile cutter.
Pro tip: always aim to use a diamond blade or scoring wheel for cutting glass tiles.


Cut the tile by pushing the scoring handle away from you. Once scored, if your machine is fitted with a pressure foot, you can use that to snap it off. Otherwise, you can do it by hand.
Finally, smooth the edges with your rubbing stone and wipe it down with the cloth.
Best Used For small projects with not too many tiles, as well as angled cuts.
USING A WET SAW
This is the recommended method to cut glass tile. The water flow counteracts the overheating of the blade and tiles and results in a smooth, clean-cut.
Like with all the other methods, start by marking your cuts with your non-permanent marker. Next, put on your protective gloves and start up the wet saw.
Pro tip: let the wet saw run for 10-15 seconds to ensure a properly wet blade.
Once the water flows over the blade, you can begin by aligning your marked line with the guide on the wet saw. Next, slowly start moving the blade of the saw along your marked line to cut.
You don’t want to exert too much force; instead, you want to apply light and even pressure.
Once the cut is made, turn off the saw, smooth the edges with your rubbing stone, and wipe it down with the cloth.
Best Used For: Large projects as well as corner cuts.
USING TILE NIPPERS
This tool is typically used to make smaller, artistic shapes with glass tile. It looks like pliers, but it has upper and lower wheels, similar to a can opener.
Begin by marking your cut on the tile with your marker, and put on your safety glasses. Next, align your nippers with your marked line and firmly squeeze the nipper’s handles to cut through the tile forcefully.
Pro tip: mark the glass with a scoring wheel before nipping.

Once you’ve completed your cut, smooth the edges with your rubbing stone and wipe it down with the cloth.
Best Used For: Nipping off pieces of a tile, as well as irregular-shaped cuts.
ALL YOUR GLASS TILE CUTTER OPTIONS
So that’s it. Hopefully, this article has demystified using tile cutters, and you feel confident to go ahead with your installation. Just remember that a glass cutting blade is different from the ones used on ceramic tiles. It’s always recommended to go for a diamond tile cutter blade for best results.
If you are interested in purchasing a quality glass tile cutter, be sure to check out our range on our website.


Post a comment