Epoxy resin grout is a versatile material known for its durability and resistance to stains and chemicals. Whether you’re a seasoned DIY enthusiast or a novice homeowner looking to tackle a renovation project, mastering how to tile with epoxy resin grout can elevate the finish of your tiles and ensure a long-lasting result. In this blog, we will explore the step-by-step process of applying this type of grout, discussing everything from the preparation to the final touch-ups. With this step-by-step guide you will have all the information needed to create beautiful and professional-looking tiled surfaces in your home.


Why Choose Epoxy resin grout?
Before diving into the application process, it’s essential to understand why epoxy resin grout is such a popular choice among professionals and DIY enthusiasts alike. Epoxy resin grout is made from a combination of resin and hardener. The combination of the two materials gives it exceptional properties that traditional cement-based grouts lack. Some of the key benefits of epoxy grout include:
- Durability: Epoxy resin grout is incredibly tough and resistant to cracks, making it perfect for high-traffic areas and surfaces exposed to heavy use.
- Stain Resistance: Unlike cement-based grout, epoxy resin grout is highly resistant to stains, making it ideal for kitchens, bathrooms, and other areas prone to spills and dirt.
- Waterproof: Epoxy resin grout is non-porous, meaning it doesn’t absorb water, making it perfect for wet areas like showers and swimming pools.
- Chemical Resistance: It is a great choice for commercial kitchens, labs, and places where harsh cleaning agents are used because of its chemical resistance.
- Longevity: With proper application and maintenance, epoxy resin grout can last for many years without losing its integrity or appearance.
Now that we understand why epoxy resin grout is such a popular option, let’s get started with the application process.
Prepare the Surface
Preparation is crucial to ensure a successful grout application. Before you begin the grouting process, ensure that your tile installation is complete, and the adhesive has fully cured. This means waiting at least 24-48 hours after setting the tiles. Once the adhesive has cured, you can proceed with cleaning the surface.
- Cleaning: Clean the tiles thoroughly to remove any debris, dust, or adhesive residues. Use a damp cloth or sponge to wipe down the tiles, ensuring no particles will interfere with the grout’s adhesion.
- Protecting Adjacent Surfaces: Mask off adjacent surfaces with painter’s tape to protect them from accidental spills or splatters. This step is particularly important if you’re working with delicate materials like wood or wallpaper near the tiled area.
- Final Check: Double-check the tile alignment and spacing. Make sure the tiles are even and level, as any misalignment could become more pronounced once the grout is applied.
Epoxy Resin Grout Preparation
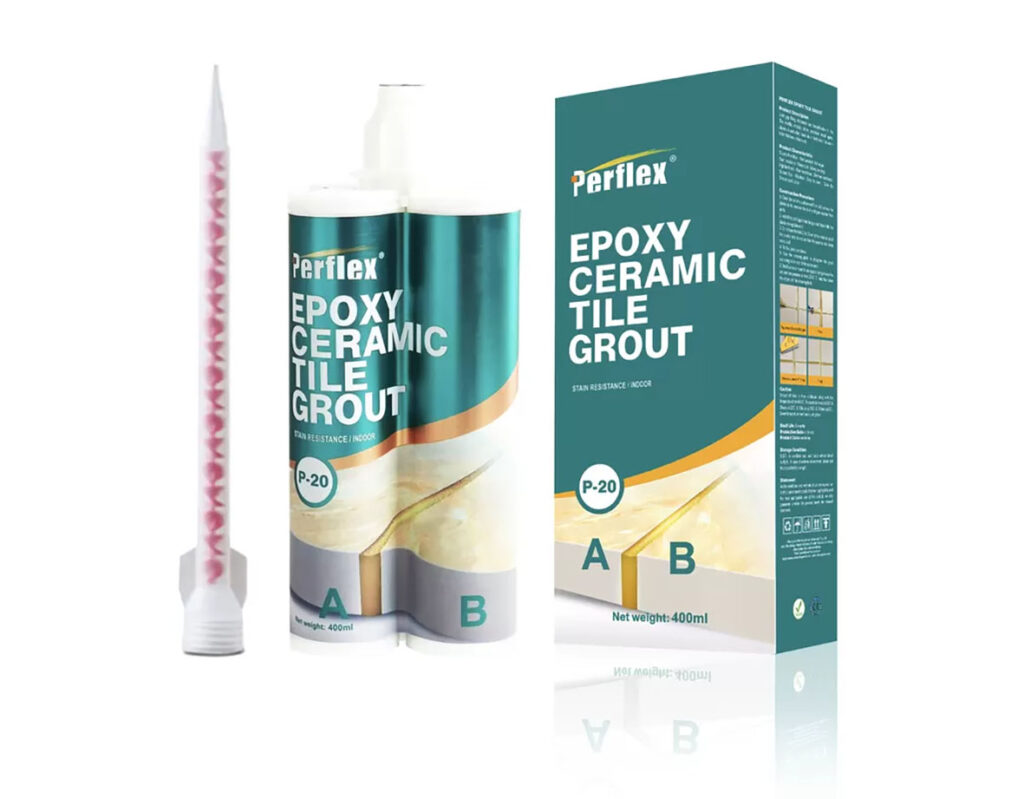
Epoxy resin grout typically comes in two parts: resin and hardener. It’s essential to follow the manufacturer’s instructions for mixing the two components thoroughly.
When you research epoxy resin grouts, you will find many brands offering epoxy grout products. Some come in tubs that you have to mix together, similar to traditional cementitious grouts. Others come in tubes which are used with an application gun similar to a silicon application tool. The leading brand for this type of epoxy resin grouts is Perflex.

It is always recommended to shop around and find the best type for you. With the tubs that you mix together yourself, the application is similar to traditional grouts. However, with epoxy grouts in tubes, the application is similar to how you would apply silicone.
Apply the Epoxy resin grout
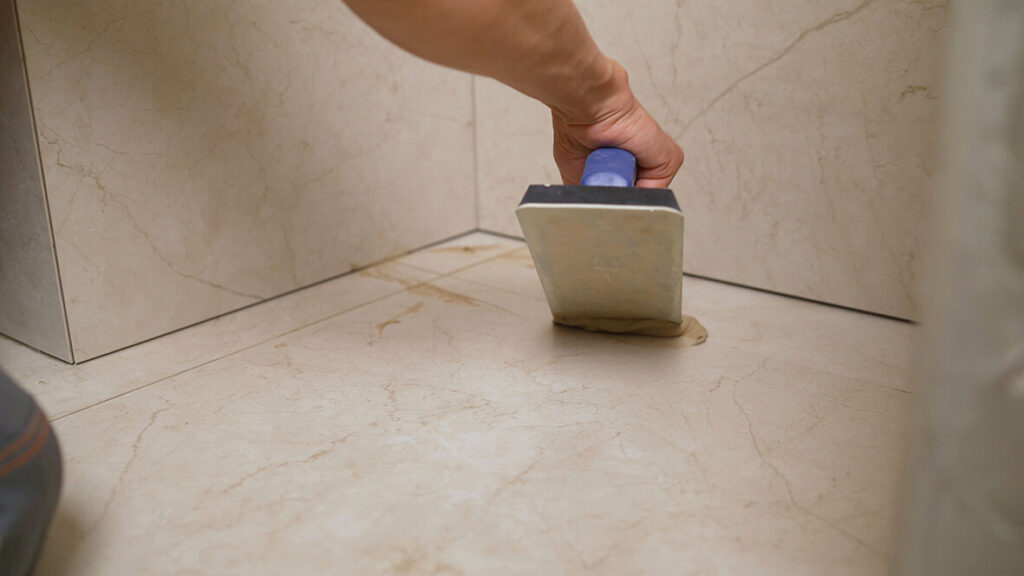
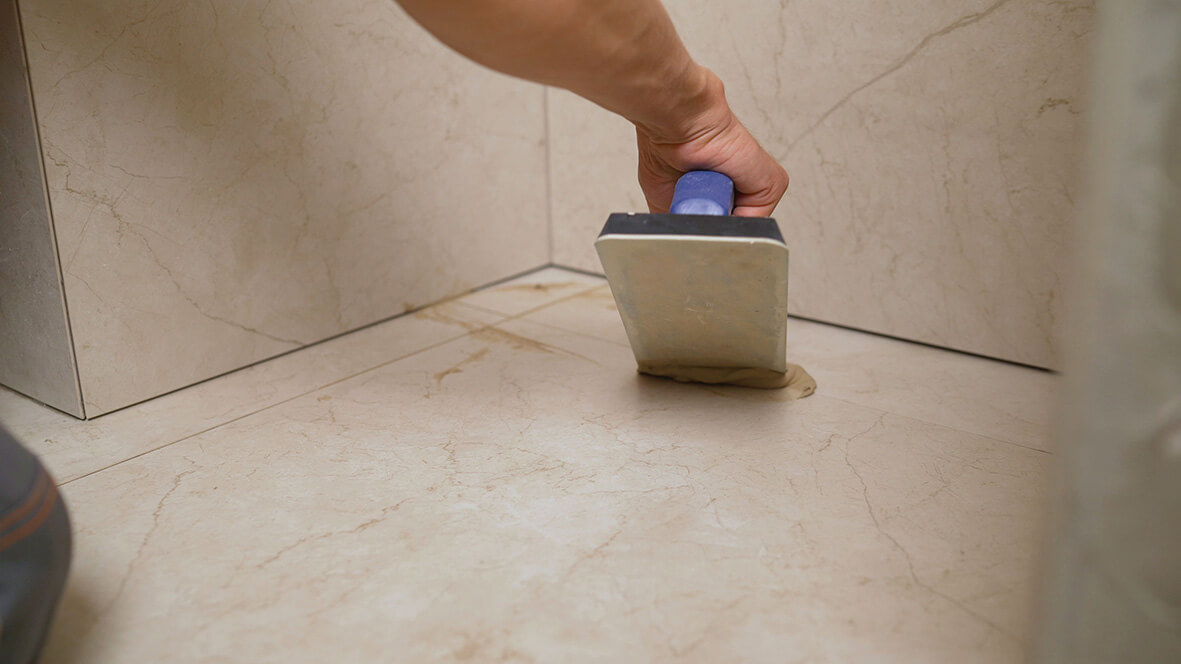
Now that you have your epoxy grout, it’s time to apply it to the tiled surface. This step requires precision and attention to detail to ensure a flawless finish.
- Tool Selection: If you have chosen to use the tub version of epoxy grouts you can use a rubber grout float to spread the mixed epoxy resin grout. If you have selected the tube version, then you can use masking tape and an application gun.
- Filling the Joints: Ensure that the joints are completely filled with grout. Press the grout firmly into the joints, working in small sections to prevent the grout from drying out before you can finish.
- Avoid Rush: Take your time to ensure all gaps are filled. The even application at this stage will result in a more professional-looking finish.

Remove Excess Grout
After filling the joints, removing the excess grout from the tile surface is essential to get a clean and even finish across your tiles.
One of the biggest selling points of epoxy grout is the clean-up. With traditional grouts, cleaning can take a while with multiple sponges and buckets of water. This can result in grout haze if the cleaning is not done well. However, with epoxy resin grouts, the grout hardens and can be pulled away from the tile surface, but not from the joints in between the tiles. This makes the clean-up quicker, efficient, and less messy.
However, if you do end up with excess grout on the tiles, you can follow these steps.
- Angle Matters: Use a clean rubber grout float to remove excess grout from the tile surface at a 45-degree angle. Working diagonally is crucial to avoid pulling grout out of the joints.
- Tools Needed: Keep a bucket of clean water and a sponge handy to rinse the float and wipe the tiles as you go. This helps in maintaining a clean working environment.
Inspect and Touch-Up
After removing the excess grout, inspect the tiled surface for any missed areas or imperfections.
- Attention to Detail: Check for any areas that may have been missed during the initial application. Corners and edges can be particularly hard to clean, and are often overlooked.
- Additional Grout Application: If necessary, apply additional grout to fill in any gaps or low spots. Use the rubber float or applicator gun to ensure the new grout blends seamlessly with the existing grout.
Allow the Grout to Cure
Curing is a crucial step in the epoxy resin grout application process. Proper curing ensures the grout achieves its maximum strength and durability.
- Follow Instructions: Allow the grout to cure according to the manufacturer’s instructions. This typically involves waiting 24 to 48 hours before exposing the grout to water or heavy use.
- Removing Excess: Once the grout is firm to the touch, use a clean and sharp scraper tool to remove any remaining ridges on the tile face.
Our Final Thoughts
By following these step-by-step instructions, you can master the art of applying epoxy resin grout and achieve professional-quality results in your tile installation projects. Remember to take your time, work methodically, and follow the manufacturer’s recommendations for the best results. With proper preparation and technique, you can enjoy the beauty and durability of epoxy resin grout for years to come.
Whether renovating a bathroom, kitchen, or any other tiled space, epoxy resin grout offers a reliable and aesthetically pleasing solution. Its durability, stain resistance, and waterproof properties make it a standout choice for any tile installation project. With practice and patience, you’ll soon become a pro at applying epoxy resin grout, transforming your living space with stunning and long-lasting tiled surfaces.


Due to a variety of errors in how the tiles were installed, we are in our fourth year of effluorescence coming up through the grout lines one day after washing off with pressure washer and scrubbing. It seems the washing is just adding the water each time that helps the efflorescence come back.
Part of patio is covered and because not rained on has nor efflorescence. Rain and water from leaning keeps efflorescence growing in warm season
If we remove the grout and clean the tiles, is there a resin or epoxy product we can install in the grout lines to keep water from getting under the tiles and seal the efflorescence below the surface?