There are many reasons for drilling tiles. Each scenario can change the technique or tool you need to use to do this. In this blog we will go through as many examples as possible while covering the various possibilities you may come across, so you know how to tile and drilling tiles techniques.


First let’s look at the various types of hole cutters available to you. If you have done any DIY or training to become a tiler, you will have seen various drill bits being used. You might have also noticed that different bits are used for different materials, and for different parts of a tiling installation. This might be the reason you are reaching out to expand your knowledge and learn what works best for what applications.
The first question to ask is, why are we drilling tiles? This can help determine which type of drill bit you will be looking for. For example, are you admiring your recently tiled bathroom only to realise once it’s done that you need holes in the tile to hang your mirror, or towel rail? You might be halfway through a tile installation and suddenly find a waste pipe where you didn’t realise there would be one. These are all example of different situations when you will need a tile drill bit.
Rules for Drilling Tiles
As we have mentioned, there are different types of drill bits for tiles. Wet and dry are two common options, but you also have angle grinder bits, and plenty of other ways to make or expand holes in tiles. It is important to remember some ground rules first:
- Do not have your drill on the hammer setting.
- Let the drill do the work, there is no need to give every ounce of muscle in pushing the drill into the wall. It melts the drill bit.
- Only drill the tile with the tile drill bit. Once it’s through the tile. Grab your required bit for the next material.
- In an ideal world we would recommend using a mains powered driver. If you want to use a battery powered one you can but please watch its battery level. It must be at a minimum of 50%. Any lower and the speed is affected dramatically, and you are putting more strain on the drill bit. This will as dramatically affect its life span.
- PPE (Personal Protective Equipment) is essential beyond any of the above. Gloves, Goggles, and ear protection. High speed tile shards hurts even when they are tiny.
Now we have the rules. Let us look at the different types of drill bits.

Spade Bits and Tungsten Bits
Tungsten Carbide Spade drill bits are the most common, cheapest, and are easily recognisable. They are fantastic for drilling most types of small holes in ceramic tiles.
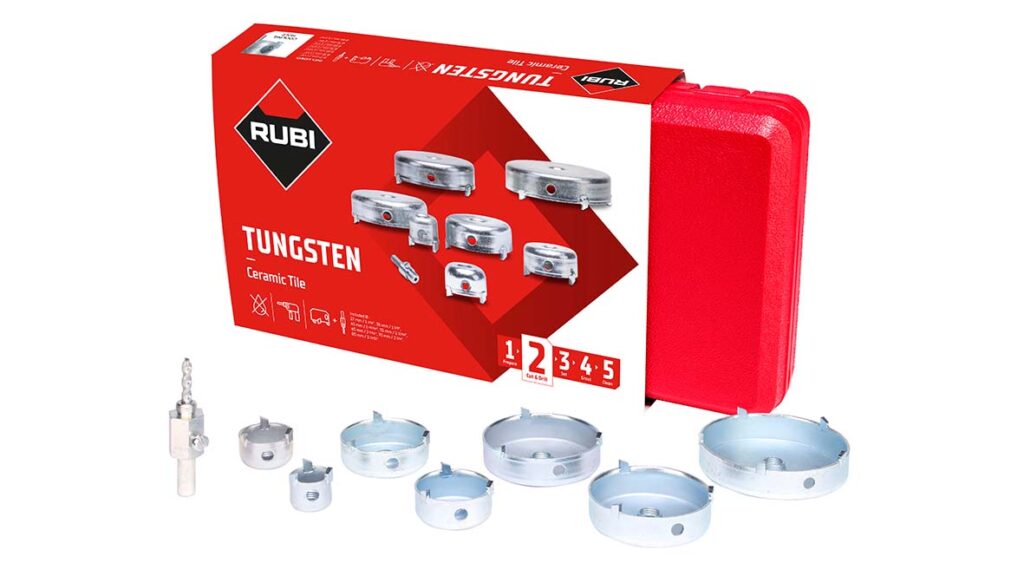
However, more porcelain tiles are being produced. These are harder and denser compared to ceramic tiles. Because of these properties, tungsten carbide spade drill bits should not be used on porcelain tiles. The drill bits will not be able to handle the hardness of the material. Tungsten Carbide Spade drill bits are designed to be at an extremely low speed, 500 RPM is recommended.
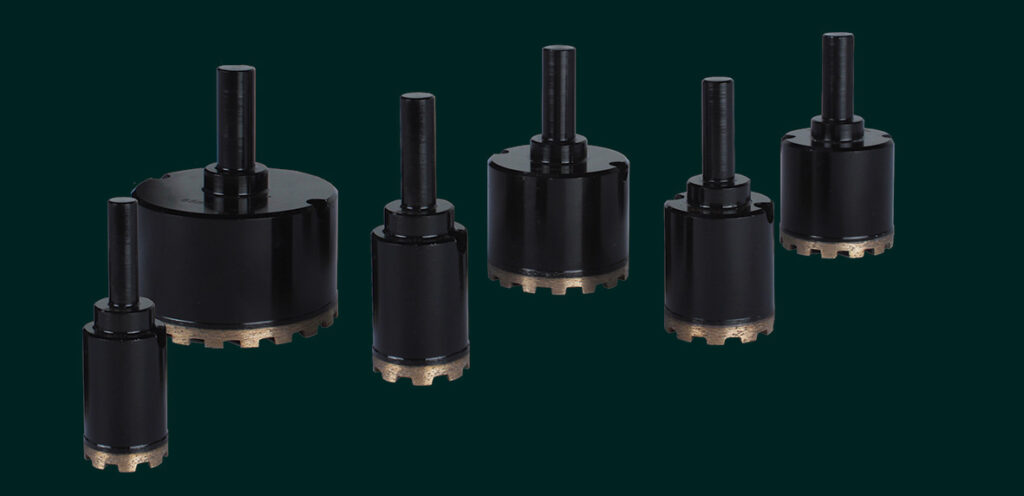
Wet diamond drill bits.
Wet diamond drill bits are more likely to be what you will see at most tiling supply stores. These are affordable, give clean holes and can be used on ceramic and porcelain as well as stone. These bits have a synthetic diamond tip to get through those harder tiles.
It is important to remember that these drill bits still need to be used at a low RPM. Preferably between 400 and 1,000 RPM. Refrain from turning up the speed to speed up the cut. This will only burn out the drill bit faster and cost you more money.
A key thing to remember for these drill bits, is that they should be used wet. Using a guide, such as our multi-drill guide, will allow you to position the drill bit more easily, and provide you with a consistent pump of water to help cool the drill bit effectively.
A slight variant of this drill bit type is a sintered diamond bit. They are similar in how they work but the way they cut through your tiles is different. They have their diamonds mixed in a metal. As they cut the metal breaks down and exposes more diamonds. These drill bits are far longer lasting. However, the cost is driven by this also.
Dry drill bits
Dry drill bits for tiles are different than the other types mentioned so far because they run at a much faster speed. Similar in look to the wet bits, speed is the key to keeping these cool along with wax inside the smaller variants, and air holes for the larger ones. 1000-2500 RPM is recommended for these. Available from 6-80mm.
Because these drill bits are designed to be used dry, you might think that they require a different technique to use than other drill bits. In fact, you use them in the same way as you would wet diamond drill bits.
Alternatively, you can line your hole up and start drilling at a 45-degree angle. Allow the drill to get to speed and hold it until it digs in. Then slowly bring it straight and allow it to make its hole.
When using this method for the first time, we recommend practicing on some spare tiles before trying it on the installation. It can take some practice to get the hang of it.
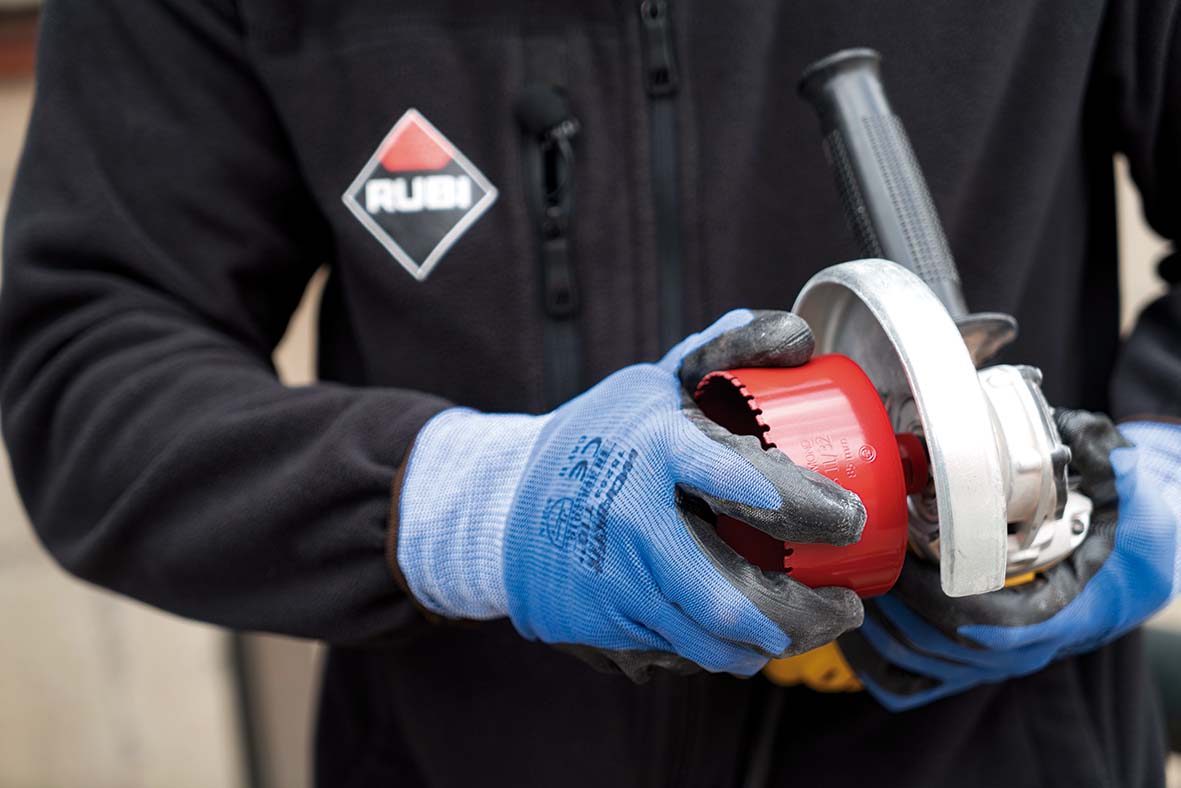
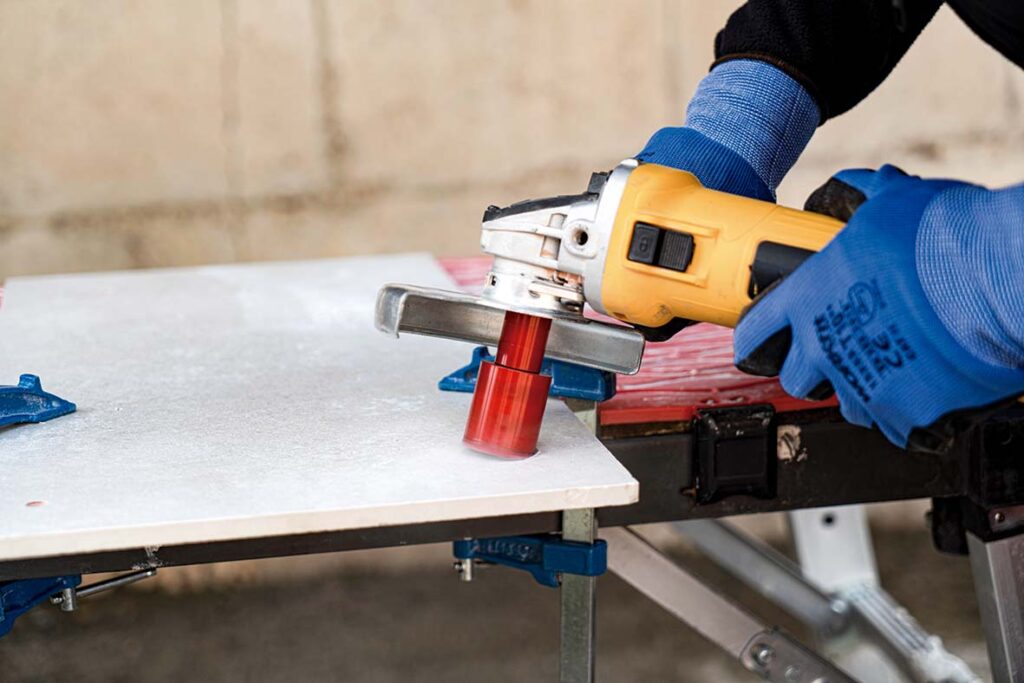
Angle grinder bits.
These types of drill bits are the most popular among professionals. It can be confusing when referring to angle grinder drill bits as drill bits, but the main difference between these and the others mentioned above is that angle grinder drill bits can make holes at high speed.
The other difference you will see straight away is the shape of the connection on the bit itself. Typically, drill bits have a round or hex shaped base. Angle grinder drill bits have an M14 thread connection. This is to screw onto your angle grinder.
*Top Tip! If you have a variable speed grinder, please set it to max.
These bits are happy going at up to 14000 RPM. 6-120mm variants. You can use the same technique as the dry drill, starting at a 45-degree angle. If you notice the drill bit gets hot during use, stop drilling into the tile, and allow the drill bit to cool for a few minutes before continuing. This will elongate the life of the drill bit and help get the best finish on your cuts.
Lastly, make sure you keep loose hair and clothing away from all drill bits, but especially ones that run at high speeds. Practice makes perfect with all tiling techniques, so don’t panic if you don’t get it right the first time. Use spare pieces of tile to get the feel for each type of drill bit you use, and you will be a pro in no time. It’s now over to you to have a go and enjoy.

Post a comment