If you’re just learning how to tile then you might ask yourself, can you tile onto plasterboard? In short, the answer is yes. But there are a few things you need to know before you go ahead and start tiling. Read on to learn our tips and tricks for success when tiling on plasterboard.


Preparation
Before you start, ensure that the plasterboard is dry. It also needs to be securely fixed to the wall and rigid with nothing protruding on the face that is going to be tiled.
The most important thing to consider when tiling onto plasterboard is whether it can hold the weight of your tiles.
The plasterboard should be a minimum of 12.5mm thick which will support a weight of up to 32kg per m2. This is generally equivalent to a ceramic tile with a max thickness of 12.5mm (or a natural stone with a 10mm max thickness). Once you’ve ensured that the plasterboard can hold the weight, it’s time to start.

Setting out
As we’re sure you know by now, whenever you’re tiling you should start by setting out your tiles from the centre of the wall. This can be either from the centre of a tile itself or the join between two tiles (whichever is easiest and avoids tedious small cuts of the tiles down the line). This is no different for tiling onto plasterboard.
We recommend using a laser level horizontally and vertically so that you maintain the midpoint as you work your way up and stay level as you tile out to the edge of the wall.
To counteract movement stresses, which can result in tiles cracking and/or debonding, in accordance with British Standard BS5385-1:2009, movement joints should be provided:
- over existing and/or structural movement joints
- where tiling abuts other materials and at junctions between different substrates
- at vertical corners
- at 3m to 4.5m centres both horizontally and vertically and in areas where stresses are likely to be concentrated such as at changes of alignment.
- An increase in the frequency of movement joints should be considered if large degrees of thermal movement or vibration are expected within an installation.

Fixing
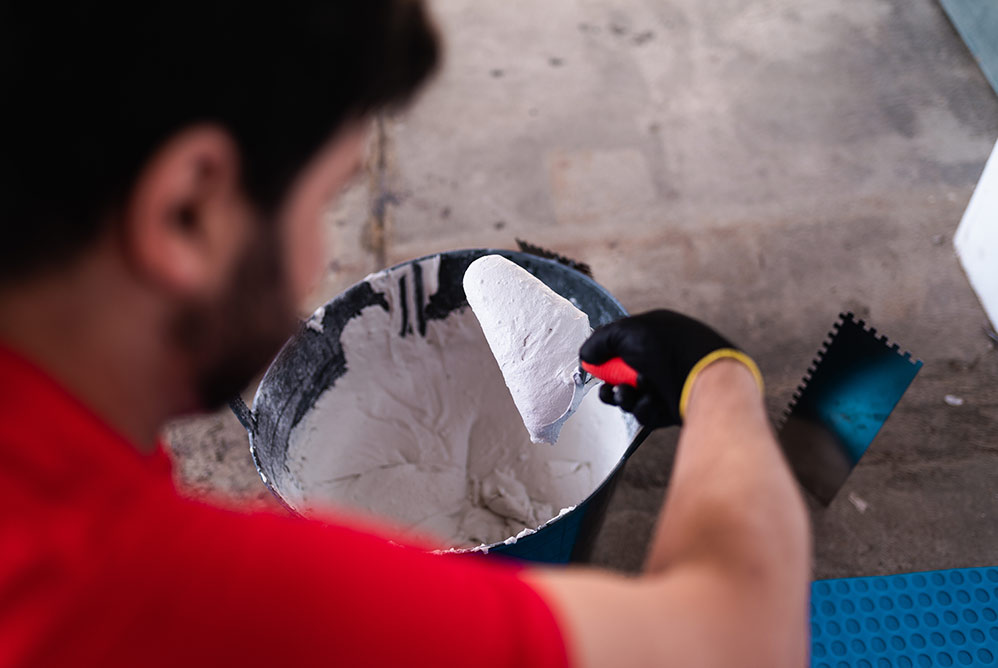
Now that you are prepped and know where you’re starting, you can begin installing the tiles. Make sure that wet areas, such as bathrooms, have been tanked. This ensures long lasting tiles.
Grouting
Once everything is dry, you can start grouting. Before you jump in though, we advise that you test an area before grouting the entire wall. This is to ensure that the grout you or your client has selected won’t stain the tile. If there is any risk of staining, we recommend sealing the tiles before grouting.
If everything is okay, then you can get to grouting. Once the grout is touch dry, you can clean off the excess and admire your work.
Now you know all our tips and tricks for tiling onto plasterboard! Make sure you share these with your friends and colleagues and stay tuned for our next blog.


Post a comment