In this blog on how to tile, we’ll tell you everything you need to know about aperiodic tiling and how best to lay it to achieve a great finish!

WHAT IS APERIODIC TILING?
Aperiodic tiling is a branch of mathematics concerned with tiles as units that form an irregular pattern.
Aperiodic tiling cannot repeat itself to form a pattern. It can simply continue infinitely, creating an ever-changing pattern.
Aperiodic tiling is sometimes called forbidden symmetry as it challenges our association between repetition and symmetry.
The defining trait of an aperiodic tiling is that while it may have symmetrical qualities, it is not entirely symmetrical. The most famous example of an aperiodic tiling is penrose tiling.
Penrose Tiling
Penrose tiles are popular in bathrooms, though they have also been used to tile large floor spaces such as those in universities.
We will focus on penrose tiling as it is the most straightforward, containing only two prototiles, dart and kite.
These are made up of two triangles each, called Robinson’s triangles. When combined, they form a rhombus, where all four sides have the same length and opposite sides are parallel.
Laying Penrose Tile
Due to the irregular pattern of aperiodic tiling, laying tiles in such a manner is much more complicated. However, it can be done as the principles of tiling remain the same.
You will need to prepare your underlayment and substrate, mix your adhesive and grout, and have the right tools on hand.
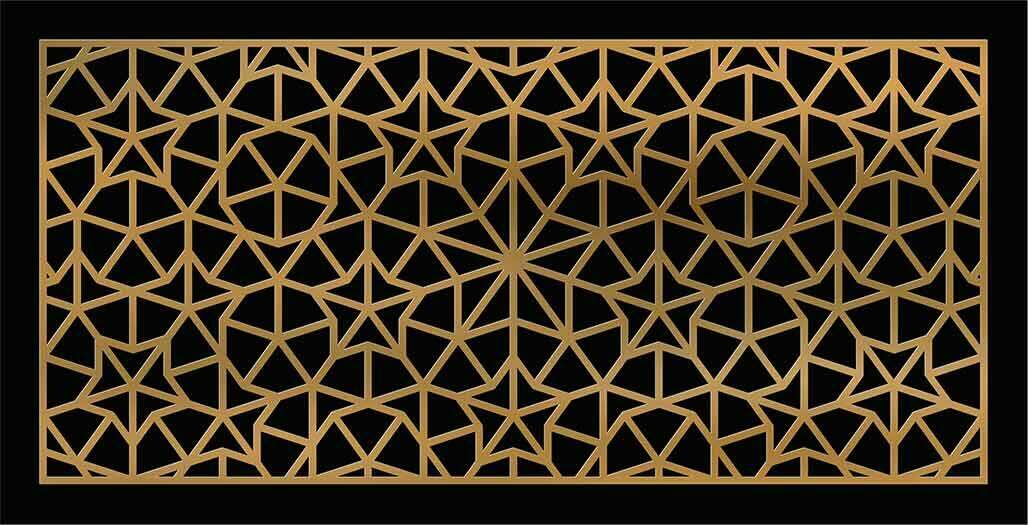
Laying penrose tiling requires a lot of planning and hard work, more so than periodic tiling. This is due to the complex nature of the pattern, which does not adhere to the rules of translational symmetry.
There are three ways to begin a penrose tiling. Using the dart, kite or dart and kite together, you can start the pattern with the following shapes: star, sun, ace, deuce, jack, king and queen.
It should be noted that there are an infinite number of penrose tiling combinations for you to choose from. You can also find some generators online.

The sun and the star possess pentagonal symmetry and higher order versions of these shapes can be obtained via deflation, which adds greater detail to the tiling.
CUTTING APERIODIC TILE
When it comes to cutting your tiles to shape, fortunately there are no curves in the dart and kite penrose tile design, so the process itself is relatively straightforward.
To achieve a nice clean edge, use a wet saw or an angle grinder to cut the tiles. Some improvisation will be involved towards the end of your installation and you will need to cut the outer tiles to fit the perimeter of the tiling area.
This is not unusual in tiling. However, due to the infinite nature of aperiodic tiles, the entirety of the outer area will not align naturally with the perimeter of the tiling area. Therefore, the tiles will need to be cut to fit inside the surface area.
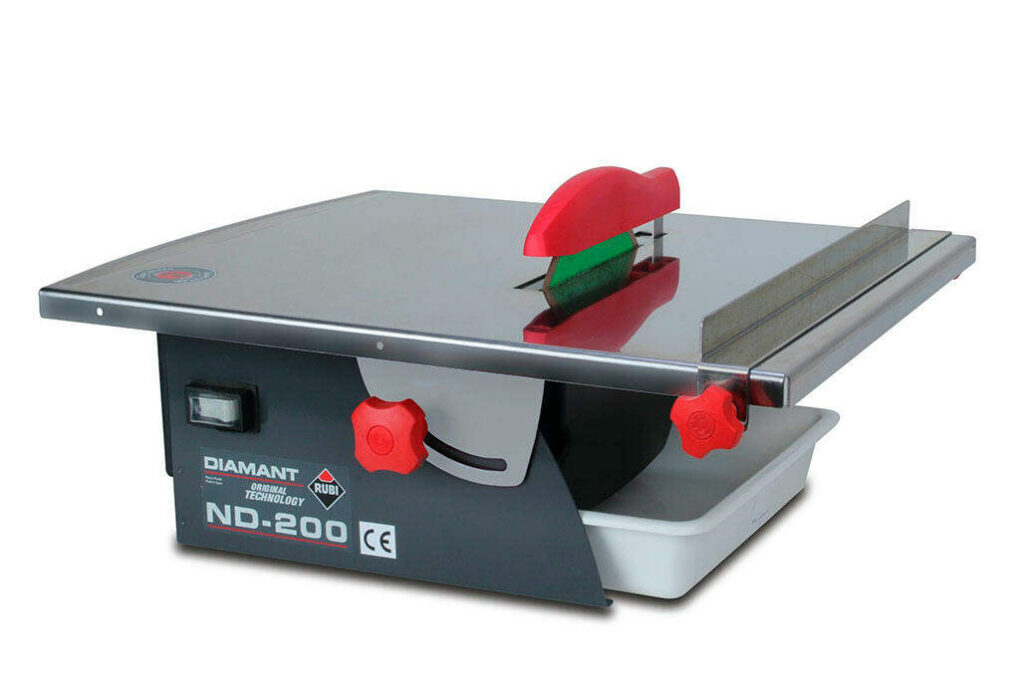
To make these cuts, we recommend using either a RUBI cutter or angle grinder and RUBI diamond blade.
ND-200 Wet Cutter
Angle Grinder and RUBI Diamond Blade
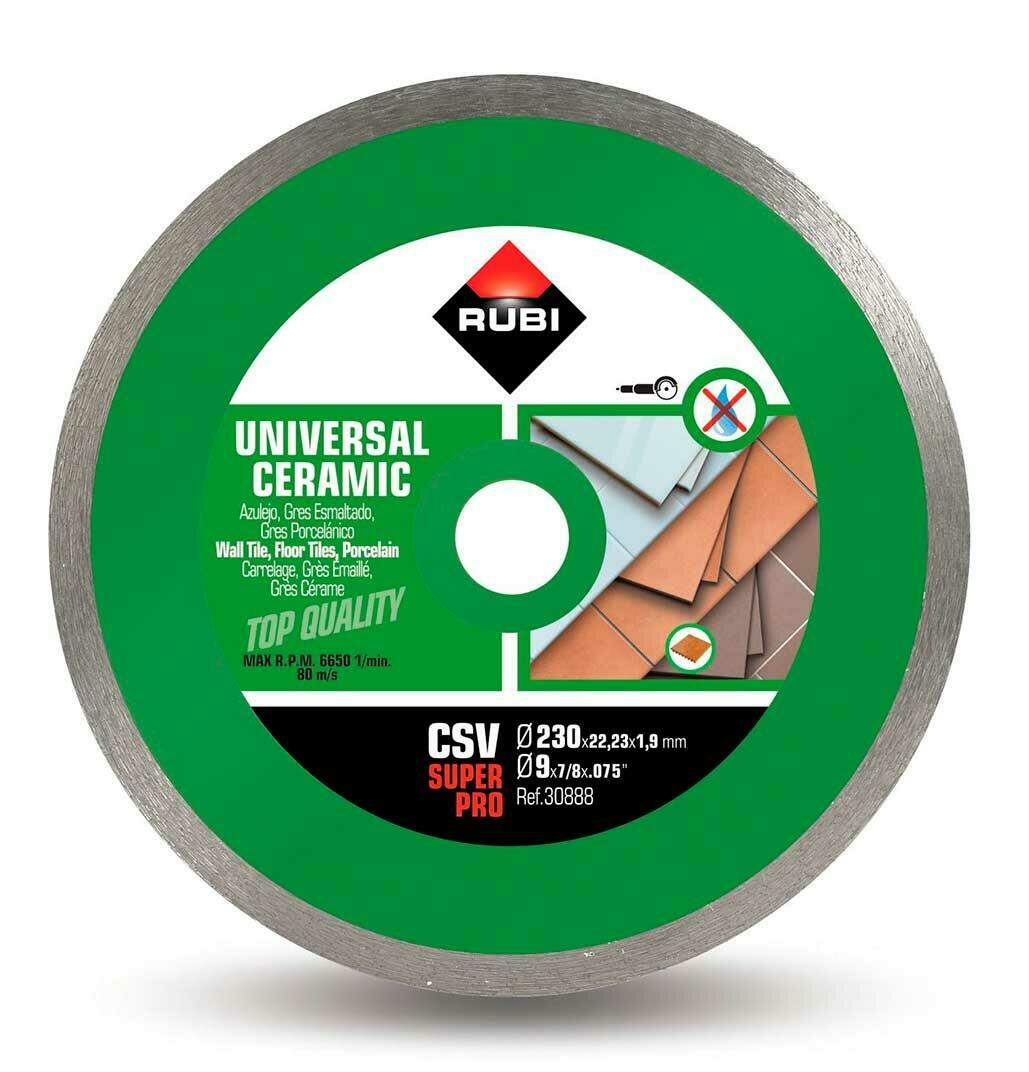
An angle grinder is also a great option when cutting aperiodic shapes, due to its lightweight and portable size. The blade needed for your grinder will depend on the type of material you are cutting.
For ceramic tile, we recommend using the CSV Pro blade.

This blade is the best choice for dry cutting with a grinder for all types of ceramic tiles.
For harder materials such as porcelain, we recommend using the TVA diamond blade. It is specifically designed for cutting hard materials.
The specialised design of this blade offers greater speed for cutting harder materials without sacrificing the quality of your finish.
PREPARING YOUR TILE PATTERN
The simplest manner of laying the tiles is to first print the pattern on a page of grid paper, with each grid representing a tile, then cut the tiles accordingly.
You’ll want to design a pattern using computer software as this will be much more effective than something hand drawn. You can even use formulas to come up with designs quickly and efficiently.
You can mark the tiles with arcs of different colours. Then, when matching the arcs together, you should begin to see a pattern form. Once you have confirmed the pattern for your project, you can begin to lay the tiles.

HOW TO LAY APERIODIC TILING
When it comes to laying aperiodic tiling, we recommend starting your pattern in the centre of the tiled area and working your way outwards. This is because the pattern will develop outwardly from a single shape. From there, follow the blueprint and lay the tiles as you would normally.
Make sure to apply firm, even pressure when laying your tile onto the adhesive, and to inserting spacers between each tile for the grout. Once grouted, you may also want to apply sealing as this will protect the grout and give your tiles a nice, polished look.
Always remember to clean as you go. Make sure to wipe away any excess grout from the tile.
BEST PRACTICES
Stronger materials are easier to work with in this case and cutting a dart made out of weaker material may lead to difficulties.
Penrose tiles can also have three colours, meaning each of the tile’s three ‘faces’ can be coloured differently and retain its pattern, emphasising the 3D nature of the rhombus.
This works in your favour if you are open to more colour combinations for your floor or surface area. It should be noted that penrose tile patterns can have just two colours if desired.
Penrose tiles are a mathematical wonder, allowing for an infinite combination of tiling designs to choose from based on only two tiles. They make for an excellent surface area and are not mass produced due to each pattern’s unique structure. This allows you to completely personalise your tiled surface and make a statement.
While this is more complicated than your average symmetrical tiling pattern, there are plenty of penrose tiling generators on the internet to save you time planning your aperiodic tiled surface, so why not give them a try?
We hope you’ve found our blog on how to lay aperiodic tiling useful!
For more tiling tips and tricks, check out more of our blog articles here.


Post a comment